1. Introduction
This manual provides comprehensive instructions for the safe and efficient operation, installation, and maintenance of your Candy Idea FIDCP N615 L Multifunction Oven. Please read this manual thoroughly before using the appliance and retain it for future reference.
The Candy Idea FIDCP N615 L is a 65L capacity multifunction oven designed for modern kitchens. It features an Aquactiva cleaning system, a removable double-glazed door for easy cleaning, and a radial cooling fan to keep the door cool during operation. The oven is equipped with a touch display timer and two Push&Pull controls for function and temperature selection, offering 8 cooking functions. It includes one tray and one baking rack and boasts an A+ energy efficiency rating.

Figure 1.1: Front view of the Candy Idea FIDCP N615 L Multifunction Oven, showcasing its sleek black design and control panel.
2. Safety Information
Always adhere to the following safety precautions to prevent personal injury or damage to the appliance.
- Ensure the oven is installed by a qualified technician in accordance with local regulations.
- Do not touch hot surfaces. Always use oven mitts or pot holders when handling hot items from the oven.
- Keep children away from the appliance during operation. The oven door may become hot.
- Never use abrasive cleaners or sharp metal scrapers to clean the oven door glass, as they can scratch the surface, which may result in shattering.
- Do not store flammable materials in or near the oven.
- Always unplug the oven from the power supply before cleaning or performing any maintenance.
- Ensure proper ventilation around the oven during use.
3. Product Features
The Candy Idea FIDCP N615 L oven is equipped with several features designed for convenience and efficiency:
- 65L Capacity: Generous interior space suitable for various cooking needs.
- Aquactiva Cleaning System: A steam-assisted cleaning function that softens residues for easier manual cleaning.
- Removable Double Glazed Door: Enhances insulation and allows for easy removal and cleaning of the glass panels.
- Radial Cooling Fan: Circulates air to keep the exterior surfaces, especially the door, cooler during operation.
- Display with Timer Touch: An intuitive digital display for setting cooking times and monitoring progress.
- Push&Pull Controls: Retractable knobs for a sleek aesthetic and easy cleaning of the control panel.
- 8 Cooking Functions: Versatile cooking modes to suit different recipes and food types.
- Accessories: Includes 1 baking tray and 1 wire grid for immediate use.
- Energy Efficiency A+: Designed for low energy consumption, contributing to reduced utility costs.

Figure 3.1: Interior view of the oven, showing the fan and rack supports.
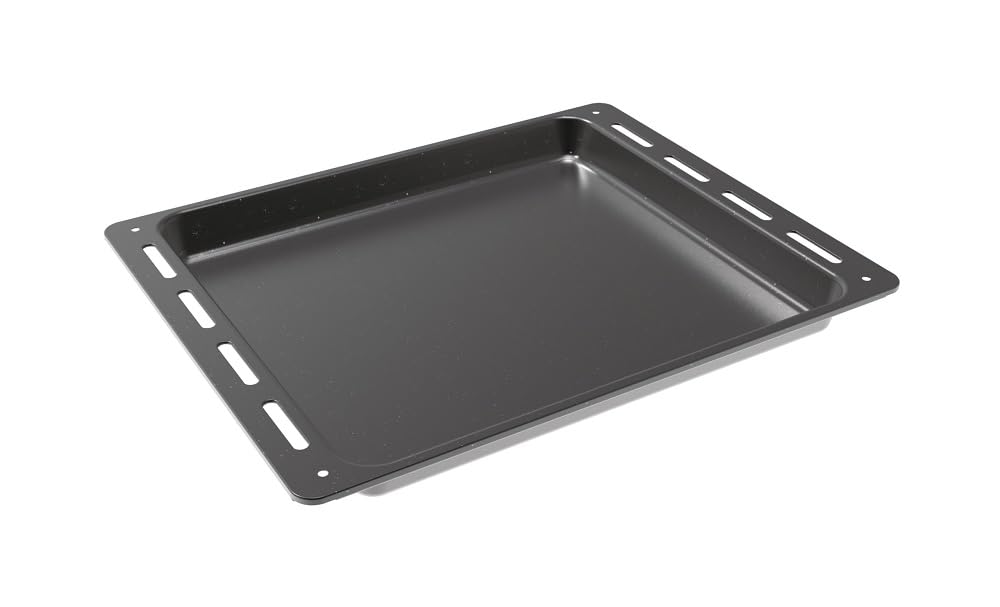
Figure 3.2: Standard baking tray included with the oven.

Figure 3.3: Wire grid accessory for roasting and baking.
4. Installation and Setup
Proper installation is crucial for the safe and efficient operation of your oven. It is recommended that installation be performed by a qualified professional.
4.1 Unpacking
Carefully remove all packaging materials. Inspect the oven for any signs of damage. Report any damage to your retailer immediately.
4.2 Placement and Dimensions
The oven is designed for built-in installation. Ensure the cabinet opening meets the required dimensions for proper fit and ventilation. Refer to the diagram below for detailed measurements.

Figure 4.1: Detailed diagram showing the product dimensions and required cabinet cut-out dimensions for installation. Note: Consult the cooktop manufacturer's installation guide for adequate clearances if installing below a cooktop.
4.3 Electrical Connection
Connect the oven to a suitable electrical supply as per local wiring regulations. Ensure the voltage and frequency match the specifications on the appliance rating plate.
5. Operating Instructions
Familiarize yourself with the control panel and its functions before first use.

Figure 5.1: Close-up of the oven's control panel, showing the digital display and Push&Pull control knobs.
5.1 Control Panel Overview
- Left Knob: Used to select the cooking function. Push to pop out, turn to select, push to retract.
- Digital Display: Shows time, temperature, and selected settings. Features touch controls for timer functions.
- Right Knob: Used to set the temperature. Push to pop out, turn to select, push to retract.
5.2 First Use
- Before first use, clean the oven interior with a damp cloth.
- Heat the empty oven at maximum temperature for approximately 30 minutes to burn off any manufacturing residues. Ensure the kitchen is well-ventilated during this process.
5.3 Setting a Cooking Function
- Push the left knob to extend it. Turn the knob to select the desired cooking function (e.g., Convection, Grill).
- Push the right knob to extend it. Turn the knob to set the desired temperature.
- Use the touch display to set a cooking time if required.
- The oven will begin heating. The indicator light will turn off when the set temperature is reached.
5.4 Cooking Functions
The oven offers 8 distinct cooking functions. Refer to the appliance's specific function symbols for detailed usage.
- Convection + Fan: Ideal for even cooking and baking on multiple levels.
- (Other functions will be indicated by symbols on the control panel)
6. Cleaning and Maintenance
Regular cleaning and maintenance will ensure the longevity and optimal performance of your oven.
6.1 Aquactiva Cleaning System
- Pour approximately 300ml of distilled water into the cavity at the bottom of the oven.
- Select the Aquactiva function (refer to your control panel for the specific symbol).
- Run the cycle for the recommended duration (typically 30 minutes).
- Once the cycle is complete and the oven has cooled, wipe away softened residues with a damp cloth or sponge.
6.2 General Cleaning
- Exterior: Clean with a soft cloth and mild detergent. Avoid abrasive cleaners.
- Interior: For stubborn stains, use a non-abrasive oven cleaner. Always follow the cleaner's instructions.
- Removable Door Glass: The inner glass panels can be removed for thorough cleaning. Consult the full manual for specific instructions on door removal.
- Accessories: Wash the baking tray and wire grid with warm soapy water.
7. Troubleshooting
Before contacting customer service, refer to the following common issues and their solutions.
| Problem | Possible Cause | Solution |
|---|---|---|
| Oven does not heat. | No power supply; incorrect function/temperature selected. | Check power connection and circuit breaker. Ensure function and temperature are correctly set. |
| Food not cooking evenly. | Incorrect rack position; overloaded oven; door not fully closed. | Use recommended rack position. Avoid overloading. Ensure door is securely closed. |
| Smoke/odor during first use. | Residues from manufacturing process. | This is normal. Ensure good ventilation. It will dissipate after initial use. |
| Display not working. | Power interruption; loose connection. | Check power. If problem persists, contact a qualified technician. |
8. Specifications
Key technical specifications for the Candy Idea FIDCP N615 L Multifunction Oven:
| Attribute | Value |
|---|---|
| Model Number | 33703581 |
| Capacity | 65 Liters |
| Product Dimensions (H x W x D) | 59.4 x 59.4 x 57 cm (23.43 x 23.43 x 22.36 inches) |
| Weight | 62.39 Pounds |
| Energy Efficiency Class | A+ |
| Heating Method | Convection |
| Finish Type | Crystal |
| Color | Black |
9. Warranty and Support
For warranty information, please refer to the warranty card included with your product or contact your retailer. For technical support or service inquiries, please contact Candy customer service.
Manufacturer: Candy
Date First Available: June 12, 2025
For further assistance, visit the official Candy website or contact their authorized service centers.


