
1. Product Overview
The TFCFL Aquarium Chiller is a compact and efficient cooling system designed to maintain optimal water temperatures for various aquatic environments, including freshwater and saltwater fish tanks, and hydroponics systems. It features a quiet compressor and an automatic constant temperature function, ensuring a stable and healthy habitat for aquatic life.

Figure 1: Front view of the TFCFL Aquarium Chiller, showcasing its compact design and digital control panel.
Key Features:
- Efficient Cooling: Built-in high-efficiency and energy-saving compressor for rapid and precise temperature control.
- Automatic Constant Temperature: Maintains desired water temperature automatically.
- Quiet Operation: Designed for minimal noise, suitable for home use.
- Versatile Application: Ideal for freshwater, aquatic plants, saltwater fish tanks, and hydroponics systems.
- Compact Design: Space-saving dimensions for easy placement.
2. Package Contents
Please verify that all items listed below are included in your package:
- 1 x TFCFL Aquarium Water Chiller Unit
- 1 x Power Adapter
- 1 x Power Line
- 2 x Hose Buckles
- 1 x 2-Meter Length Hose
- 1 x Water Pump
3. Technical Specifications
| Parameter | Value |
|---|---|
| Rated Voltage | DC 12V |
| Power | 100W |
| Cooling Water Capacity | ≤ 35 Liters |
| Hose Inner Diameter | 8mm |
| Product Dimensions (L x W x H) | 11.2 x 11.2 x 19.2 cm (4.4 x 4.4 x 7.5 inches) |
| Product Weight | 1.9 kg |
| Circulating Water Pump Flow | 1-3 Liters/Min |
| Suitable Pump Lift Range | Max. pump lift < 3 Meters |
| Model Number | WH6PD |
| Manufacturer | WilkenUS |
| Country of Origin | China |
4. Setup and Installation
4.1 Unpacking
Carefully remove all components from the packaging. Inspect the chiller and accessories for any signs of damage. Retain the packaging for future storage or transport.
4.2 Placement
Place the chiller on a stable, flat surface near your aquarium or hydroponics system. Ensure there is adequate ventilation around the unit, especially at the front grille and rear. Avoid placing it in direct sunlight or in areas with high humidity.
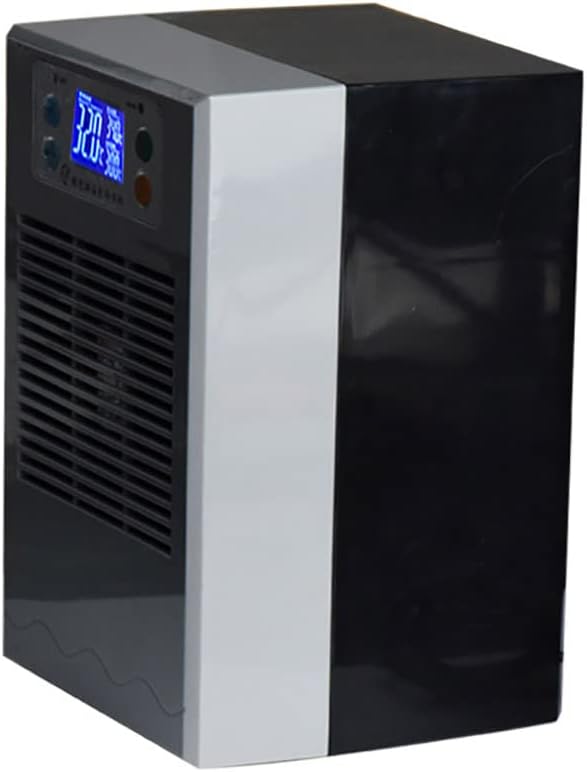
Figure 2: Angled view of the chiller, illustrating its compact form factor suitable for various placements.
4.3 Connecting Hoses
Connect the provided 8mm inner diameter hose to the inlet and outlet ports at the rear of the chiller. Use the hose buckles to secure the connections firmly to prevent leaks. The water pump should be placed inside your tank or reservoir and connected to the chiller's inlet hose.

Figure 3: Rear view of the chiller, highlighting the water inlet and outlet ports for hose connection.
- Attach one end of the 2-meter hose to the outlet of your water pump.
- Connect the other end of this hose to the chiller's INLET port (typically marked).
- Attach a second hose (not included, or use the remaining length of the provided hose if suitable) to the chiller's OUTLET port.
- Direct the end of the outlet hose back into your aquarium or hydroponics system.
- Secure all hose connections with the provided hose buckles to prevent leaks.
4.4 Power Connection
Connect the power line to the power adapter, then plug the adapter into the chiller's power input. Finally, plug the power adapter into a standard 110V AC electrical outlet. Ensure the power outlet is suitable for the chiller's power requirements (100W).
5. Operating Instructions
5.1 Control Panel Overview

Figure 4: Close-up view of the digital control panel, showing the display and control buttons.
The chiller features a user-friendly digital control panel with a display and several buttons:
- Digital Display: Shows the current water temperature and set temperature.
- SET Button: Used to enter temperature setting mode.
- ENTER Button: Confirms selections and settings.
- UP (+) Button: Increases the set temperature.
- DOWN (-) Button: Decreases the set temperature.
- WORK Indicator: Illuminates when the chiller is actively cooling.
5.2 Setting the Desired Temperature
- Ensure the chiller is properly installed and powered on. The display will show the current water temperature.
- Press the SET button once. The temperature display will start flashing, indicating it's in setting mode.
- Use the UP (+) or DOWN (-) buttons to adjust the desired temperature.
- Once the desired temperature is set, press the ENTER button to confirm. The display will stop flashing and return to showing the current water temperature.
- The chiller will automatically begin cooling if the current water temperature is above the set temperature. The WORK indicator light will illuminate.
5.3 Monitoring Water Temperature
The digital display continuously shows the current water temperature. Periodically check the display to ensure the chiller is maintaining the desired temperature range. Fluctuations may indicate issues with water flow or chiller performance.
6. Maintenance
Regular maintenance ensures the longevity and efficient operation of your TFCFL Aquarium Chiller.
6.1 Cleaning the Unit
- Exterior: Wipe the exterior of the chiller with a soft, damp cloth. Do not use abrasive cleaners or solvents.
- Ventilation Grille: Periodically check the front ventilation grille for dust accumulation. Use a soft brush or a vacuum cleaner with a brush attachment to gently remove dust and debris. Ensure the chiller is unplugged before cleaning the grille.
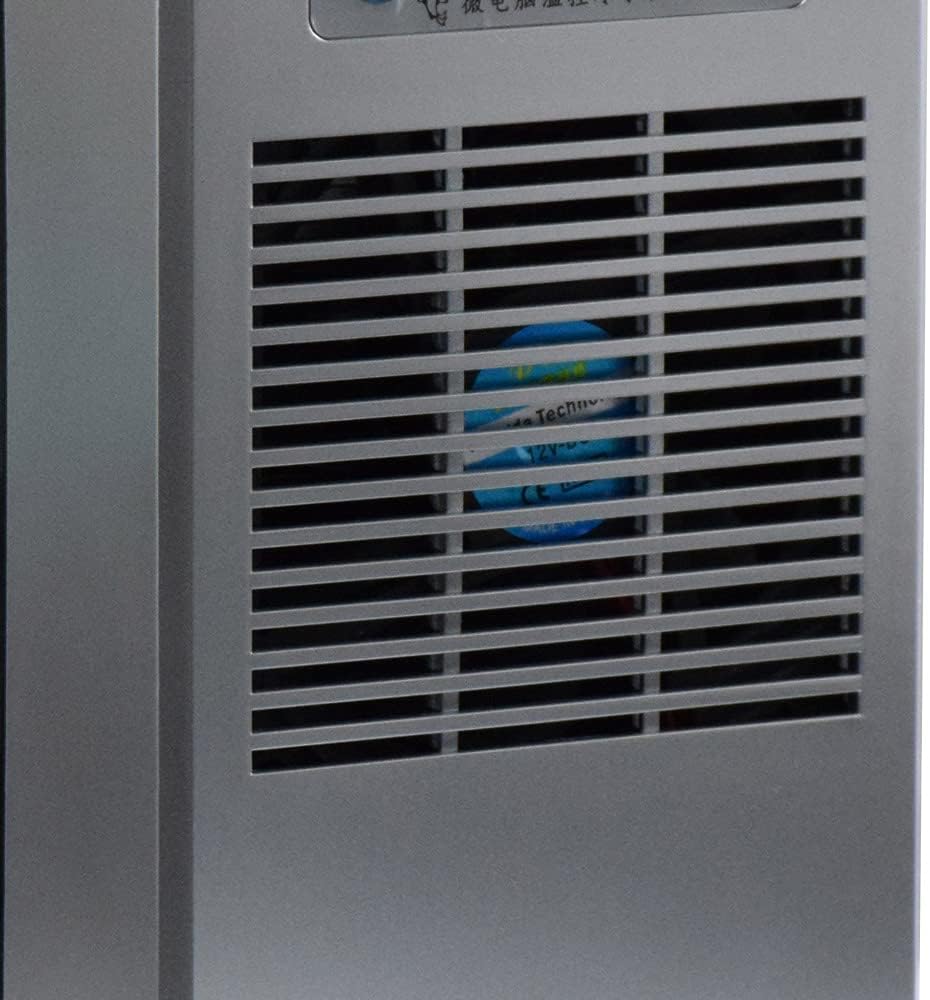
Figure 5: Close-up of the front ventilation grille, which should be kept clear for optimal airflow.
6.2 Water Pump and Hose Maintenance
- Regularly inspect the water pump for blockages or debris. Clean the pump according to its own instruction manual.
- Check hoses for kinks, cracks, or algae buildup. Clean or replace hoses as necessary to ensure unrestricted water flow.
6.3 Long-Term Storage
If storing the chiller for an extended period, ensure it is completely drained of water, cleaned, and dried. Store it in a cool, dry place away from direct sunlight and extreme temperatures.
7. Troubleshooting
This section addresses common issues you might encounter with your TFCFL Aquarium Chiller. If the problem persists, please contact customer support.
| Problem | Possible Cause | Solution |
|---|---|---|
| Chiller not turning on | No power supply; loose connection. | Check power cord and adapter connections. Ensure outlet has power. |
| Water not cooling | Incorrect temperature setting; insufficient water flow; blocked ventilation. | Verify set temperature. Check water pump and hoses for blockages. Clean ventilation grille. Ensure water capacity is within limits. |
| Water leaking from connections | Loose hose connections; damaged hoses. | Tighten hose buckles. Inspect hoses for damage and replace if necessary. |
| Unusual noise from chiller | Unit not level; fan obstruction; internal issue. | Ensure chiller is on a flat, stable surface. Check for foreign objects near the fan. If noise persists, contact support. |
8. Warranty and Customer Support
8.1 Warranty Information
This TFCFL product comes with a standard manufacturer's warranty. Please refer to the warranty card included in your package or contact the seller for specific warranty terms and conditions. The warranty typically covers defects in materials and workmanship under normal use.
8.2 Customer Support
For any questions, technical assistance, or warranty claims, please contact the seller or manufacturer directly. Provide your product model number (WH6PD) and purchase details when seeking support to ensure prompt service.
You can visit the TFCFL Store for more information: TFCFL Official Store