1. Introduction
This manual provides detailed instructions for the safe and effective use of your Technaxx TX-219 4-in-1 Multifunction Device. This versatile unit combines a jump starter, an air compressor, a power bank, and an LED light, designed for automotive and portable power needs. Please read this manual thoroughly before operation and retain it for future reference.
2. Safety Instructions
Always observe the following safety precautions to prevent injury or damage to the device or vehicle:
- Read all instructions before use.
- Keep out of reach of children.
- Wear eye protection when operating the jump starter.
- Do not expose the device to rain or moisture.
- Do not operate if the device or cables are damaged.
- Ensure proper ventilation during use.
- Connect the jump starter clamps correctly: positive to positive, negative to negative. Avoid short-circuiting.
- Do not attempt to jump start a frozen battery.
- Disconnect the jump starter from the vehicle battery within 30 seconds after the engine starts.
- Do not use the air compressor continuously for more than 10 minutes to prevent overheating. Allow it to cool down.
- Store the device in a cool, dry place when not in use.
3. Package Contents
Verify that all items are present in the package:
- Technaxx Jump Starter TX-219 Unit
- Adapter Cable with Battery Clamps
- AC Adapter
- Compressed Air Hose
- USB Cable
- Car Adapter Cable
- User Manual

Figure 3.1: Overview of the Technaxx TX-219 package contents, showing the main unit, battery clamps, various charging cables, and the air hose.
4. Product Overview
Familiarize yourself with the components of your Technaxx TX-219 device.

Figure 4.1: Angled view of the Technaxx TX-219 unit, showing the digital display, control buttons, USB ports, and LED light.
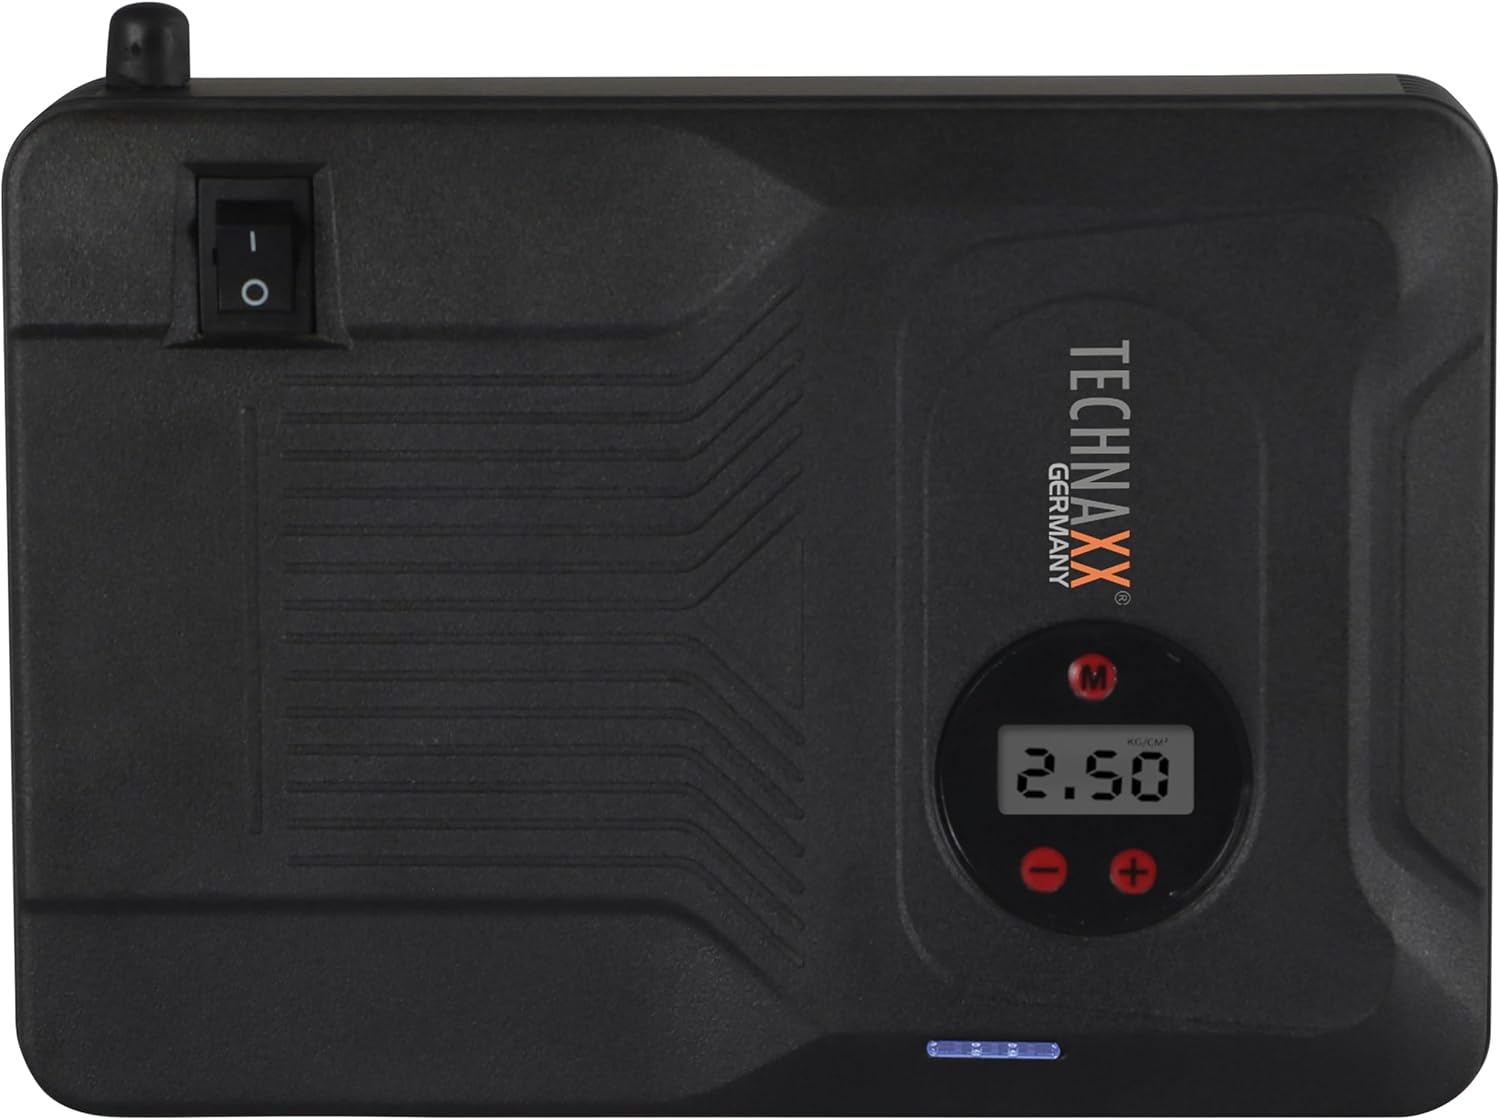
Figure 4.2: Top view of the device, highlighting the power switch and the digital display for pressure readings.

Figure 4.3: Front view of the device, showing the digital display, pressure adjustment buttons, and the power indicator lights.
Key Components:
- Digital Display: Shows air pressure for the compressor and battery status.
- Control Buttons: For adjusting pressure settings and operating the device.
- USB-A Output Ports (5V/1A, 5V/2A): For charging external electronic devices.
- 15V/0.4A Input Port: For charging the internal battery of the TX-219.
- Jump Start Output Port: Connects to the battery clamp cable.
- LED Light: Provides illumination.
- Power Switch: On/Off control for the device.
- Air Hose Connection: For the air compressor function.
5. Setup and Charging the Device
Before first use, fully charge the Technaxx TX-219 unit. It is recommended to recharge the device every 3 months to maintain battery health.
- Connect the AC adapter to the 15V/0.4A input port on the TX-219.
- Plug the AC adapter into a standard wall outlet.
- The battery indicator lights on the device will illuminate to show charging progress. All lights will be solid when fully charged.
- Alternatively, use the car adapter cable to charge the device from a vehicle's 12V accessory socket.

Figure 5.1: The Technaxx TX-219 unit being charged or used as a power bank to charge a smartphone.
6. Operating Instructions
6.1. Jump Starting a Vehicle
The TX-219 can jump start gasoline engines up to 4.0L and diesel engines up to 3.0L.
- Ensure the TX-219 is sufficiently charged (at least 75% battery indicated).
- Turn off the vehicle's ignition and all accessories.
- Connect the red (+) clamp to the positive (+) terminal of the vehicle's battery.
- Connect the black (-) clamp to a clean, unpainted metal part of the vehicle's engine block or chassis, away from the battery. Do not connect to the negative (-) battery terminal directly unless specified by vehicle manufacturer.
- Connect the adapter cable to the jump start output port on the TX-219.
- Start the vehicle's engine. If it doesn't start immediately, wait 30 seconds before trying again. Do not crank for more than 3 seconds per attempt.
- Once the engine starts, immediately disconnect the adapter cable from the TX-219.
- Then, disconnect the black (-) clamp, followed by the red (+) clamp from the vehicle battery.

Figure 6.1: The Technaxx TX-219 connected to a vehicle battery using the provided clamps for jump starting.

Figure 6.2: A close-up of the jump starter connected to a car battery, illustrating the process of jump starting.
6.2. Using the Air Compressor
The integrated air compressor can inflate tires up to 3.5 Bar (approximately 50 PSI) and features an automatic shut-off.
- Connect the compressed air hose to the air hose connection port on the TX-219.
- Attach the other end of the hose to the tire valve.
- Turn on the TX-219. The digital display will show the current tire pressure.
- Use the '+' and '-' buttons to set the desired pressure. The display supports Bar, KPA, kg/cm², and PSI units.
- Press the compressor start button to begin inflation.
- The compressor will automatically stop once the preset pressure is reached.
- Disconnect the air hose from the tire valve and the TX-219.

Figure 6.3: The Technaxx TX-219 being used to inflate a car tire, demonstrating the air compressor function.

Figure 6.4: A user inflating a tire with the TX-219, showing the digital display and the air hose connection.
6.3. Using as a Power Bank
The 14000 mAh battery can charge various USB-powered devices.
- Connect your device's USB charging cable to one of the USB-A output ports (5V/1A or 5V/2A) on the TX-219.
- The TX-219 will automatically begin charging your device.
- Monitor your device's charging status. Disconnect once fully charged.

Figure 6.5: The Technaxx TX-219 connected to a smartphone via USB, illustrating its power bank functionality.

Figure 6.6: The TX-219 acting as a portable power bank, charging a mobile device.
6.4. Using the LED Light
The integrated LED light can be used for illumination in dark environments.
- Locate the LED light button on the device.
- Press the button once to turn on the LED light.
- Press again to cycle through different light modes (e.g., steady, strobe, SOS, if available).
- Press and hold the button to turn off the LED light.

Figure 6.7: The TX-219's LED light providing illumination in a vehicle's engine compartment.
7. Specifications
| Feature | Specification |
|---|---|
| Model | TX-219 |
| Battery Type | Lithium Iron Phosphate |
| Battery Capacity | 14000 mAh |
| Starting Current | 350 A (Max. 600 A) |
| Jump Start Voltage | 12 Volts |
| Engine Compatibility (Gasoline) | Up to 4.0 L |
| Engine Compatibility (Diesel) | Up to 3.0 L |
| USB-A Output 1 | 5 V, 2 A |
| USB-A Output 2 | 5 V, 1 A |
| Air Compressor | 12 V / 100 W, Max 3.5 Bar (approx. 50 PSI) |
| Charging Input | 15 V, 0.4 A (Max) |
| LED Light | Multiple functions |
| Dimensions (L x W x H) | 19 x 13 x 5.5 cm |
| Weight | 1.16 kg |
| Certifications | CE |
8. Maintenance
- Cleaning: Wipe the device with a soft, dry cloth. Do not use harsh chemicals or abrasive cleaners.
- Storage: Store the TX-219 in a cool, dry place, away from direct sunlight and extreme temperatures.
- Recharging: Recharge the unit every three months, even if not in use, to prolong battery life.
- Cable Inspection: Regularly inspect all cables and clamps for any signs of damage, wear, or corrosion. Replace if necessary.
9. Troubleshooting
| Problem | Possible Cause | Solution |
|---|---|---|
| Device does not turn on. | Battery is depleted. | Charge the TX-219 fully. |
| Vehicle does not jump start. | Incorrect clamp connection; TX-219 battery too low; vehicle battery severely damaged. | Ensure clamps are connected correctly (+ to +, - to chassis). Recharge TX-219. Consult a mechanic if vehicle battery is faulty. |
| Air compressor not inflating. | Hose not securely connected; desired pressure already reached; device battery low. | Check hose connections. Verify desired pressure setting. Recharge TX-219. |
| USB charging not working. | USB cable faulty; device not compatible; TX-219 battery low. | Try a different USB cable. Ensure your device is compatible. Recharge TX-219. |
| LED light not working. | Battery depleted; light button not pressed correctly. | Recharge TX-219. Press the LED button firmly. |
10. Warranty and Support
For warranty information and technical support, please refer to the warranty card included with your product or visit the official Technaxx website. Keep your purchase receipt as proof of purchase.
Manufacturer: Technaxx
Model Number: 5031


