
1. Important Safety Instructions
Read all instructions before using this appliance. Failure to follow these instructions may result in electric shock, fire, or serious injury.
- Do not immerse the appliance, power cord, or plug in water or other liquids.
- Keep the appliance out of reach of children.
- Do not operate the appliance with a damaged cord or plug. Contact customer support for assistance.
- Use only Vesta Precision approved accessories and bags.
- Unplug the appliance from the outlet when not in use and before cleaning.
- Avoid touching hot sealing elements immediately after use.
- Ensure the appliance is placed on a stable, flat, heat-resistant surface.
2. What's in the Box
Verify that all components are present upon unpacking:
- Vesta Precision Food Saver Vacuum Sealer Machine (Model PRO)
- 11"x75' Vacuum Sealer Bags Roll (1)
- 8"x75' Vacuum Sealer Bags Roll (1)
- Patented Cutter Box with Bags
- Liquid Collection Cup
- Power Cord
- Vacuum Hose
- User Manual
- Maintenance Kit (Gaskets *2, Heat Tape *1)

3. Setup
- Unpack the Appliance: Carefully remove all packaging materials.
- Placement: Place the vacuum sealer on a dry, flat, and stable surface. Ensure there is adequate space around the unit for ventilation.
- Connect Power: Plug the power cord into the appliance and then into a standard 120V AC electrical outlet.
- Install Liquid Collection Cup: Attach the liquid collection cup to the designated port on the side of the machine. This cup collects excess liquids during the vacuum sealing process.

4. Operating Instructions
4.1. Basic Vacuum Sealing
- Prepare the Bag: Place the food item inside a vacuum sealer bag, ensuring at least 3 inches of empty space at the top for sealing. For best results with moist foods, pre-freeze or use the liquid collection system.
- Position the Bag: Open the lid of the vacuum sealer. Place the open end of the bag flat across the sealing bar, ensuring it is fully within the vacuum channel.
- Close and Lock: Close the lid firmly. The electromagnetic lock will engage automatically, securing the lid in place.
- Start Vacuum and Seal: Press the 'Start' button on the control panel or the 'Start' button on the handle. The machine will automatically vacuum the air from the bag and then seal it. The 'Seal Time' can be adjusted for different bag types.
- Release: Once the process is complete, the machine will release the lock automatically. Remove the sealed bag.


4.2. Using the Patented Cutter Box
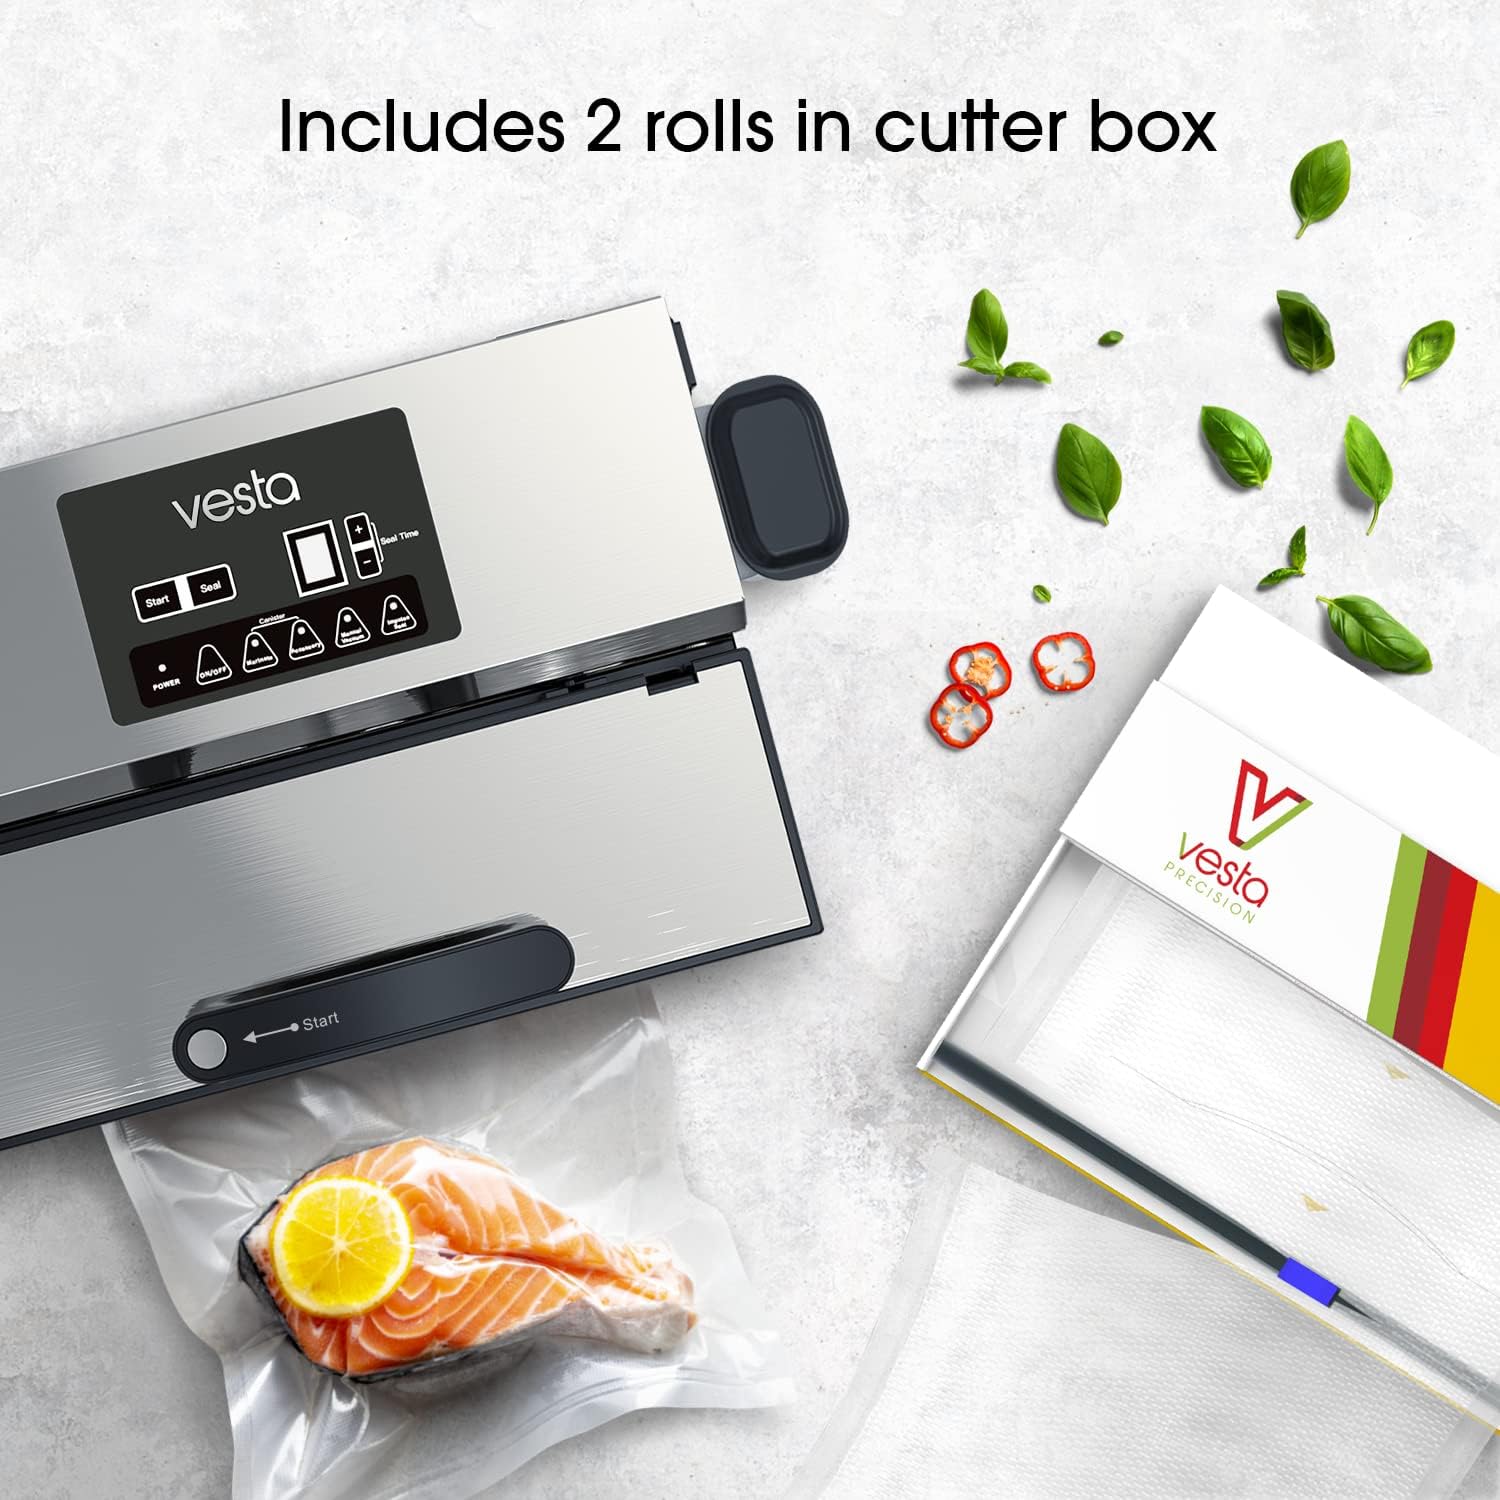
The included cutter box allows you to create custom-sized bags from vacuum sealer rolls.
- Load Roll: Insert a vacuum sealer roll into the cutter box.
- Pull and Cut: Pull the desired length of bag material from the roll. Use the integrated cutter to make a clean, straight cut.
- Seal One End: Place one end of the cut bag into the vacuum sealer and perform a seal-only cycle to create the bottom of your custom bag.
4.3. External Vacuum Sealing / Marinating
The machine can be used with external vacuum containers or for marinating.
- Connect Hose: Insert one end of the vacuum hose into the external vacuum port on the side of the machine.
- Connect to Container: Attach the other end of the hose to the vacuum port on your compatible container or marinating lid.
- Start External Vacuum: Press the 'Canister' button on the control panel. The machine will draw air from the container.
- Release: Once the vacuum cycle is complete, the machine will stop automatically. Disconnect the hose.

4.4. Official Product Video
Video: Introducing the New Vac 'n Seal Pro Combo! This video demonstrates the key features and operation of the Vesta Precision Vac 'n Seal Pro vacuum sealer.
5. Maintenance and Cleaning
Regular cleaning and maintenance ensure optimal performance and longevity of your vacuum sealer.
- Always unplug the appliance before cleaning.
- Cleaning the Exterior: Wipe the exterior with a damp cloth and mild soap. Do not use abrasive cleaners.
- Cleaning the Vacuum Channel and Liquid Cup: Remove the liquid collection cup and empty any accumulated liquids. Wash the cup with warm, soapy water and rinse thoroughly. Wipe the vacuum channel with a damp cloth. Ensure all parts are dry before reassembling.
- Cleaning the Sealing Bar: Gently wipe the sealing bar and surrounding gaskets with a soft, damp cloth. Ensure no food particles or moisture remain.
- Replacing Gaskets and Heat Tape: If the vacuum or seal quality degrades, inspect the gaskets and heat tape. Replace them with the spare parts provided in the maintenance kit as needed.

6. Troubleshooting
If you encounter issues with your vacuum sealer, refer to the following common problems and solutions:
| Problem | Possible Cause | Solution |
|---|---|---|
| Machine does not turn on | No power, loose connection | Ensure power cord is securely plugged into the machine and outlet. Check the power outlet. |
| Bag does not vacuum properly | Lid not closed correctly, bag not positioned, dirty gaskets, bag leakage | Ensure lid is fully closed and electromagnetic lock is engaged. Reposition bag. Clean or replace gaskets. Check bag for holes. |
| Bag does not seal | Sealing bar dirty, heat tape worn, bag too wet | Clean sealing bar. Replace heat tape. Ensure bag opening is dry. |
| Weak vacuum | Gaskets dirty or damaged, liquid cup full | Clean or replace gaskets. Empty and clean the liquid collection cup. |

7. Specifications
| Feature | Detail |
|---|---|
| Brand | V Vesta Precision |
| Model Number | PRO |
| Material | Stainless Steel |
| Color | Black |
| Item Weight | 16 Pounds |
| Power Source | AC |
| Operation Mode | Automatic |
| Wattage | 460 watts |
| Voltage | 120 Volts |
| Vacuum Pressure | 95kPa (28"hg) |
| Sealing Bar Length | 12.2 inches (31 cm) |

8. Warranty and Support
Your Vesta Precision Food Saver Vacuum Sealer Machine is backed by a comprehensive 2-year warranty. This warranty covers defects in materials and workmanship under normal use.
For technical support, warranty claims, or general inquiries, please contact Vesta Precision customer service. Refer to the contact information provided on the product packaging or the official Vesta Precision website.
Our dedicated local support team is available to provide timely and professional assistance to ensure your complete satisfaction.


