
1. Introduction
Thank you for choosing the Vlokda A50W 4K Dash Cam. This device is designed to provide high-quality video recording of your journeys, offering enhanced safety and security for your vehicle. This manual will guide you through the installation, operation, and maintenance of your dash cam to ensure optimal performance.
2. Product Overview
The Vlokda A50W is a feature-rich 4K dash camera equipped with Wi-Fi connectivity, app control, Super Night Vision, Loop Recording, 24-hour Parking Mode, and a G-Sensor. It features a 170-degree wide-angle lens to capture a broad view of the road.

Image: The Vlokda A50W Dash Cam displaying its screen, with a smartphone showing the companion app interface, illustrating built-in Wi-Fi and app control capabilities.

Image: A comparison showing the superior detail of 4K video recording compared to 1080P, highlighting the clarity for elements like license plates.
3. Package Contents
Please check the package for the following items:
- Vlokda A50W 4K Dash Cam
- Car Charger
- USB-C Cable
- Suction Mount
- Adhesive Mount
- User Manual
- Micro SD Card Reader
- Wiring Pry Tool
- Cleaning Cloth

Image: An illustration of the Vlokda A50W Dash Cam and its included accessories, such as the car charger, mounts, and cables.
4. Setup
4.1. Inserting the Micro SD Card
Before using the dash cam, insert a Class 10 or higher Micro SD card (up to 256GB, not included) into the designated slot. Ensure the card is inserted correctly until it clicks into place.
4.2. Mounting the Dash Cam
Choose between the suction mount for easy removal or the adhesive mount for a more permanent fixture. Clean the windshield area thoroughly before attaching the mount. Securely attach the dash cam to the chosen mount.
4.3. Power Connection
Connect the provided car charger to the dash cam's USB-C port and plug the other end into your vehicle's 12V power outlet. The dash cam will automatically power on and begin recording when the vehicle starts.
4.4. App Installation and Wi-Fi Connection
Download the Vlokda companion app from your smartphone's app store (Android/iOS). Turn on the dash cam's Wi-Fi (refer to the dash cam's menu for Wi-Fi settings). Connect your smartphone to the dash cam's Wi-Fi network. The app allows for live viewing, settings adjustment, and video file download.

Image: A visual guide demonstrating the four steps to connect the dash cam to its smartphone application, including adding a camera, connecting to Wi-Fi, formatting the SD card, and starting recording.
4.5. Formatting the Micro SD Card
It is recommended to format the Micro SD card within the dash cam before first use and periodically thereafter to ensure stable recording and prevent data corruption. This can typically be done through the dash cam's menu or the companion app.
5. Operating Instructions
5.1. Basic Recording
Once powered on, the dash cam will automatically start recording. A red indicator light or on-screen icon typically confirms recording is active. To stop recording, press the 'OK' button. Press it again to resume.
5.2. Loop Recording
The dash cam records video in continuous loops (e.g., 1, 3, or 5-minute segments). When the Micro SD card is full, the oldest unlocked files will be overwritten automatically. This ensures continuous recording without manual management.
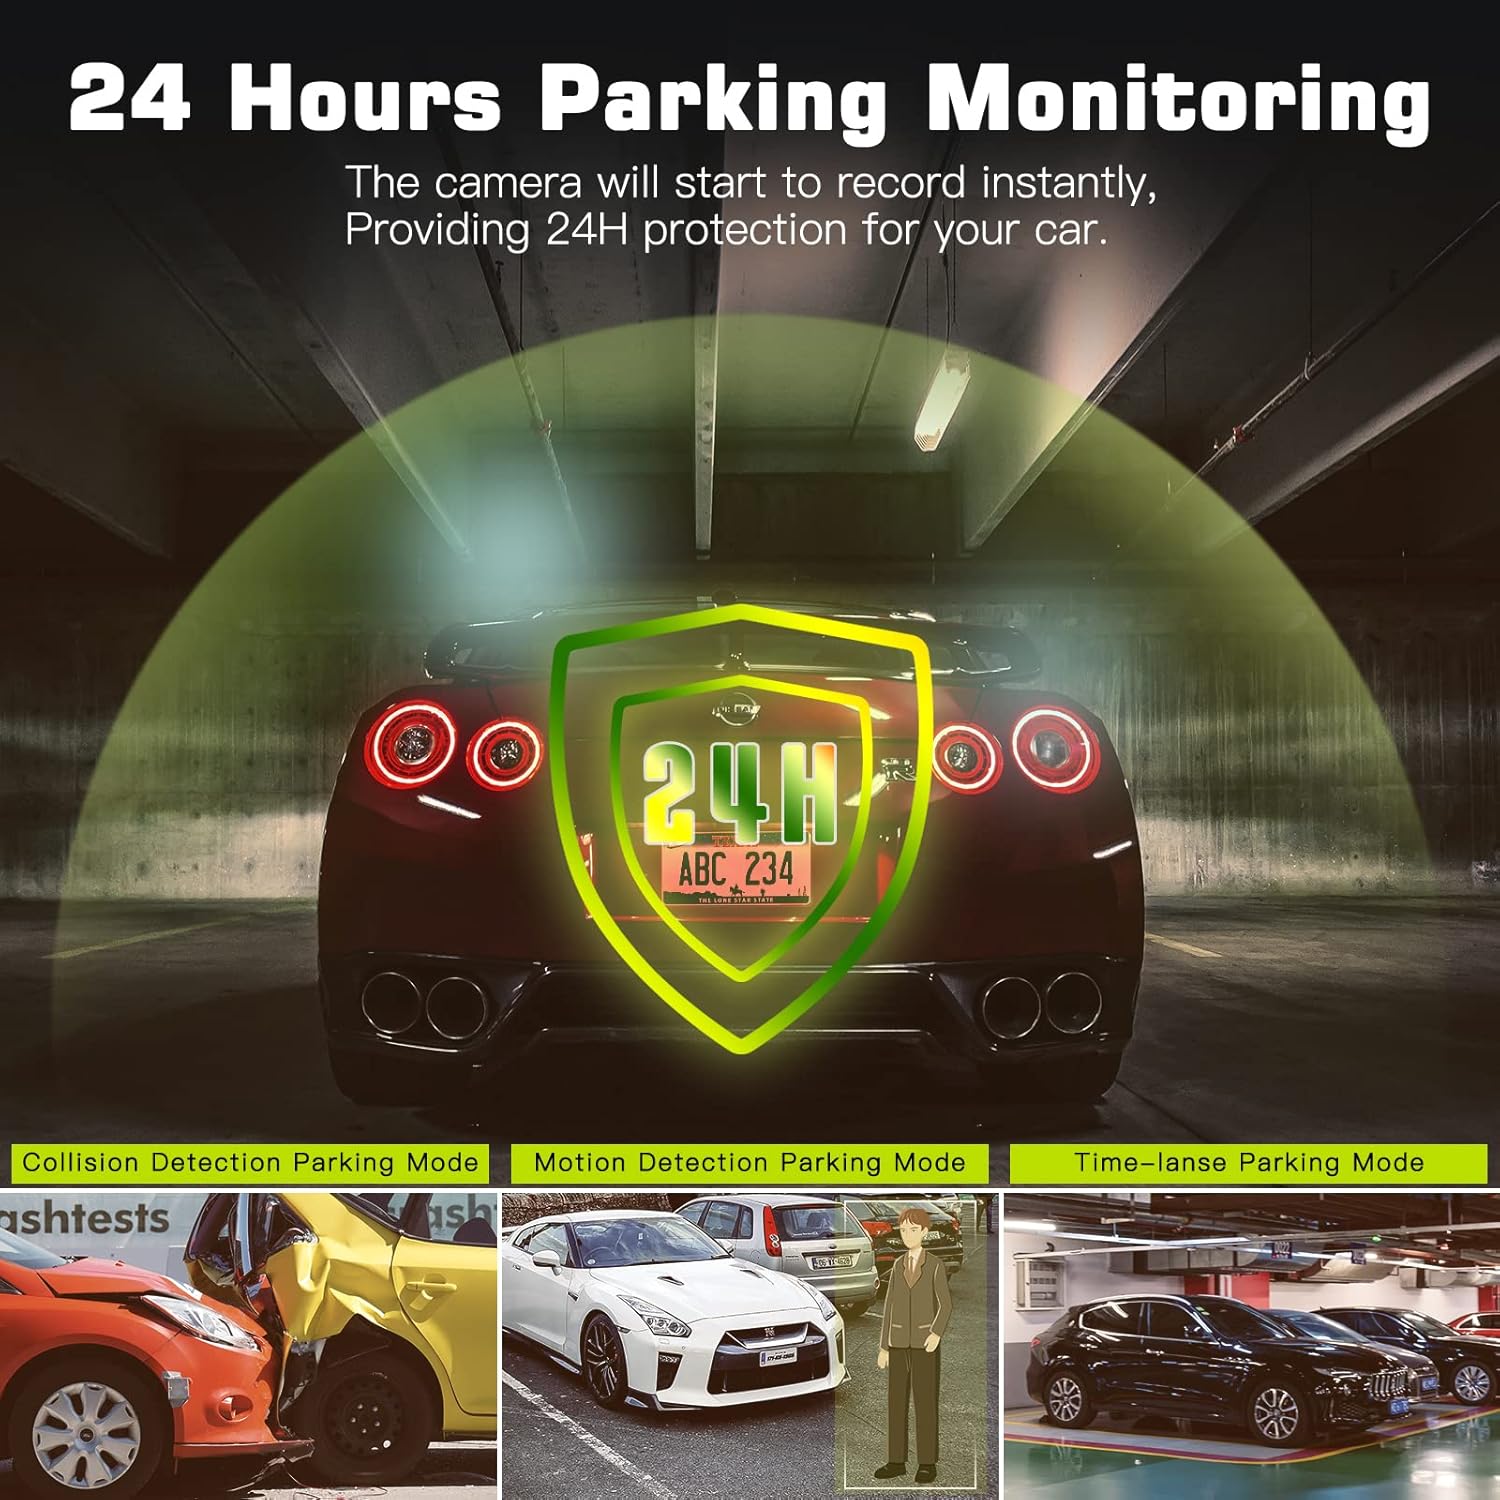
Image: A visual representation of the dash cam's loop recording feature, showing how it continuously records and overwrites older footage to ensure no moment is missed.
5.3. G-Sensor (Emergency Recording)
The built-in G-Sensor detects sudden impacts or collisions. When triggered, it automatically locks the current video segment, preventing it from being overwritten by loop recording. These emergency files are stored in a separate folder.

Image: An illustration depicting a car collision, with a lock icon indicating the G-Sensor's function to automatically save and protect video footage during an impact.
5.4. 24-Hour Parking Mode
This feature provides continuous surveillance even when your vehicle is parked. It can be activated via collision detection, motion detection, or time-lapse recording. A hardwire kit (sold separately) is typically required for continuous power in parking mode.

Image: A car parked in a garage with a glowing shield icon, symbolizing the 24-hour parking monitoring feature of the dash cam.
5.5. Super Night Vision
The dash cam utilizes advanced dynamic processing technology and an F1.8 large aperture lens to capture clear images in low-light conditions, enhancing visibility during nighttime driving.

Image: The dash cam's screen displaying clear footage of a road at night, demonstrating its Super Night Vision capabilities.
5.6. 170° Wide Angle Lens
The 170-degree wide-angle lens provides an expansive field of view, minimizing blind spots and capturing more of the surrounding environment.

Image: A car driving on a city street, with an overlay illustrating the 170-degree wide-angle coverage of the dash cam's lens.
6. Maintenance
- Cleaning: Use the provided cleaning cloth or a soft, dry cloth to wipe the lens and screen. Avoid abrasive cleaners.
- SD Card Management: Regularly format your Micro SD card (at least once a month) to maintain optimal performance and prevent recording errors. Back up important files before formatting.
- Temperature: Avoid exposing the dash cam to extreme temperatures for prolonged periods. The operating temperature range is -20°C to 70°C (-4°F to 158°F).
7. Troubleshooting
- Dash Cam not turning on: Ensure the power cable is securely connected and the vehicle's 12V outlet is functioning. Check the car charger's fuse.
- Recording stops unexpectedly: Format the Micro SD card. Ensure the card is Class 10 or higher and not full of locked files.
- Wi-Fi connection issues: Ensure Wi-Fi is enabled on the dash cam and your smartphone. Try restarting both devices. Turn off Bluetooth on your phone if it interferes.
- Video quality is poor: Ensure the lens is clean. Check the video resolution settings in the dash cam menu or app.
- Dash Cam feels hot: It is normal for the dash cam to generate some heat during operation, especially in direct sunlight. If it becomes excessively hot or malfunctions, discontinue use and contact support.
- Buttons unresponsive: Try resetting the device using the reset button (if available) or by disconnecting and reconnecting power.
8. Specifications
| Brand | Vlokda |
| Model Name | RM |
| Vehicle Service Type | Car, Truck |
| Connectivity Technology | Wi-Fi |
| Mounting Type | Adhesive Mount, Suction Mount |
| Field Of View | 170 Degrees |
| Item Weight | 0.36 Kilograms |
| Screen Size | 3 Inches |
| Optical Sensor Technology | CMOS |
| Flash Memory Type | SD (Max Support 256GB) |
| Maximum Aperture | 1.8 f |
| Display Type | LCD |
| Frame Rate | 30fps |
9. Warranty and Support
For warranty information and technical support, please refer to the documentation included with your product or contact Vlokda customer service directly. Details can often be found on the manufacturer's official website or through your point of purchase.