
1. Introduction
This manual provides essential information for the proper use and installation of ReplacementScrews Eccentric Cam Lock Nuts, designed as a compatible replacement for IKEA Part #106720. These components are crucial for securely joining furniture panels in various IKEA furniture items. Please read these instructions carefully before installation to ensure correct assembly and optimal performance.
2. Compatibility
These eccentric cam lock nuts are fully compatible with IKEA Part #106720. They are commonly found in a wide range of IKEA furniture. To ensure proper fit, always consult your furniture's original assembly manual and compare the specifications.
Known Compatible Furniture Models:
- HEMNES series (e.g., desks with drawers)
- RAST series
- LISTERBY series (e.g., tables)
- HAVSTA series (e.g., nesting table, bookcase, shelf)
- KOMPLEMENT series (e.g., dividers)
- LIATORP coffee table
- LOMMARP desk
- And many other furniture items utilizing IKEA Part #106720.
3. Usage
Eccentric cam lock nuts are designed to work in conjunction with connector bolts to create strong, concealed joints in furniture. When tightened, the eccentric cam rotates, gripping the shaft of the connector bolt and pulling the furniture panels together. This mechanism is widely used in various furniture types, including bookcases, tables, desks, and dividers, to provide structural integrity.

Figure 1: Top view of four eccentric cam lock nuts, showing the Phillips drive slot.
4. Installation
Follow these steps for proper installation of the eccentric cam lock nuts:
- Prepare the Panels: Ensure that the furniture panels have pre-drilled holes for both the cam lock nut and the connector bolt. The connector bolt should be securely fastened into one panel, with its shaft extending into the cam lock nut's receiving hole in the adjacent panel.
- Insert the Cam Lock Nut: Carefully insert the eccentric cam lock nut into its designated pre-drilled hole in the furniture panel. Ensure the opening (locking channel) of the cam lock nut is aligned with the shaft of the connector bolt.
- Align and Tighten: Using a Phillips head screwdriver, gently turn the cam lock nut clockwise. As you turn, the eccentric mechanism inside the nut will engage with the connector bolt's shaft, pulling the two furniture panels together.
- Secure the Connection: Continue tightening until the panels are firmly joined and there is no gap. Do not overtighten, as this can strip the cam lock nut or damage the furniture panel. The connection should feel secure and stable.

Figure 2: Angled view of four eccentric cam lock nuts, highlighting their design.

Figure 3: Side view of four eccentric cam lock nuts, showing the locking mechanism.
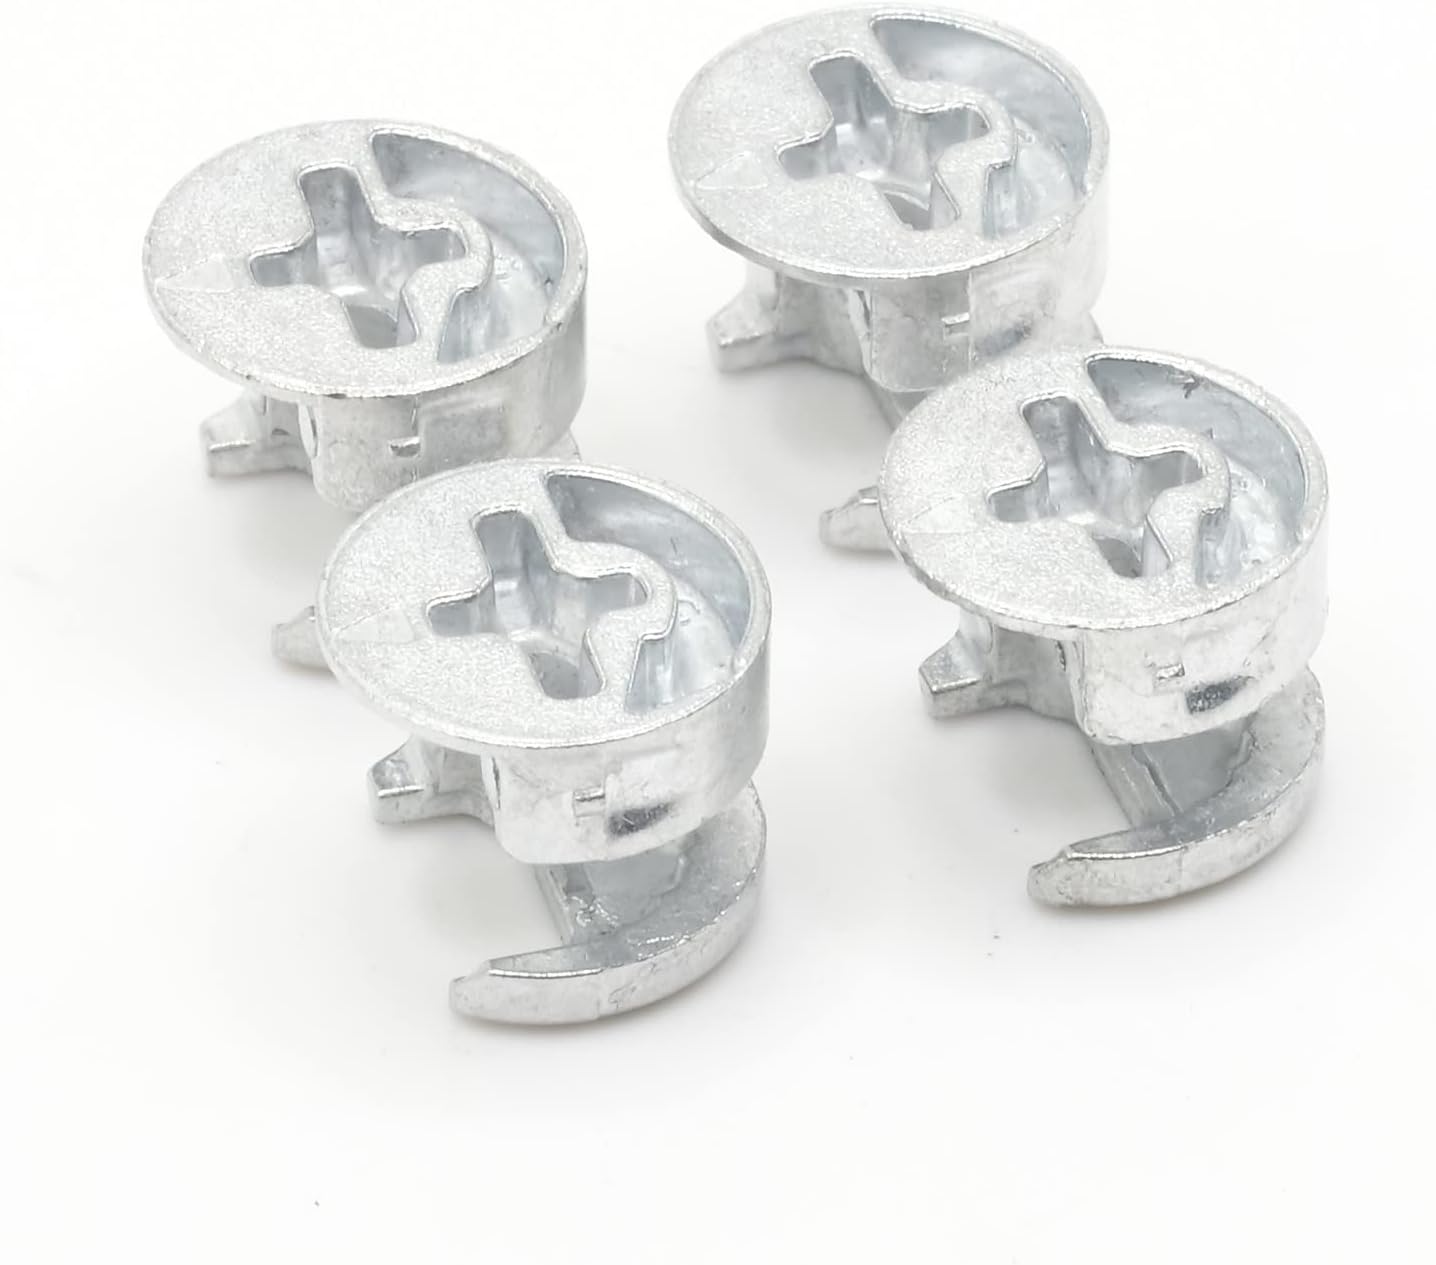
Figure 4: Another angled view of the cam lock nuts, illustrating their compact form.
Important: Always ensure the cam lock nut is fully seated in its hole before tightening. If the panels do not join smoothly, re-check the alignment of the connector bolt and the cam lock nut.
5. Specifications
The following specifications apply to the ReplacementScrews Eccentric Cam Lock Nuts (Model: RSAZN4214351):
| Feature | Detail |
|---|---|
| Material | Zinc Alloy |
| Fastener Type | Lock Nut (Eccentric Cam) |
| Exterior Finish | Polished Zinc Alloy |
| Color | Silver |
| Item Weight (per piece) | Approximately 0.005 oz (0.317 ounces for 4 pieces) |
| Package Dimensions | 2.95 x 2.24 x 0.39 inches (for pack of 4) |
| Model Number | RSAZN4214351 |
| IKEA Part Compatibility | #106720 |

Figure 5: Top-down view of four eccentric cam lock nuts, showing the Phillips head slot.
6. Troubleshooting
If you encounter issues during installation or with the stability of your furniture, consider the following:
- Panels not joining tightly:
- Ensure the connector bolt is fully inserted into its panel.
- Verify the cam lock nut's locking channel is perfectly aligned with the connector bolt's shaft before tightening.
- Confirm the cam lock nut is fully seated in its pre-drilled hole.
- Check if the cam lock nut is the correct size for the furniture's pre-drilled hole and the connector bolt.
- Cam lock nut spins freely or feels stripped:
- This may indicate overtightening or a damaged cam lock nut. Replace the cam lock nut if it appears damaged.
- Ensure you are using the correct size Phillips head screwdriver to prevent stripping the drive slot.
- Wobbly furniture:
- Re-check all cam lock nut connections to ensure they are tightened securely.
- Inspect other fasteners in the furniture assembly for looseness or damage.
7. Warranty and Support
For specific warranty information regarding ReplacementScrews products, please refer to the manufacturer's official website or contact their customer service directly. As these are replacement parts, the warranty may cover manufacturing defects.
For technical support or further assistance, please contact ReplacementScrews customer service through their official channels. When contacting support, please provide the product model number (RSAZN4214351) and a detailed description of your issue.