1. Introduction
Thank you for choosing the Stanley SXPW25E High Pressure Washer. This powerful and versatile tool is designed for effective cleaning of various outdoor surfaces, including patios, driveways, vehicles, and garden equipment. To ensure safe and optimal performance, please read this entire user manual carefully before operating the unit. Keep this manual for future reference.
2. Safety Information
WARNING: When using this product, basic precautions should always be followed, including the following:
- Read all instructions before using the appliance.
- Do not direct the jet at people, animals, electrical equipment, or the appliance itself.
- Wear appropriate personal protective equipment, including safety glasses and hearing protection.
- Ensure the power supply matches the voltage specified on the product label.
- Always disconnect the power plug from the socket when the machine is left unattended.
- Do not operate the machine if the supply cord or important parts of the machine are damaged.
- Keep children and pets away from the operating area.
- Never use the pressure washer with flammable liquids or toxic chemicals.
- Always hold the spray gun firmly with both hands when operating.
- The Total Stop System (TSS) automatically shuts off the pump when the trigger is released, extending pump life.
3. Package Contents
Carefully unpack all items and ensure all components are present and undamaged. If any parts are missing or damaged, contact customer support immediately.

Figure 3.1: Overview of the Stanley SXPW25E High Pressure Washer with its included accessories, including the spray gun, lance, high-pressure hose, and detergent bottle.
- Stanley SXPW25E High Pressure Washer Unit
- High-Pressure Spray Gun
- Adjustable Spray Lance
- Rotating Nozzle Lance
- High-Pressure Hose (approx. 8 meters)
- Detergent Bottle / Foam Kit
- Water Inlet Filter
- Nozzle Cleaning Pin
- User Manual
4. Setup
Follow these steps to assemble and prepare your pressure washer for first use.
4.1 Assembly
- Attach the Handle: Secure the top handle to the main unit using the provided screws.
- Install Wheels: If not pre-assembled, attach the wheels to the base of the unit.
- Connect High-Pressure Hose: Screw one end of the high-pressure hose securely to the outlet on the pressure washer unit and the other end to the spray gun. Ensure connections are tight to prevent leaks.
- Attach Lance to Spray Gun: Insert the desired spray lance (adjustable or rotating nozzle) into the end of the spray gun until it clicks into place.
- Mount Accessories: Utilize the integrated storage points on the unit to neatly store the spray gun, lances, and power cord when not in use.
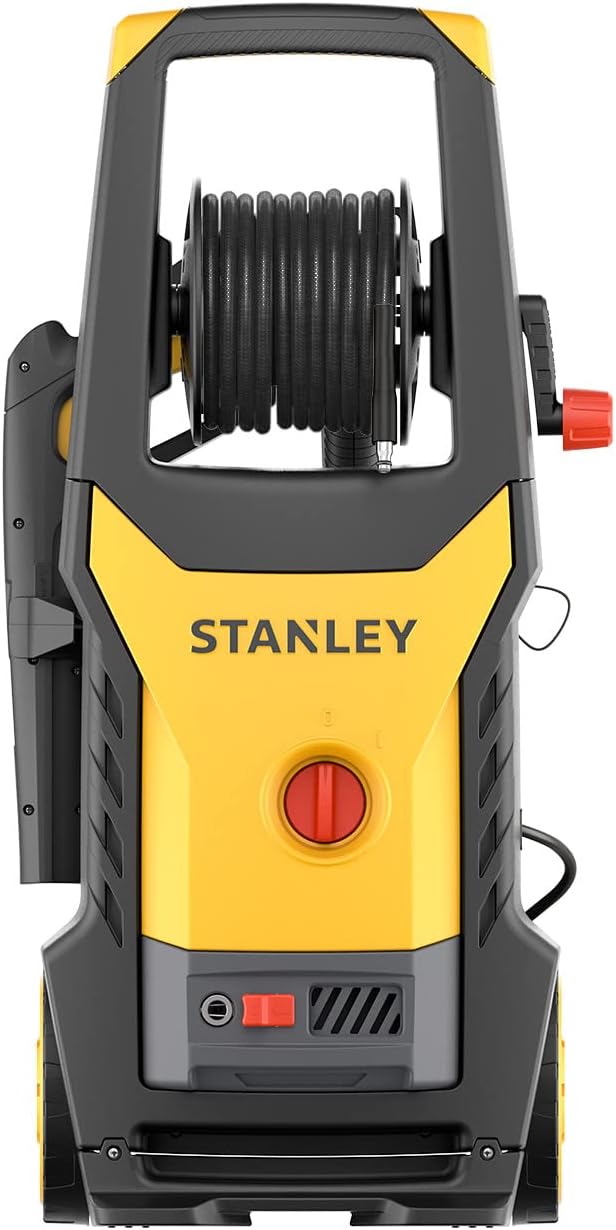

Figure 4.1: Front and side views of the pressure washer, illustrating the main unit and accessory storage points.
4.2 Water Connection
Connect the pressure washer to a suitable water source. The unit can draw water from a tap or a static water source (e.g., a bucket).
- From a Tap: Connect a standard garden hose (not supplied) to the water inlet on the pressure washer unit. Ensure the water inlet filter is clean and properly installed. Connect the other end of the garden hose to a water tap and turn on the water supply fully.
- From a Static Water Source (Self-Priming): For drawing water from a bucket or tank, ensure the water source is elevated above the pressure washer if possible. Connect a suitable suction hose (not supplied) to the water inlet. Ensure the hose is fully submerged in the water source.

Figure 4.2: Diagram illustrating how to connect the pressure washer to a static water source, such as a bucket, for self-priming operation.
4.3 Electrical Connection
Plug the power cord into a grounded electrical outlet. Ensure the outlet is suitable for the power requirements of the unit (2500 W).
4.4 Priming the Pump
Before starting the motor, it is crucial to prime the pump to remove any air. This prevents damage to the pump.
- Ensure the water supply is fully open.
- Squeeze the trigger on the spray gun and hold it open until a steady stream of water flows from the nozzle, free of air bubbles. This may take 30-60 seconds.
- Once water flows steadily, release the trigger. The unit is now primed and ready for operation.
5. Operating Instructions
Learn how to effectively use your Stanley SXPW25E High Pressure Washer.
5.1 Starting the Unit
- Ensure the unit is properly connected to water and power, and the pump is primed.
- Turn the ON/OFF switch to the "ON" (I) position. The motor will start.
- Squeeze the trigger on the spray gun to begin spraying. The Total Stop System (TSS) will stop the motor when the trigger is released and restart it when squeezed again.


Figure 5.1: Examples of the pressure washer in use, demonstrating effective cleaning on various surfaces.
5.2 Using Different Nozzles
- Adjustable Spray Lance: This lance allows you to vary the spray pattern from a concentrated pencil jet to a wide fan spray by twisting the nozzle. Use the pencil jet for stubborn dirt on hard surfaces and the fan spray for general cleaning or delicate surfaces.
- Rotating Nozzle Lance: This nozzle creates a powerful, pulsating jet that is highly effective for removing tough, caked-on dirt and grime from durable surfaces like concrete or stone.
Important: Always test the spray pattern and pressure on an inconspicuous area before cleaning the main surface to avoid damage.
5.3 Applying Detergent (Foam Kit)
The included detergent bottle (foam kit) allows for easy application of cleaning solutions.
- Fill the detergent bottle with a pressure washer safe cleaning solution.
- Attach the detergent bottle to the spray gun.
- Ensure the adjustable lance is set to a low-pressure or wide-fan setting for detergent application. High pressure will not draw detergent.
- Spray the detergent onto the surface. Allow it to soak for a few minutes (refer to detergent instructions), but do not let it dry.
- Remove the detergent bottle and rinse the surface with clean water using a high-pressure setting.
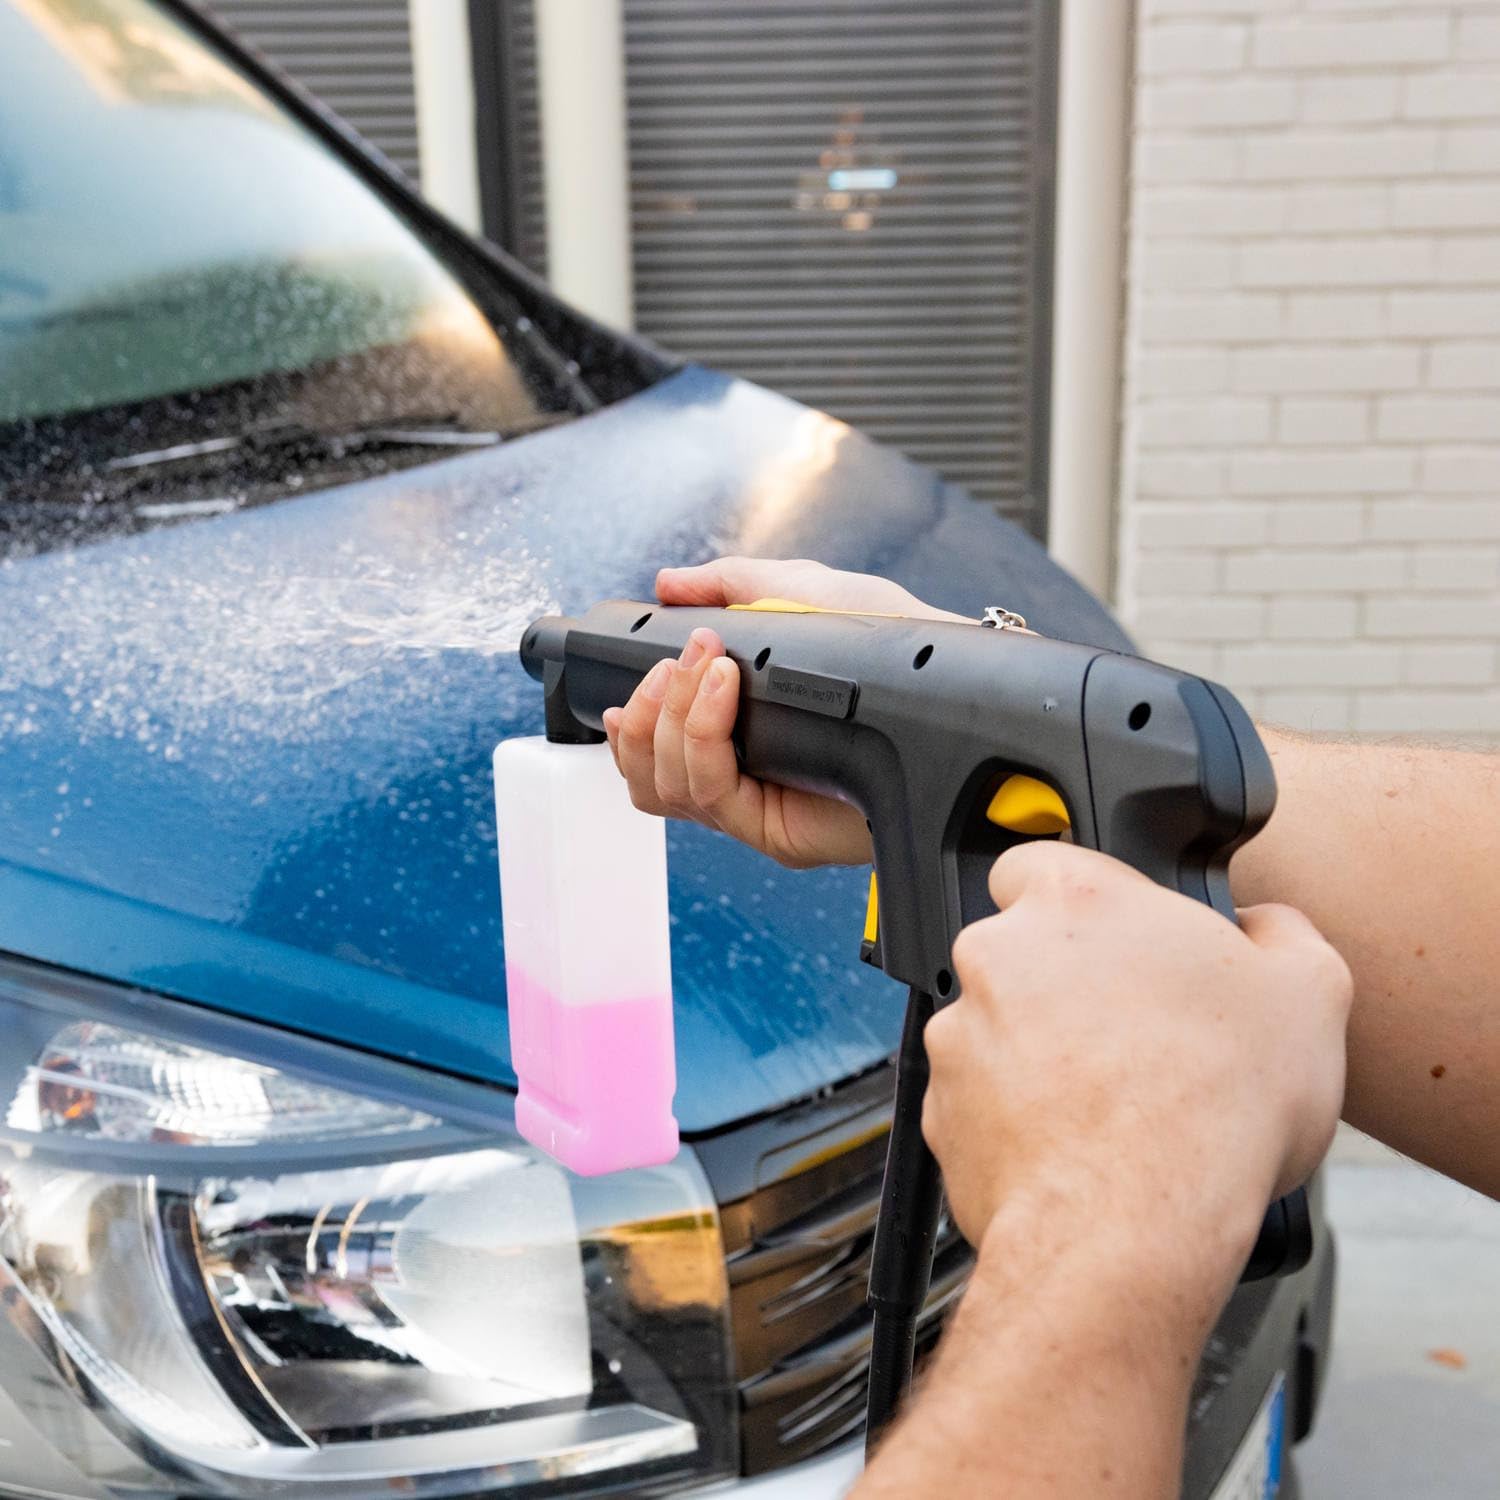
Figure 5.2: Demonstrating the use of the detergent bottle to apply cleaning solution, creating a rich foam for effective cleaning.
5.4 Stopping the Unit
- Turn the ON/OFF switch to the "OFF" (O) position.
- Turn off the water supply.
- Squeeze the trigger on the spray gun to release any remaining pressure in the system.
- Disconnect the power cord from the outlet.
- Disconnect the garden hose from the unit.
6. Maintenance
Regular maintenance ensures the longevity and optimal performance of your pressure washer.
- Clean Water Inlet Filter: Regularly check and clean the water inlet filter to prevent debris from entering the pump. Rinse it under running water.
- Clean Nozzles: If a nozzle becomes clogged, use the provided cleaning pin to clear any obstructions.
- Hose and Cord Inspection: Periodically inspect the high-pressure hose, power cord, and electrical plug for any signs of damage, cuts, or wear. Replace damaged parts immediately.
- Storage: Store the pressure washer in a dry, frost-free environment. For prolonged storage or during winter, perform winterization steps to protect the pump from freezing.
- Winterization:
- Disconnect all water connections.
- Turn on the machine for a few seconds to drain any remaining water from the pump. Do not run dry for more than 5 seconds.
- Store the unit in a heated area to prevent freezing. Alternatively, use a pump protector solution (available separately) by following the product's instructions.
7. Troubleshooting
Refer to this section for common issues and their solutions.
| Problem | Possible Cause | Solution |
|---|---|---|
| Motor does not start. | No power supply; tripped circuit breaker; ON/OFF switch in "OFF" position. | Check power connection; reset circuit breaker; turn switch to "ON" (I). |
| No water coming out or low pressure. | Water supply off; clogged water inlet filter; air in pump; clogged nozzle. | Turn on water supply; clean filter; prime pump (see Section 4.4); clean nozzle with pin. |
| Unit cycles on and off when trigger is not pressed. | Air in pump; minor leak in system. | Prime pump; check all connections for leaks and tighten. |
| Detergent not dispensing. | Nozzle not set to low pressure/detergent mode; detergent bottle empty. | Adjust nozzle setting; refill detergent bottle. |
8. Specifications
Technical data for the Stanley SXPW25E High Pressure Washer.
| Feature | Value |
|---|---|
| Model Number | SXPW25E |
| Power Consumption | 2500 W |
| Maximum Pressure | 170 bar |
| Maximum Flow Rate | 500 l/h |
| Product Dimensions (L x W x H) | 12.99 x 12.09 x 31.1 inches |
| Item Weight | 23.1 pounds (10.5 kg) |
| Hose Length | 8 meters (approx.) |
9. Warranty and Support
This Stanley product is manufactured to high-quality standards and is guaranteed for a period against manufacturing defects. For detailed warranty information, please refer to the warranty card included with your product or visit the official Stanley website. For technical assistance, spare parts, or service, please contact Stanley customer support.
Official Stanley Website: www.stanleytools.com


