1. Introduction
Thank you for choosing the Aigostar SSW-Eco Solar LED Outdoor Light. This manual provides essential information for the safe and efficient installation, operation, and maintenance of your new solar light. Please read these instructions carefully before use and retain them for future reference.

Image: Aigostar SSW-Eco Solar LED Outdoor Light, showcasing its design and components.
2. Safety Information
- Ensure the solar panel is installed in a location that receives direct sunlight for optimal charging.
- Do not attempt to disassemble or modify the product. This may void the warranty and pose safety risks.
- Keep the product away from open flames or extreme heat sources.
- Clean the solar panel regularly to ensure maximum charging efficiency. Use a soft, damp cloth.
- This product is designed for outdoor use and is IP65 waterproof. However, avoid submerging it in water.
3. Package Contents
Please check the package for the following items:
- 1 x Aigostar SSW-Eco Solar LED Outdoor Light Fixture
- 1 x Solar Panel with 3M Cable
- 1 x Remote Control
- 1 x Mounting Kit (screws, anchors)
- 1 x User Manual
- Batteries (pre-installed or included for remote control)
4. Product Features
- High-Efficiency Solar Panel: Up to 25% conversion efficiency, ensuring rapid charging.
- Long-Lasting Illumination: Equipped with a 5000 mAh lithium-ion battery, providing up to 12 hours of light after 4-6 hours of direct sunlight charging.
- Adjustable Color Temperature: Choose between 3000K (warm white), 4000K (neutral white), and 6500K (cool white) to suit your preference.
- Dimmable Brightness: Adjust light intensity to 25%, 50%, or 100% via remote control.
- IP65 Waterproof: Constructed with durable materials, making it resistant to rain, snow, and extreme temperatures (-30°C to 85°C).
- Versatile Mounting: Can be installed as a wall light or ceiling light.
- Remote Control Operation: Conveniently manage power, color temperature, brightness, and timer functions from up to 6 meters away.
- Automatic Night Light: Automatically turns on at dusk and off at dawn.
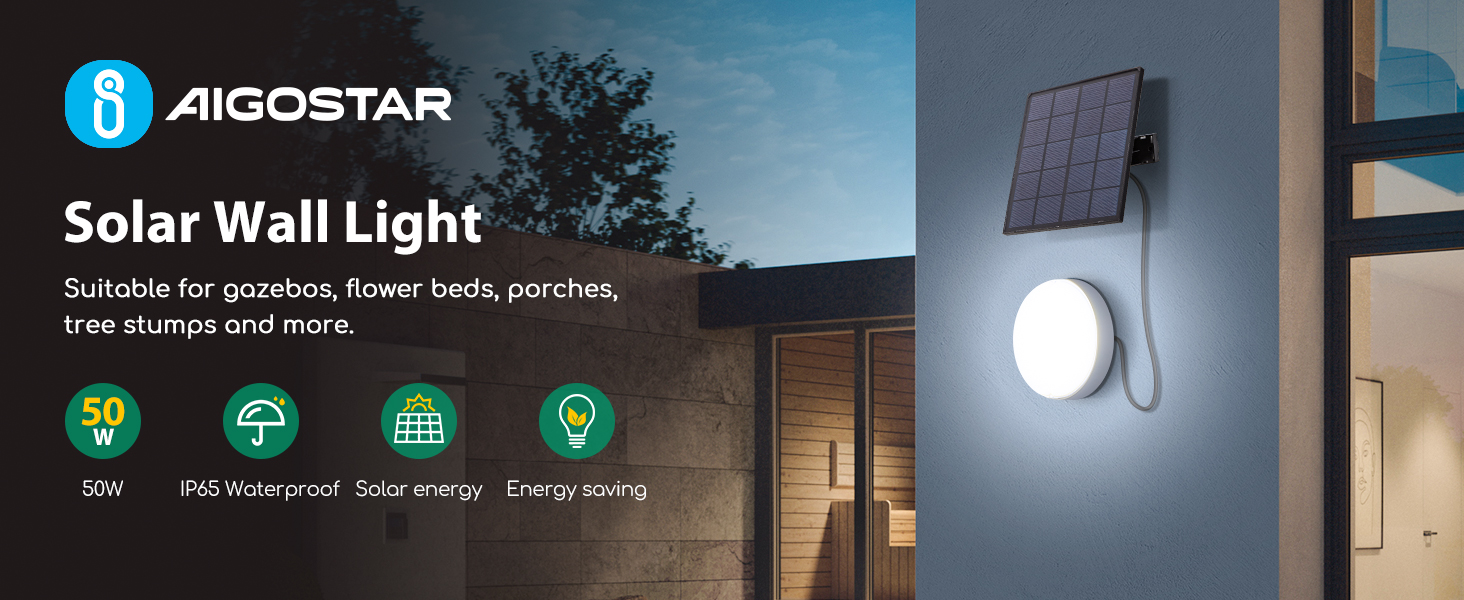
Image: Key features of the Aigostar Solar LED Outdoor Light, highlighting its power, waterproofing, and solar capabilities.

Image: The light and solar panel demonstrating IP65 waterproof rating and ability to withstand various weather conditions including rain, sun, and snow.
5. Specifications
| Feature | Specification |
|---|---|
| Brand | Aigostar |
| Model Number | SSW-Eco |
| Power | 50W |
| Luminous Flux | 500 LM |
| Color Temperature | 3000K, 4000K, 6500K (Adjustable) |
| Brightness Adjustment | 25%, 50%, 100% |
| Water Resistance Level | IP65 |
| Material | Metal |
| Light Fixture Dimensions | 17.5L x 17.5W x 6.3H cm (approx. 170mm diameter, 55mm thickness) |
| Solar Panel Dimensions | 17.5L x 17.5W cm (approx. 178mm x 178mm) |
| Solar Panel Cable Length | 3 meters (2.8m + 0.2m) |
| Control Method | Remote Control (Infrared) |
| Battery Capacity | 5000 mAh |
| Charging Time | 4-6 hours (direct sunlight) |
| Illumination Time | Up to 12 hours |
| Operating Temperature | -30°C to 85°C |

Image: Detailed view of the light fixture and solar panel with key dimensions, charging time, and illumination duration.
6. Setup & Installation
Follow these steps to install your Aigostar Solar LED Outdoor Light:
- Choose a Location: Select an outdoor location for the solar panel that receives at least 4-6 hours of direct sunlight daily. The light fixture can be mounted on a wall or ceiling.
- Mount the Solar Panel: Use the provided mounting kit to securely attach the solar panel bracket to your chosen surface. Adjust the angle of the solar panel to maximize sun exposure.
- Mount the Light Fixture: Attach the light fixture to your desired wall or ceiling location using the appropriate screws and anchors.
- Connect the Cables: Connect the cable from the solar panel to the light fixture. Ensure the connection is secure and waterproof.
- Initial Charge: Before first use, ensure the solar panel charges for more than 48 hours in direct sunlight to fully activate the battery.
Video: A visual guide demonstrating the installation process of the Aigostar Solar LED Outdoor Light, including mounting the solar panel and light fixture, and connecting the cables.

Image: Illustration of the connection between the solar panel and the light, highlighting the initial 48-hour charging requirement for optimal battery performance.
7. Operation
The Aigostar Solar LED Outdoor Light is operated using the included remote control. Ensure the remote control has working batteries and is pointed towards the light fixture within a 6-meter range.
Remote Control Functions:
- ON/OFF: Turn the light on or off manually.
- Smart Mode: Activates the automatic night light function, turning the light on at dusk and off at dawn.
- Color Temperature Adjustment: Buttons for 3000K, 4000K, and 6500K to change the light color.
- Brightness Adjustment: Buttons for 25%, 50%, and 100% to set the light intensity.
- Timer Functions: Set the light to turn off after 3 hours, 5 hours, or 8 hours. A 'Time off' button cancels the timer.

Image: Diagram illustrating the remote control and its various functions for power, color temperature, brightness, and timer settings.
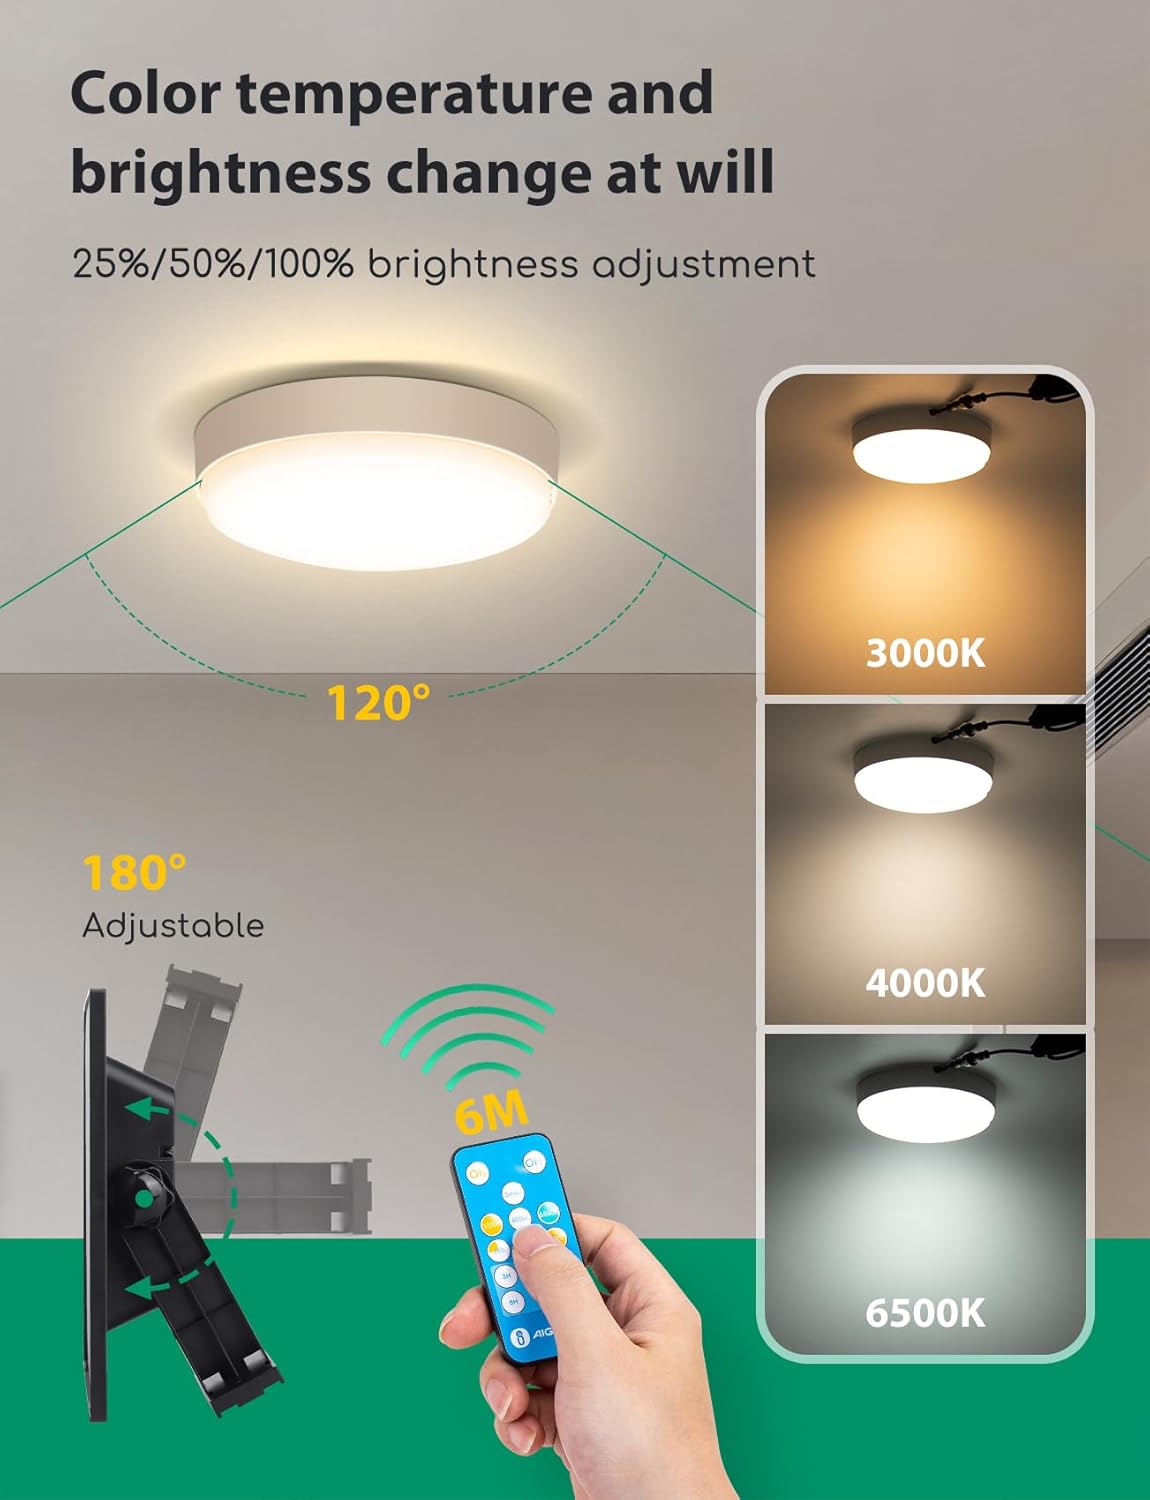
Image: Visual representation of the adjustable color temperatures (3000K, 4000K, 6500K) and brightness levels (25%, 50%, 100%) of the light.
8. Maintenance
To ensure the longevity and optimal performance of your solar light, follow these maintenance guidelines:
- Clean Solar Panel: Regularly wipe the solar panel with a soft, damp cloth to remove dust, dirt, leaves, or snow. A clean panel ensures maximum sunlight absorption and charging efficiency.
- Clean Light Fixture: Periodically clean the light fixture with a soft, dry or slightly damp cloth. Avoid abrasive cleaners or solvents.
- Inspect Connections: Occasionally check the cable connections between the solar panel and the light fixture to ensure they remain secure and free from damage.
- Battery Care: The integrated lithium-ion battery is designed for long life. If the light's performance significantly degrades over time, it may indicate the battery is reaching the end of its lifespan. Battery replacement should only be performed by qualified personnel.
9. Troubleshooting
If you encounter issues with your Aigostar Solar LED Outdoor Light, refer to the following common problems and solutions:
| Problem | Possible Cause | Solution |
|---|---|---|
| Light does not turn on at night. | Insufficient solar panel charge. | Ensure the solar panel is in direct sunlight for 4-6 hours daily. Clean the solar panel surface. |
| Light is dim or only stays on for a short period. | Battery not fully charged or aging battery. | Allow for a full charge cycle (48 hours for first use). Ensure solar panel is clean and optimally positioned. |
| Remote control not working. | Remote batteries are dead or remote is out of range. | Replace remote control batteries. Ensure remote is pointed directly at the light fixture within 6 meters. |
| Light flickers. | Loose connection or low battery. | Check all cable connections. Ensure the solar panel is charging sufficiently. |
10. Warranty & Support
This Aigostar product comes with a limited warranty. Please refer to the warranty card included in your package or contact Aigostar customer support for specific details regarding warranty coverage and duration.
For technical assistance, troubleshooting, or any other inquiries, please visit the official Aigostar website or contact their customer service department. Contact information can typically be found on the product packaging or the brand's official website.