
Introduction
Thank you for purchasing the BRUNO Cloud Clock Digital LED Clock. This manual provides essential information for the safe and efficient use of your new clock. Please read these instructions thoroughly before use and retain them for future reference.
Safety Information
- Do not expose the device to extreme temperatures, direct sunlight, or high humidity.
- Avoid dropping the device or subjecting it to strong impacts.
- Keep the device away from water and other liquids.
- Do not attempt to disassemble or repair the device yourself. Contact qualified service personnel for assistance.
- Dispose of batteries according to local regulations. Do not mix old and new batteries, or different types of batteries.
Package Contents
Please check that all items are present in the package:
- BRUNO Cloud Clock Digital LED Clock (Main Unit)
- Dedicated USB Cable (approx. 1m)
- CR2032 Coin Battery (for backup, pre-installed in main unit)

Image: The BRUNO Cloud Clock comes in a compact cardboard box, indicating 'CLOUD CLOCK' and 'BRUNO' branding.
Product Overview
The BRUNO Cloud Clock is a digital LED clock designed for indoor use, featuring a modern cloud shape. It displays time, date, and temperature, and includes an electronic alarm function. It can operate in a power-saving mode or an always-on display mode.
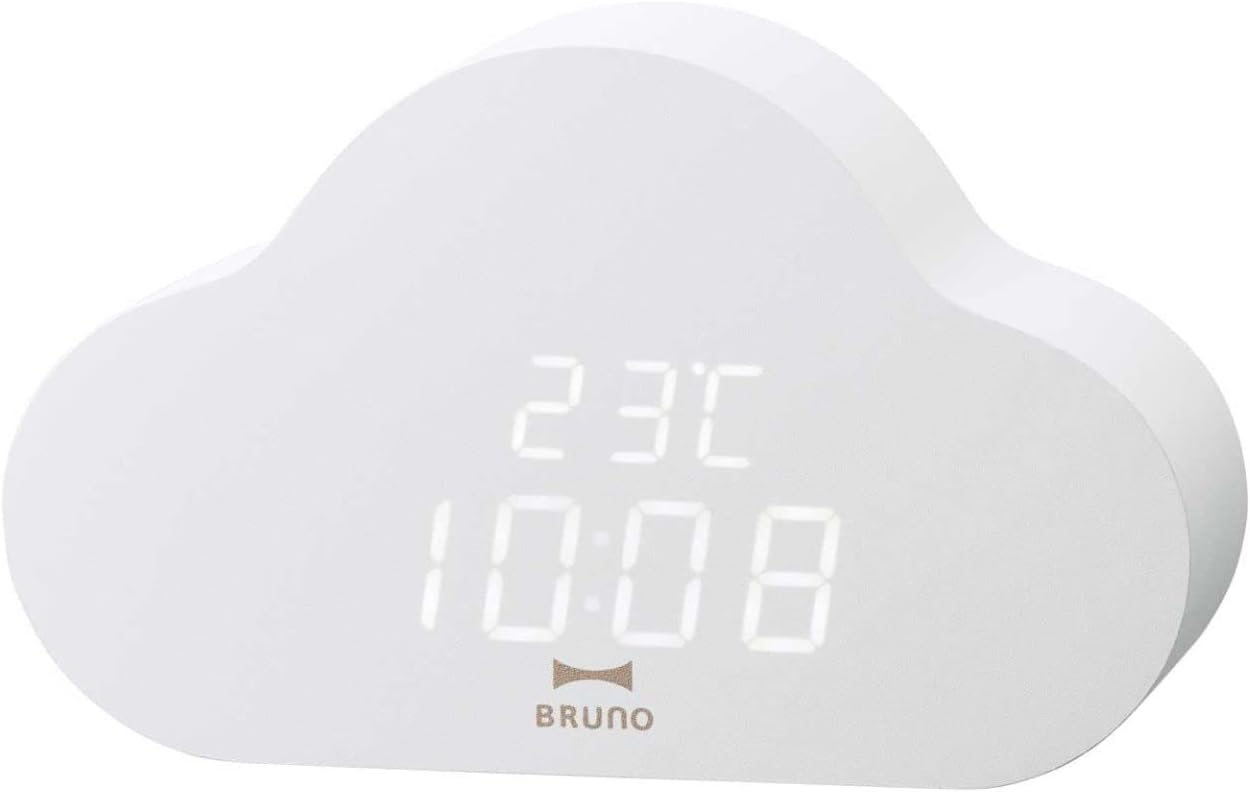
Image: The front of the BRUNO Cloud Clock, showing the digital LED display with time and temperature.

Image: The BRUNO Cloud Clock positioned on a wooden desk, showcasing its aesthetic in a home environment.
Setup
Powering the Clock
The BRUNO Cloud Clock can be powered by either 3 AAA dry cell batteries or via a DC 5V USB power supply. A CR2032 coin battery is pre-installed for backup purposes to retain settings during power loss.
- Using AAA Batteries: Open the battery compartment on the back of the clock. Insert 3 AAA batteries, ensuring correct polarity (+/-). Close the compartment securely.
- Using USB Power: Connect the dedicated USB cable to the DC 5V port on the back of the clock. Plug the other end into a USB power adapter (DC5V 1A input recommended, not included) or a compatible USB port.

Image: The rear panel of the Cloud Clock, showing the battery compartment for 3 AAA batteries, the DC 5V USB input, and control buttons.

Image: The dedicated USB cable provided with the BRUNO Cloud Clock, used for external power supply.
Operating Instructions
The clock features three control buttons on the back: SET, UP, and DOWN.
Setting Time and Date
- Press and hold the SET button to enter time setting mode. The hour digits will flash.
- Use the UP and DOWN buttons to adjust the hour.
- Press SET again to move to minute setting. Adjust with UP/DOWN.
- Continue pressing SET to cycle through year, month, and day settings, adjusting each with UP/DOWN.
- After setting the date, press SET to exit setting mode.
12/24 Hour Display
In normal display mode, press the UP button to switch between 12-hour and 24-hour formats.
Setting the Alarm
- In normal display mode, press the DOWN button to view the current alarm time.
- Press and hold the DOWN button to enter alarm setting mode. The alarm hour digits will flash.
- Use the UP and DOWN buttons to adjust the alarm hour.
- Press SET to move to alarm minute setting. Adjust with UP/DOWN.
- Press SET again to activate/deactivate the alarm. An alarm icon will appear on the display when activated.
- Press SET to exit alarm setting mode.
Display Modes
The clock supports two main display modes:
- Power-Saving Mode: The display turns off after a period of inactivity. It can be activated by sound (e.g., clapping) or by pressing any button. This mode conserves battery life.
- Always-On Display Mode: The display remains continuously lit. This mode consumes more power.
Refer to the full instruction manual for detailed steps on switching between these modes.

Image: A detailed view of the Cloud Clock's digital display, clearly showing the time and temperature readings.
Maintenance
Cleaning
To clean the clock, gently wipe the surface with a soft, dry cloth. Do not use abrasive cleaners, solvents, or chemical sprays, as these may damage the finish or electronic components.
Battery Replacement
When the display dims or the clock functions become erratic, it may be time to replace the AAA batteries. Follow the steps in the 'Powering the Clock' section to replace them. The internal CR2032 backup battery typically lasts for several years and does not require frequent replacement.
Troubleshooting
| Problem | Possible Cause | Solution |
|---|---|---|
| Display is dim or off. | Low AAA battery power or power-saving mode is active. | Replace AAA batteries or connect via USB power. Activate the display by sound or button press if in power-saving mode. |
| Time/Date resets frequently when using batteries. | AAA batteries are depleted quickly, especially in always-on display mode. | This clock is designed for optimal performance with continuous USB power. If using batteries, utilize the power-saving mode to extend battery life. Frequent battery replacement may be necessary in always-on mode. |
| Clock does not respond to button presses. | No power or very low battery. | Ensure fresh AAA batteries are installed correctly or connect the clock to a stable USB power source. |
| Incorrect time or date displayed. | Settings need adjustment. | Follow the 'Setting Time and Date' instructions to correct the display. |
Specifications
- Model: BCA030-WH
- Dimensions: W164 × H103 × D43 mm
- Weight: Approximately 290g
- Power Source: 3 x AAA dry cell batteries or DC 5V (USB)
- Backup Power: 1 x CR2032 coin battery (pre-installed)
- USB Input: DC5V 1A
- Functions: Time (12/24h), Date, Temperature Display, Electronic Alarm, Power-Saving Mode, Always-On Display Mode
- Material: Resin (Frame)
- Accessories: Dedicated USB cable (approx. 1m), CR2032 coin battery (pre-installed)
- Estimated Battery Life (AAA batteries):
- Power-Saving Mode: Approx. 9 months (10 lights/day), 5 months (20 lights/day), 3 months (30 lights/day)
- Always-On Display Mode: Approx. 30 hours
Warranty and Support
For warranty information or technical support, please refer to the warranty card included with your product or visit the official BRUNO website. Keep your purchase receipt as proof of purchase for warranty claims.