
CLEANmaxx CLEANmaxx
CLEANmaxx Carpet and Upholstery Cleaner Pro
Instruction Manual
1. Introduction and Product Overview
The CLEANmaxx Carpet and Upholstery Cleaner Pro is designed for thorough cleaning of carpets, rugs, upholstery, and even suitable for most hard floors. This versatile device combines washing, cleaning, and vacuuming functions to provide deep cleaning and quick drying.
Key features include a powerful motor, a dual-tank system for fresh and dirty water, a vibrating floor brush for deep-seated dirt, and an attachable upholstery nozzle for furniture and mattresses. A 500ml bottle of carpet shampoo and a replacement brush are included to get you started.

Image: The CLEANmaxx Carpet and Upholstery Cleaner Pro, showcasing its main unit, flexible hose with upholstery nozzle, a bottle of carpet shampoo, and the vibrating floor brush with a replacement.
2. Safety Instructions
Please read all safety instructions carefully before operating the appliance. Failure to follow these instructions may result in electric shock, fire, or serious injury.
- Always ensure the power supply matches the voltage specified on the appliance.
- Do not immerse the appliance, power cord, or plug in water or other liquids.
- Unplug the appliance from the power outlet when not in use and before cleaning or maintenance.
- Keep the appliance out of reach of children and pets.
- Do not use the appliance if the power cord or plug is damaged.
- Use only cleaning solutions recommended for carpet and upholstery cleaners.
- Do not pick up flammable or combustible liquids, or anything that is burning or smoking.
- Exercise extra care when cleaning on stairs.
3. Components and Assembly
3.1. Package Contents
- CLEANmaxx Carpet and Upholstery Cleaner Pro main unit
- Flexible hose with upholstery nozzle
- Vibrating floor brush (pre-installed)
- Replacement vibrating brush
- 500 ml EASYmaxx Carpet Shampoo
3.2. Assembly
The CLEANmaxx cleaner comes largely pre-assembled. Follow these steps for final setup:
- Carefully remove all packaging materials.
- Ensure the handle is securely attached to the main unit. If not, align and click it into place until you hear a click.
- Familiarize yourself with the fresh water tank (top) and dirty water tank (bottom).
- To use the upholstery nozzle, connect the flexible hose to the designated port on the main unit.
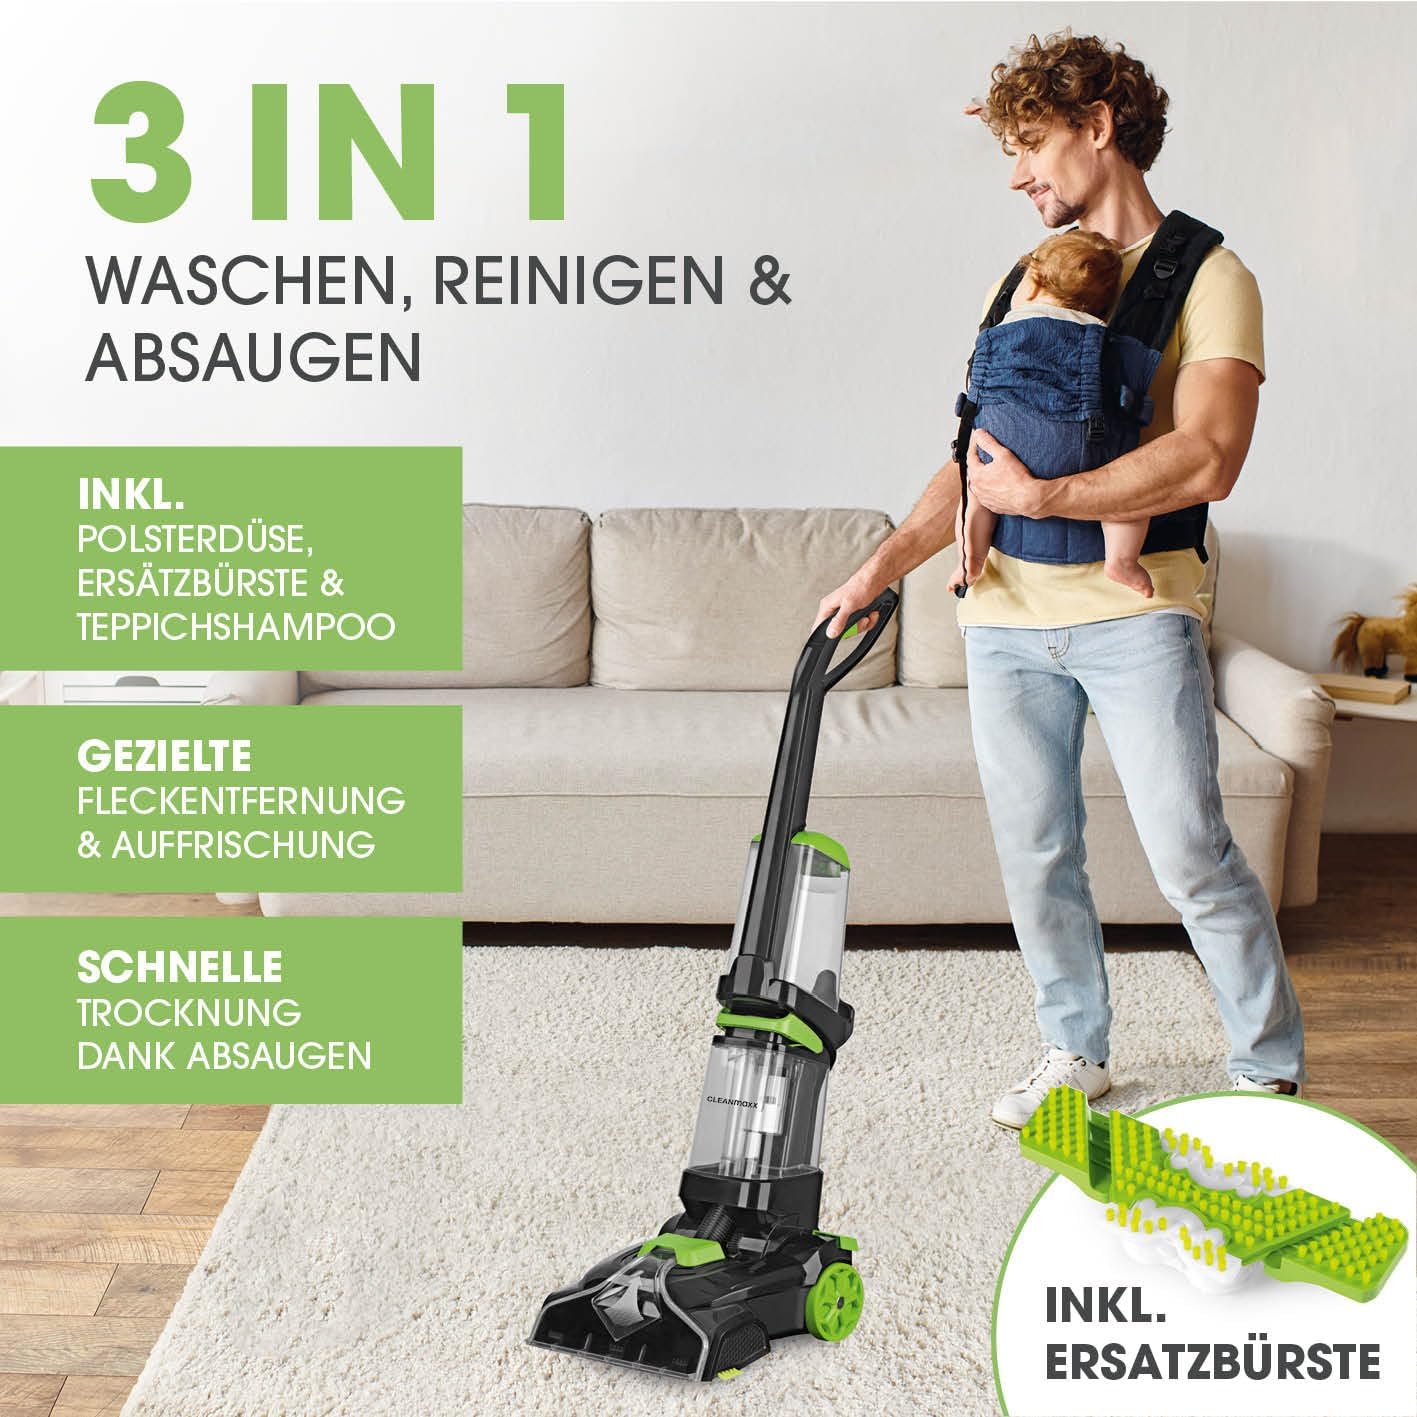
Image: A user demonstrating the operation of the CLEANmaxx cleaner on a carpet, highlighting its integrated washing, cleaning, and vacuuming capabilities.
4. Preparing for Use (Setup)
4.1. Filling the Fresh Water Tank
The fresh water tank is located at the top of the appliance. It has a capacity of 1.5 liters.
- Remove the fresh water tank from the main unit.
- Open the cap and fill the tank with clean, lukewarm water.
- Add the recommended amount of EASYmaxx Carpet Shampoo (or other suitable cleaning solution) according to the shampoo's instructions. Do not overfill.
- Securely close the cap and re-attach the fresh water tank to the main unit, ensuring it clicks into place.
4.2. Emptying the Dirty Water Tank
The dirty water tank is located at the bottom of the appliance and has a capacity of 1.4 liters. It should be emptied after each use or when it reaches its maximum fill line.
- Switch off and unplug the appliance.
- Carefully remove the dirty water tank from the main unit.
- Open the drain cap and pour out the dirty water into a sink or drain.
- Rinse the tank thoroughly with clean water to remove any residue.
- Securely close the drain cap and re-attach the dirty water tank to the main unit.

Image: A close-up of the CLEANmaxx cleaner highlighting its dual-tank system, with labels indicating the 1.5L fresh water tank and 1.4L dirty water tank, along with the 6.5m power cable.
5. Operating Instructions
5.1. Cleaning Carpets and Rugs
For optimal results, vacuum the carpet thoroughly before wet cleaning.
- Ensure the fresh water tank is filled with water and cleaning solution.
- Plug the appliance into a suitable power outlet.
- Turn on the appliance using the power switch.
- Slowly push the cleaner forward over the carpet, allowing the solution to be dispensed and the vibrating brush to agitate the fibers.
- Pull the cleaner backward over the same area to vacuum up the dirty water. This direct suction significantly shortens drying time.
- Repeat passes as necessary until the carpet is clean. For heavily soiled areas, you may need to pre-treat or make multiple passes.

Image: The CLEANmaxx cleaner in action, illustrating its deep fiber cleaning capability on a carpet, with visual cues for 800W power, 2-tank system, vibrating brush, and suitability for carpets & upholstery.
5.2. Cleaning Upholstery and Mattresses
The included upholstery nozzle is ideal for cleaning furniture, cushions, and mattresses.
- Ensure the flexible hose with the upholstery nozzle is securely connected to the main unit.
- Fill the fresh water tank with water and cleaning solution.
- Turn on the appliance.
- Press the trigger on the upholstery nozzle to spray solution onto the fabric.
- Move the nozzle slowly over the area, applying gentle pressure to agitate and extract dirt.
- Release the trigger and make additional passes to vacuum up excess moisture.
- Test on an inconspicuous area first to ensure colorfastness.

Image: The CLEANmaxx cleaner featuring its attachable upholstery nozzle, designed for effective cleaning of cushions, mattresses, and similar fabric surfaces.
5.3. Cleaning Hard Floors
The CLEANmaxx cleaner is also suitable for cleaning most hard floors. Use appropriate cleaning solution for hard surfaces if not using the included carpet shampoo.
- Fill the fresh water tank with water and a suitable hard floor cleaning solution.
- Operate the cleaner as you would for carpets, moving slowly to dispense solution and then vacuum it up.
- Ensure the floor is suitable for wet cleaning before proceeding.

Image: The CLEANmaxx cleaner highlighting its strong stain removal capabilities across various surfaces including carpets, upholstery, and stairs.
6. Maintenance
6.1. After Each Use
To maintain optimal performance and hygiene, perform the following steps after every use:
- Empty and thoroughly rinse both the fresh water and dirty water tanks. Allow them to air dry before reassembling.
- Clean the vibrating floor brush and the upholstery nozzle to remove any trapped debris or hair. You can rinse them under running water.
- Wipe down the exterior of the appliance with a damp cloth.
6.2. Replacing the Vibrating Brush
A replacement vibrating brush is included with your CLEANmaxx cleaner. Replace the brush when it shows signs of wear or reduced effectiveness.
- Ensure the appliance is unplugged.
- Locate the brush compartment on the underside of the cleaner.
- Follow the instructions in your product manual for specific steps on how to release and replace the brush. Typically, this involves unlatching or unscrewing a cover.
- Insert the new brush, ensuring it is correctly aligned, and secure the cover.

Image: The CLEANmaxx cleaner displayed alongside its included replacement vibrating brush, emphasizing the ease of maintenance.
6.3. Storage
Store the CLEANmaxx cleaner in a dry, cool place, away from direct sunlight and extreme temperatures. Ensure all tanks are empty and clean before storage.
7. Troubleshooting
If you encounter issues with your CLEANmaxx cleaner, refer to the table below for common problems and solutions.
| Problem | Possible Cause | Solution |
|---|---|---|
| Appliance does not turn on | Not plugged in; Power outlet fault; Power switch off | Ensure plug is fully inserted; Test outlet with another device; Turn power switch to 'ON' position |
| No suction or weak suction | Dirty water tank full; Tank not properly seated; Hose/nozzle blocked; Suction path blockage | Empty dirty water tank; Re-seat tanks securely; Check hose and nozzle for blockages and clear; Inspect suction path for debris |
| No solution dispensed | Fresh water tank empty; Tank not properly seated; Nozzle/spray jet blocked | Fill fresh water tank; Re-seat tank securely; Clean nozzle/spray jet |
| Poor cleaning performance | Incorrect solution concentration; Worn brush; Too fast movement | Adjust solution concentration; Replace vibrating brush; Move cleaner slower over the area |
| Water leaking | Tanks not properly sealed; Damaged tank or seal | Ensure tank caps and seals are tight; Check tanks for cracks or damage and replace if necessary |
8. Technical Specifications
| Feature | Specification |
|---|---|
| Brand | CLEANmaxx |
| Model Name | CLEANmaxx Teppich- & Hartbodenreiniger |
| Color | Black/Green |
| Fresh Water Tank Capacity | 1.5 Liters |
| Dirty Water Tank Capacity | 1.4 Liters |
| Item Weight | 10.7 Kilograms |
| Package Dimensions | 62 x 48 x 38 cm |
| Power Source | Corded Electric |
| Cable Length | 6.5 meters |
9. Warranty and Customer Support
For information regarding the warranty period and terms for your CLEANmaxx Carpet and Upholstery Cleaner Pro, please refer to the warranty card included with your purchase or the retailer's policy where the product was acquired.
If you require technical assistance, have questions about operation, or need to order replacement parts, please contact the manufacturer's customer support. Contact details can typically be found on the product packaging or the manufacturer's official website.
Ask a question about this manual
Ask about setup, troubleshooting, compatibility, parts, safety, or missing instructions. Manuals+ will review the question and use this page’s manual context to help answer it.