
1. Introduction
Thank you for choosing the HONITURE Q6 SE Robot Vacuum Cleaner. This manual provides essential information for the safe and efficient use of your robot vacuum. Please read it thoroughly before operating the device and retain it for future reference. The HONITURE Q6 SE is designed to provide automated cleaning for various floor types, including hard floors and carpets, featuring advanced LiDAR navigation, an automatic emptying station, and smart app control.
2. Product Overview and Components
Familiarize yourself with the main components of your HONITURE Q6 SE robot vacuum cleaner and its accessories.

Image: Main unit, auto-empty station, and included accessories.
Included Components:
- Main Robot Unit (with 2-in-1 water tank/dustbin, roller brush, and batteries installed)
- Automatic Dust Collection Station (with cleaning knife)
- 1 Replacement Dust Bag
- 1 Replacement HEPA Filter
- 2 Side Brushes
- 2 Mop Pads (with mop holder)
- User Manual
3. Setup
3.1 Unpacking and Placement
- Carefully remove all components from the packaging. Remove any protective films or packing materials from the robot and the charging station.
- Place the automatic dust collection station against a wall in an open area, ensuring there is at least 0.5 meters (1.6 feet) of clear space on both sides and 1.5 meters (5 feet) in front. Avoid placing it near stairs or obstacles.
- Connect the power cord to the dust collection station and plug it into a power outlet. Ensure the station is powered on.

Image: Robot vacuum and auto-empty station setup.
3.2 Initial Charging
Place the robot vacuum onto the charging station. Ensure the charging contacts on the robot align with those on the station. The robot will automatically begin charging. For optimal battery life, fully charge the robot before its first use (approximately 4-6 hours).
3.3 App Installation and Connection
- Download the HONITURE app from your smartphone's app store (iOS or Android). Search for "HONITURE".
- Open the app and create an account or log in.
- Follow the in-app instructions to add your Q6 SE robot vacuum. This typically involves turning on the robot, entering your Wi-Fi credentials, and pairing the device. Ensure your phone is connected to a 2.4GHz Wi-Fi network during setup.
- Once connected, you can control the robot, view maps, set cleaning schedules, and access advanced features through the app.

Image: App interface showing cleaning map and settings.
4. Operating Instructions
4.1 Initial Mapping
Before the first cleaning, allow the robot to complete a full mapping run of your home. This creates a detailed map in the app, enabling efficient navigation and customized cleaning. Ensure all doors are open and clear any large obstacles.
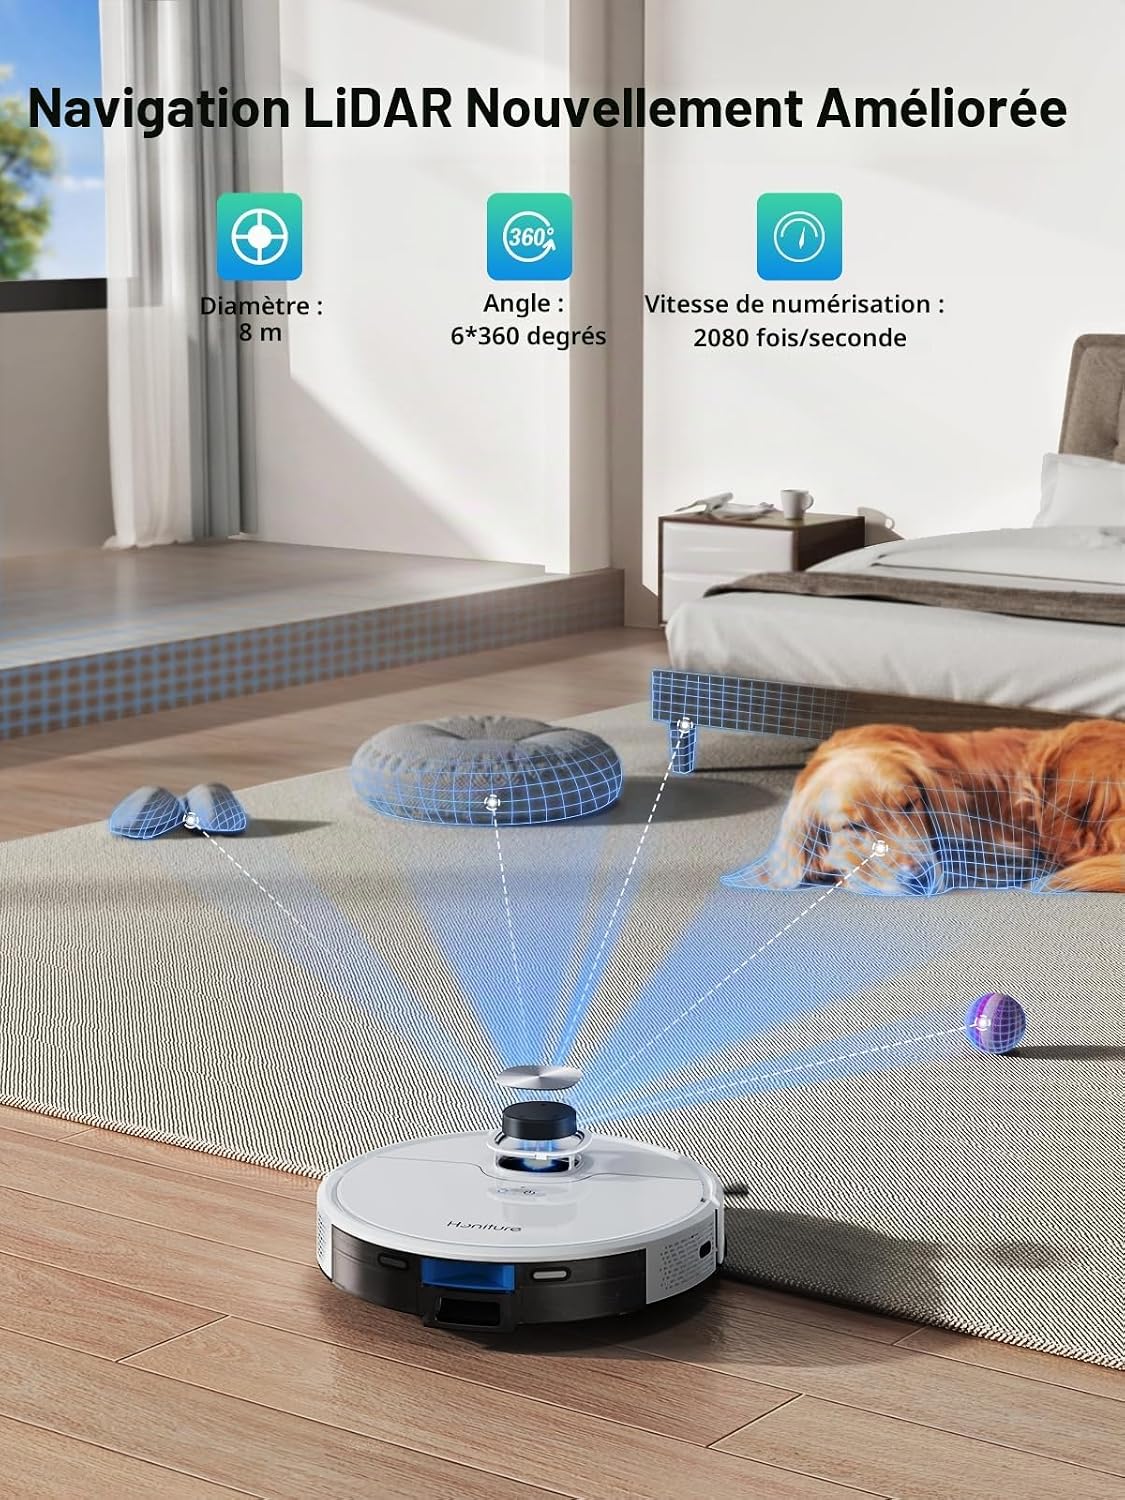
Image: Robot utilizing LiDAR navigation for mapping.
4.2 Starting and Stopping Cleaning
- Start: Press the power button on the robot or tap 'Start Cleaning' in the app. The robot will begin cleaning according to its programmed mode or the default setting.
- Pause: Press the power button once during cleaning or tap 'Pause' in the app.
- Resume: Press the power button again or tap 'Resume' in the app.
- Return to Charging Station: Press and hold the power button for 3 seconds or tap 'Recharge' in the app.
4.3 Cleaning Modes
The HONITURE Q6 SE offers various cleaning modes for different needs:
- Auto Cleaning: The robot intelligently plans its route for comprehensive cleaning.
- Zigzag Cleaning: Efficiently covers open areas in a systematic zigzag pattern.
- Edge Cleaning: Cleans along walls and furniture edges.
- Spot Cleaning: Focuses on a specific small area for intensive cleaning.
- Selective Room Cleaning: Allows you to select specific rooms on the app map for cleaning.

Image: Various cleaning path planning options.
4.4 Mopping Function
To use the mopping function, fill the 2-in-1 water tank/dustbin with clean water and attach the mop pad. The robot will vacuum and mop simultaneously. Adjust the water flow level via the app (3-stage water level regulation) for different floor types.
4.5 Smart Carpet Booster
The robot automatically detects carpets and increases suction power for deeper cleaning. When it moves back to hard floors, the suction returns to normal to conserve battery and reduce noise.

Image: Smart Carpet Booster functionality.
4.6 App Control Features
- Map Management: View, edit, and save multiple maps.
- No-Go Zones/Virtual Walls: Set virtual boundaries to restrict the robot from entering specific areas.
- Scheduled Cleaning: Set daily or weekly cleaning schedules.
- Suction Power Adjustment: Choose from multiple suction levels.
- Voice Control: Compatible with Alexa and Google Home for hands-free operation.
5. Maintenance
Regular maintenance ensures optimal performance and extends the lifespan of your robot vacuum.
5.1 Automatic Dust Collection Station
The 2.5L automatic dust collection station can hold debris for up to 45 days, reducing the frequency of manual emptying. When the dust bag is full, the app will notify you. Replace the dust bag as needed.

Image: Automatic dust collection station.
5.2 Cleaning the 2-in-1 Water Tank/Dustbin
Even with the auto-empty station, periodically remove and clean the robot's internal 2-in-1 water tank/dustbin. Empty any remaining debris and rinse the dustbin with water. Allow it to air dry completely before reinserting.
5.3 Cleaning Brushes
- Main Roller Brush: Remove the main brush cover and lift out the brush. Use the cleaning tool (often found in the auto-empty station) to cut and remove any tangled hair or debris. Clean the brush bearings.
- Side Brushes: Check side brushes for tangled hair or damage. If necessary, remove them by unscrewing and clean or replace.
5.4 Cleaning Filters
Remove the HEPA filter from the dustbin. Tap it gently to remove dust. Do not wash the HEPA filter with water; replace it every 3-6 months depending on usage. The app provides a consumables management section to track filter lifespan.
5.5 Cleaning Mop Pads
After each mopping session, remove the mop pad and wash it thoroughly with water. Allow it to air dry completely before reuse.
5.6 Cleaning Sensors and Charging Contacts
Wipe all sensors (LiDAR, cliff sensors, wall sensors) and charging contacts on both the robot and the charging station with a clean, dry cloth. This prevents dust buildup from affecting navigation and charging.
6. Troubleshooting
If your HONITURE Q6 SE encounters an issue, refer to the following common problems and solutions:
| Problem | Possible Cause | Solution |
|---|---|---|
| Robot does not turn on or charge. | Low battery; charging contacts dirty; power station unplugged. | Ensure robot is on charging station; clean charging contacts; check power connection to station. |
| Robot gets stuck frequently. | Obstacles (cables, small items); uneven surfaces; dark carpets (cliff sensors). | Clear floor of obstacles; use virtual walls/no-go zones in app; avoid very dark carpets if issues persist. |
| Poor cleaning performance. | Dustbin full; brushes tangled; filter clogged. | Empty dustbin; clean main and side brushes; clean or replace filter. |
| Robot cannot connect to Wi-Fi/App. | Incorrect Wi-Fi password; 5GHz Wi-Fi network; robot too far from router. | Ensure correct 2.4GHz Wi-Fi; move robot closer to router; reset Wi-Fi on robot (refer to app instructions). |
| Map issues (map deleted, incorrect mapping). | Robot moved manually during cleaning; significant changes in environment. | Allow robot to complete a full mapping run without interruption; avoid moving the robot manually during cleaning. |
| Auto-empty station not emptying. | Dust bag full; suction port blocked; station not powered. | Replace dust bag; clear any blockages in the station's suction port; ensure station is plugged in. |
For issues not listed here, please consult the HONITURE app's help section or contact customer support.
7. Specifications
Key technical specifications for the HONITURE Q6 SE Robot Vacuum Cleaner:
| Feature | Specification |
|---|---|
| Brand | HONITURE |
| Model Name | Q6 SE |
| Suction Power | 3500 Pa |
| Battery Life | Up to 200 minutes |
| Battery Type | Lithium |
| Dust Collection Station Capacity | 2.5 Liters |
| Navigation Type | LiDAR Navigation |
| Control Type | App Control, Voice Control (Alexa, Google Home) |
| Special Features | LiDAR Navigation, Mapping, Carpet Booster, WiFi/APP/Alexa, Multi-surface Cleaning, Auto-emptying |
| Recommended Surface | Hard Floor, Carpet |
| Product Dimensions (L x W x H) | 35L x 35W x 9.6H centimeters |
| Item Weight | 2.8 Kilograms |
| Noise Level | 60 Decibels |
8. Warranty and Support
For information regarding warranty coverage and customer support, please refer to the warranty card included in your product packaging or visit the official HONITURE website. You can also contact HONITURE customer service directly through the app or their website for assistance with product inquiries, technical support, or replacement parts.


