
1. Introduction
This manual provides detailed instructions for the installation, operation, and maintenance of your Rybozen KVM HDMI Switch V806. This device allows you to control two computers using a single set of keyboard, mouse, and monitor, supporting 4K@60Hz resolution. Please read this manual thoroughly before use to ensure proper functionality and to prevent damage.
2. Package Contents
Please verify that all items are present and in good condition:
- 1x Rybozen KVM HDMI Switch V806
- 2x USB A-to-B Cables (for connecting computers to KVM)
- 2x HDMI Cables (for connecting computers to KVM)
- 1x User Manual (this document)
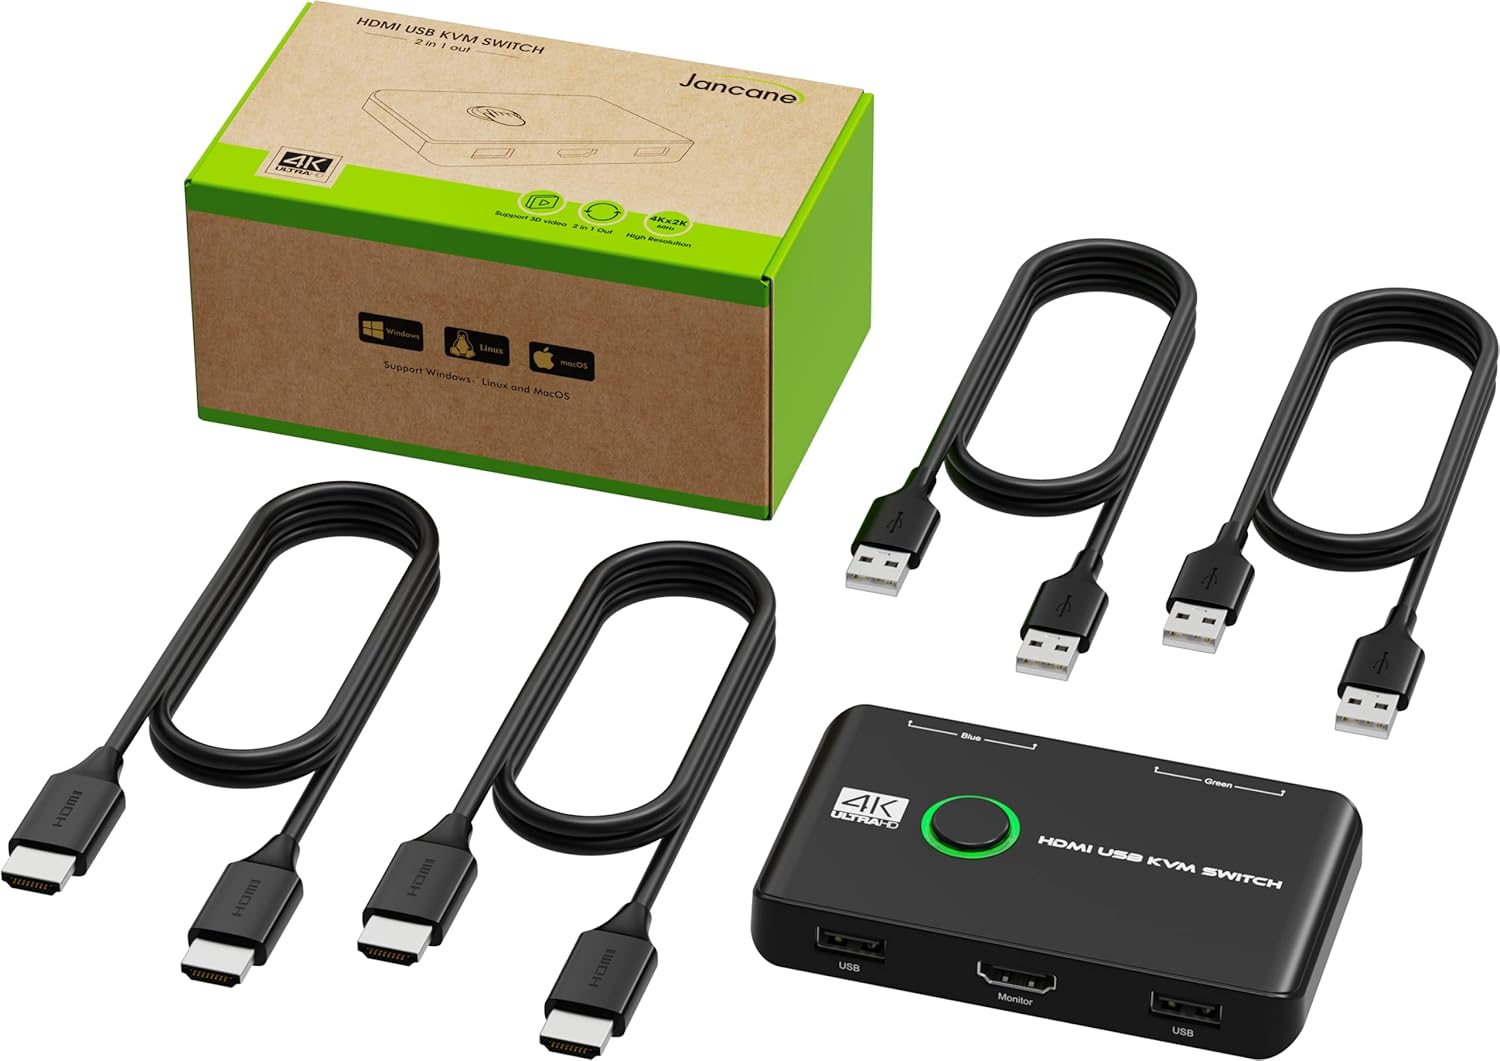
This image displays the Rybozen KVM HDMI Switch V806, its retail box, two HDMI cables, and two USB A-to-B cables, representing the typical contents of the product package.
3. Product Overview
3.1 Front Panel
- Signal Switch Button: Press to switch between connected computers.
- LED Indicators: Green or Blue LED indicates the active computer.
3.2 Rear Panel
- PC1-USB Input: Connects to Computer 1's USB port.
- PC1-HDMI Input: Connects to Computer 1's HDMI output.
- PC2-HDMI Input: Connects to Computer 2's HDMI output.
- PC2-USB Input: Connects to Computer 2's USB port.
3.3 Side Panel
- Monitor HDMI Output: Connects to your display monitor.
- USB-A Outputs (2x): Connect your USB keyboard and USB mouse here.

This image provides a detailed breakdown of the KVM switch's interfaces. It labels the PC1-USB input, PC1-HDMI input, PC2-HDMI input, PC2-USB input on the rear, the signal switch button on top, and the HDMI output and two USB-A outputs on the front. Numbered labels correspond to a legend for easy identification of each port and control.
4. Setup Instructions
- Power Off Devices: Ensure both computers and the monitor are powered off before beginning the connection process.
- Connect Monitor: Connect your monitor's HDMI input to the "Monitor" HDMI output port on the KVM switch.
- Connect Computer 1:
- Connect one end of an HDMI cable to Computer 1's HDMI output and the other end to the "PC1-HDMI" input on the KVM switch.
- Connect one end of a USB A-to-B cable to Computer 1's USB port and the other end to the "PC1-USB" input on the KVM switch.
- Connect Computer 2:
- Connect one end of an HDMI cable to Computer 2's HDMI output and the other end to the "PC2-HDMI" input on the KVM switch.
- Connect one end of a USB A-to-B cable to Computer 2's USB port and the other end to the "PC2-USB" input on the KVM switch.
- Connect Peripherals: Connect your USB keyboard and USB mouse to the two "USB" output ports on the side of the KVM switch.
- Power On: Power on your monitor, then power on both computers. The KVM switch draws power from the USB connections and does not require an external power adapter.

This diagram visually explains how to connect the KVM switch. It shows two computers (PC1 and PC2) as inputs, each connected via HDMI and USB cables to the KVM. The KVM then connects to a single monitor, keyboard, and mouse as outputs. A warning emphasizes connecting the included USB cables for proper monitor switching.
5. Operating Instructions
5.1 Switching Between Computers
To switch control between Computer 1 and Computer 2, simply press the large circular Signal Switch Button located on the top of the KVM switch. The LED indicator will change color (Blue for PC1, Green for PC2) to show which computer is currently active.

A hand is shown pressing the central green button on the KVM switch. Below, a graphic illustrates the switching process: pressing the button toggles between 'Blue-PC1' and 'Green-PC2', indicating the active computer.
5.2 Resolution Support
The KVM switch supports resolutions up to 4K@60Hz. For optimal performance, ensure your computers and monitor support 4K resolution and utilize HDMI 2.0 cables and ports.
5.3 Compatibility
This KVM switch is compatible with various operating systems, including Windows 10/8/8.1/7/Vista/XP, Mac OS, Linux, and Chrome OS. It also supports devices such as PS5, PS4, PS3, Xbox One, TV boxes, PCs, laptops, and Nintendo Switch.

This image highlights the broad compatibility of the KVM switch, displaying logos for Windows (10, 8, Vista), Mac OS, and Linux, indicating support for these operating systems.
6. Maintenance
- Cleaning: Use a soft, dry cloth to clean the surface of the KVM switch. Do not use liquid or aerosol cleaners.
- Storage: Store the device in a cool, dry place away from direct sunlight and extreme temperatures.
- Handling: Avoid dropping or subjecting the device to strong impacts.
- Ventilation: Ensure the KVM switch has adequate ventilation and is not covered, to prevent overheating.
7. Troubleshooting
| Problem | Possible Cause | Solution |
|---|---|---|
| No display on monitor. | Incorrect cable connection, monitor not powered on, incorrect input selected on monitor, computer not outputting signal. | Check all HDMI and USB cable connections. Ensure the monitor is powered on and set to the correct HDMI input. Verify the computer is powered on and outputting a signal. Try restarting the KVM switch by unplugging and replugging the USB cables from the computers. |
| Keyboard/Mouse not working. | USB cables not connected, peripherals connected to incorrect ports, driver issues. | Ensure the USB A-to-B cables are securely connected from both computers to the KVM switch. Connect keyboard and mouse to the dedicated USB ports on the KVM. Try connecting peripherals directly to the computer to verify functionality. Some specialized keyboards/mice with extra features may require direct connection or specific drivers. |
| Poor video quality or no 4K@60Hz. | HDMI cable quality, computer/monitor not supporting 4K@60Hz, incorrect settings. | Ensure you are using high-quality HDMI 2.0 cables. Verify that both your computers and monitor support 4K@60Hz resolution. Check display settings on your computers to ensure the correct resolution and refresh rate are selected. |
| Switching is slow or unresponsive. | Temporary glitch, power issue. | Unplug and replug the USB cables from the computers to reset the KVM switch. Ensure all connections are secure. |
8. Specifications
| Feature | Detail |
|---|---|
| Model Number | V806 |
| Brand | Rybozen |
| Inputs | 2x HDMI, 2x USB-B (for PC connection) |
| Outputs | 1x HDMI (for Monitor), 2x USB-A (for Keyboard/Mouse) |
| Video Resolution | Up to 4K@60Hz (also supports 4K@30Hz and lower) |
| Operating Voltage | 5 Volts |
| Material | Polycarbonate |
| Dimensions (L x W x H) | 7.9 x 4.7 x 1.1 cm (approx. 3.1 x 1.85 x 0.43 inches) |
| Weight | 300 grams (approx. 0.66 lbs) |
| Operating Mode | ON-ON |
| Connector Type | HDMI, USB |
9. Warranty and Support
Rybozen offers a 3-year warranty and lifetime technical support for this product. If you encounter any issues with your KVM switch, please contact Rybozen customer support. They aim to respond to inquiries within 24 hours.
For support, please refer to the contact information provided with your purchase or visit the official Rybozen website.