
Introduction
Thank you for choosing the ONIKUMA CW916 RGB USB Gaming Mouse. This high-performance mouse is designed for gaming enthusiasts, featuring adjustable DPI, programmable buttons, and customizable RGB lighting. This manual will guide you through the setup, operation, and maintenance of your new gaming mouse to ensure optimal performance and an enhanced gaming experience.

Image: The ONIKUMA CW916 gaming mouse designed for comfortable and durable use, fitting well in the palm to reduce fatigue during long gaming sessions.

Image: The ONIKUMA CW916 gaming mouse in a pink and white color scheme, connected via USB to a laptop, demonstrating its use in a typical setup.
Package Contents
- ONIKUMA CW916 RGB USB Gaming Mouse
- User Manual (this document)
Setup
Follow these steps to connect your ONIKUMA CW916 gaming mouse to your computer:
- Unpack the Mouse: Carefully remove the mouse from its packaging.
- Connect to USB Port: Plug the USB connector of the mouse into an available USB port on your computer.
- Driver Installation: Your operating system should automatically detect and install the necessary drivers. This process may take a few moments.
- Confirmation: Once the drivers are installed, the mouse's RGB lighting will illuminate, indicating it is ready for use.

Image: A detailed view of the ONIKUMA CW916 mouse, highlighting its ergonomic shape and button layout, ready for connection.
Operating Instructions
DPI Adjustment
The ONIKUMA CW916 mouse features 6 adjustable DPI settings, allowing you to switch sensitivity on the fly to match your gaming or work needs. The default DPI is 1200 DPI. Each DPI setting is indicated by a corresponding RGB lighting color.
- Press the DPI button (located behind the scroll wheel) to cycle through the DPI settings.
- The mouse lighting will change color to indicate the current DPI level.

Image: Visual representation of the mouse's 6 DPI settings (1200, 1600, 2400, 3200, 4800, 7000 DPI) and their corresponding indicator light colors.
Programmable Buttons
The mouse is equipped with 8 programmable buttons. To customize these buttons, you will need to download the official ONIKUMA software from the manufacturer's website. Refer to the software's instructions for detailed programming steps.
Customization
RGB Lighting Modes
The ONIKUMA CW916 features 13 different RGB lighting modes. You can switch between these modes with a dedicated button.
- Locate the lighting mode button (often located on the underside or near the scroll wheel, refer to product diagram if available).
- Press the button to cycle through the 13 available lighting effects.
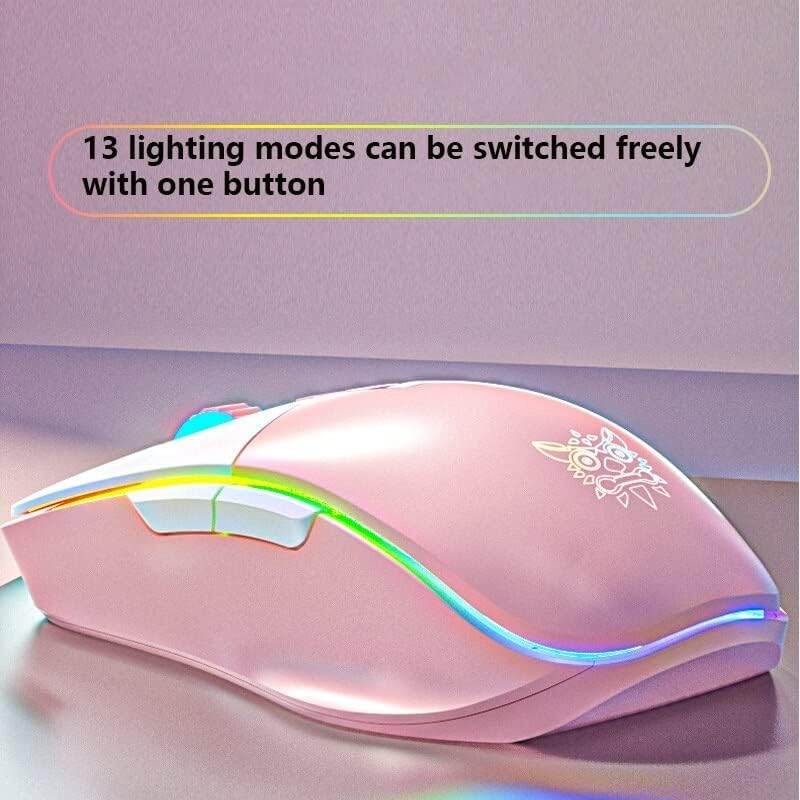
Image: The ONIKUMA CW916 mouse showcasing its dynamic RGB lighting, illustrating the variety of available lighting modes.
Maintenance
Proper maintenance ensures the longevity and optimal performance of your gaming mouse.
- Cleaning: Use a soft, dry cloth to wipe the surface of the mouse. For stubborn dirt, slightly dampen the cloth with water or a mild cleaning solution. Avoid harsh chemicals or abrasive materials.
- Sensor Care: Keep the optical sensor on the underside of the mouse clean and free from dust or debris. Use a cotton swab or compressed air if necessary.
- Cable Management: Avoid sharp bends or excessive pulling on the USB cable to prevent damage.
- Storage: When not in use, store the mouse in a clean, dry environment away from extreme temperatures.
Troubleshooting
| Problem | Possible Cause | Solution |
|---|---|---|
| Mouse not responding | USB cable not properly connected; Faulty USB port; Driver issue. |
|
| Inaccurate tracking or cursor lag | Dirty optical sensor; Unsuitable mouse pad surface; High DPI setting. |
|
| RGB lighting not working | Software setting; Hardware issue. |
|
Specifications
| Brand | ONIKUMA |
| Model | CW916 |
| Connectivity | Wired USB |
| DPI Settings | 1200 / 1600 / 2400 / 3200 / 4800 / 7000 DPI |
| Buttons | 8 Programmable Buttons |
| Lighting | RGB LED (13 modes) |
| Movement Detection | Optical |
| Hand Orientation | Right-handed |
| Recommended Use | Gaming |
| Compatible Platforms | PC, Laptop (Windows 7/XP and newer) |
| Dimensions (L x W x H) | 15.9 x 9.2 x 4.7 cm |
| Weight | 200 grams |
Warranty and Support
ONIKUMA products come with a standard manufacturer's warranty. For specific warranty details, please refer to the warranty card included with your product or visit the official ONIKUMA website. For technical support, driver downloads, or further assistance, please visit the ONIKUMA support page or contact their customer service.
Official Website: www.onikuma.net


