
Retrospec 5439
Retrospec Endeavor 2-E-Bike Hitch Mount Rack User Manual
Model: 5439
1. Introduction
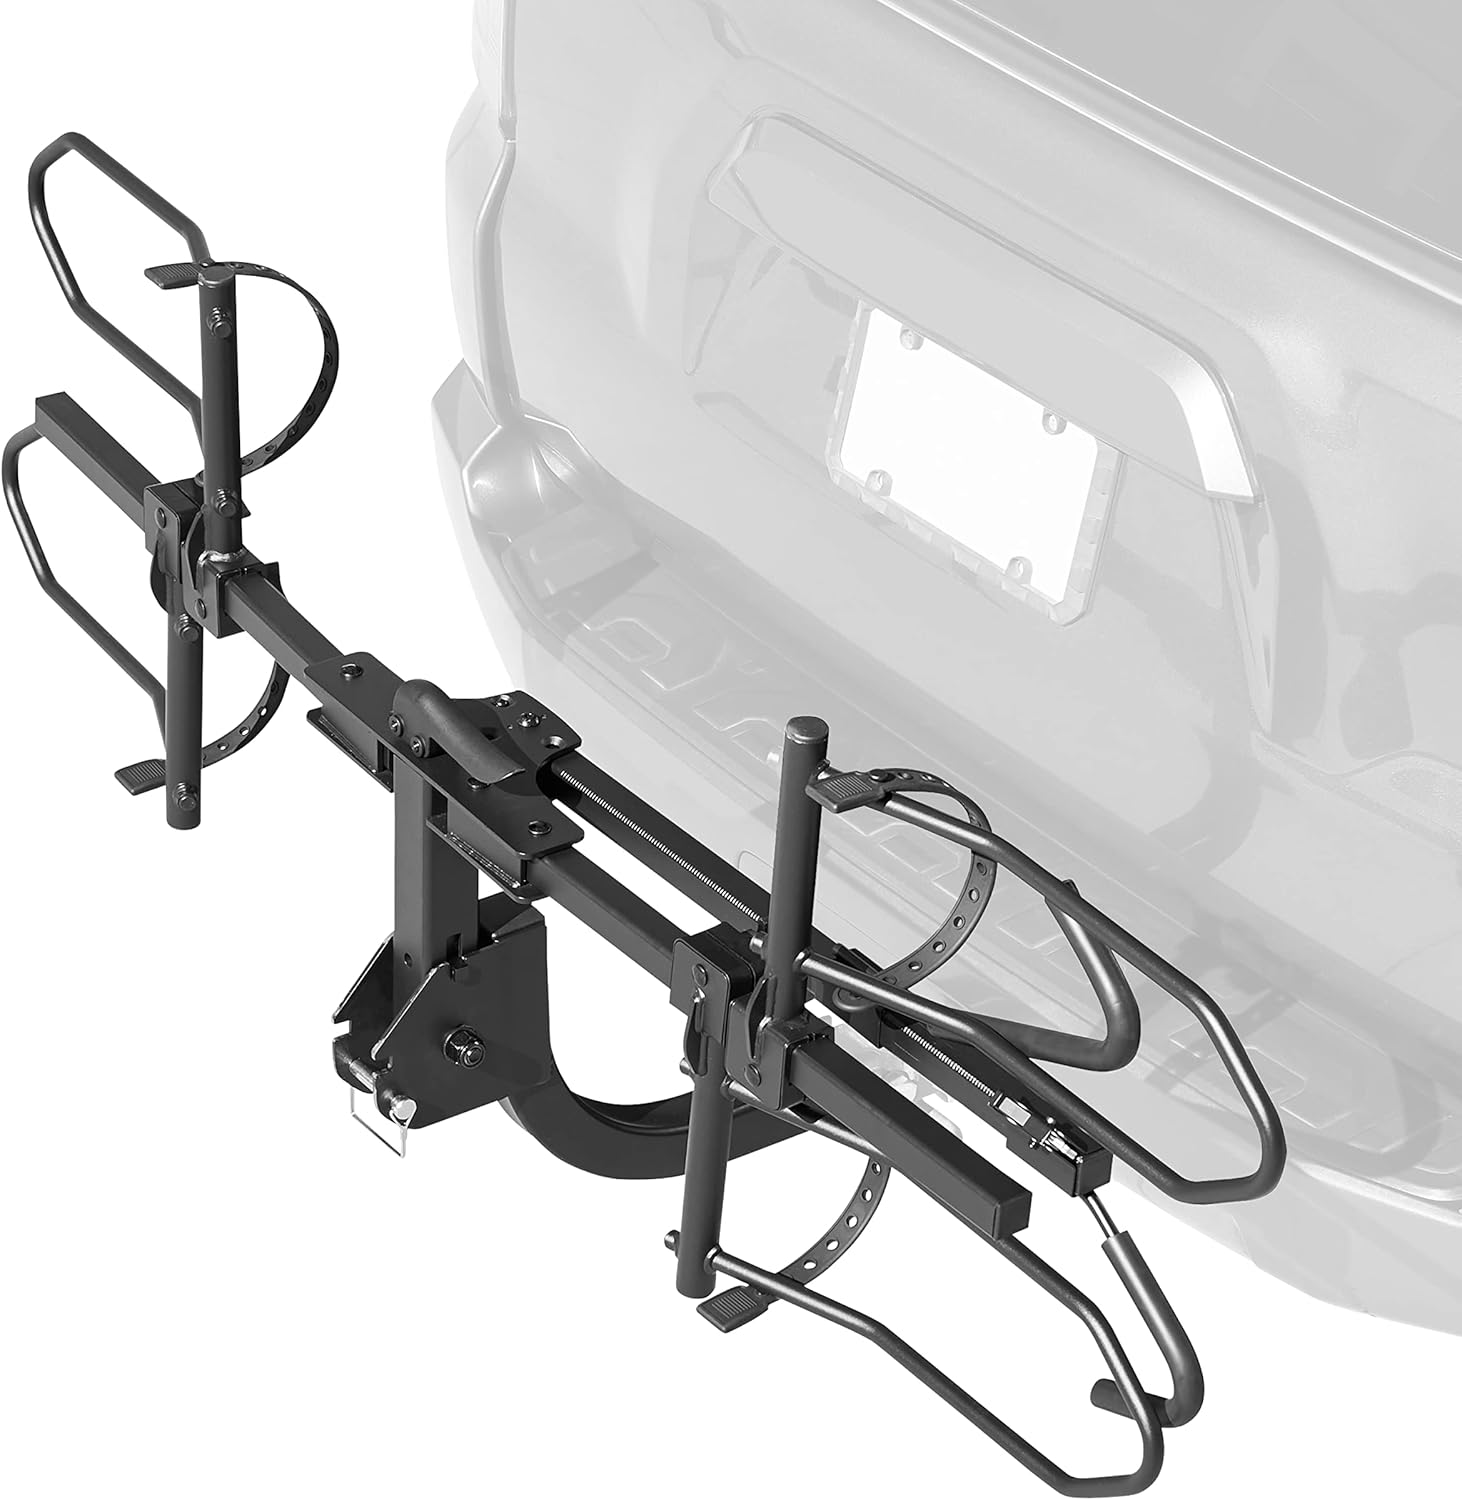
The Retrospec Endeavor 2-E-Bike Hitch Mount Rack is engineered for secure and convenient transportation of electric bicycles. Constructed from durable, reinforced steel, this rack is designed to safely accommodate two e-bikes, each weighing up to 80 lbs, for a total maximum capacity of 160 lbs. It features adjustable trays to fit various bike frame shapes and styles, including wheels from 20 to 29 inches and tires up to 5 inches wide. The rack is compatible with 2-inch (Class III) hitches and includes an anti-rattle device to minimize movement during transit. Its foldable and tilting design allows for easy storage and convenient access to your vehicle's trunk.

2. Safety Information
- Maximum Weight Capacity: Do not exceed the maximum weight capacity of 160 lbs total, or 80 lbs per bike. Overloading can lead to rack failure and potential accidents.
- Hitch Compatibility: This rack is compatible only with 2-inch (Class III) hitches. Ensure your vehicle's hitch meets this requirement.
- Secure Installation: Always ensure all bolts, straps, and clamps are securely tightened before driving. Regularly check for tightness during long trips.
- Bike Clearance: Verify adequate clearance between the bikes, the rack, and your vehicle, especially when turning or going over bumps.
- Anti-Rattle Device: Utilize the anti-rattle device to minimize movement and prevent damage to your bikes and vehicle.
- Vehicle Access: When using the tilting feature for trunk access, ensure the rack is properly secured in the tilted position and bikes are stable.
- Driving Safely: Drive cautiously, especially over rough terrain or at high speeds, as the added weight and dimensions can affect vehicle handling.
- Regular Inspection: Periodically inspect the rack for any signs of wear, damage, or loose components. Replace damaged parts immediately.
3. Package Contents
Verify that all components are present before beginning assembly:
- Bike Rack Main Assembly
- Wheel Trays (2 sets)
- Frame Clamps (2)
- Wheel Straps (4)
- Hitch Pin and Clip
- Anti-Rattle Mechanism
- Assembly Tools (Wrenches, Allen Key)
4. Setup
4.1 Assembly
Assembly of the Retrospec Endeavor rack is straightforward. While basic tools are included, using your own ratchet and socket set can significantly expedite the process of tightening bolts. Ensure all connections are secure to prevent movement during use.

4.2 Installation on Vehicle
Insert the rack's hitch arm into your vehicle's 2-inch (Class III) hitch receiver. Secure it using the provided hitch pin and clip. The rack includes an anti-rattle mechanism designed to reduce sway and movement. This mechanism involves a metal U-bracket with a threaded nut that fits inside the hitch arm, secured by a bolt. While effective, aligning this component during installation may require a few attempts. For easier regular loading and unloading, consider adding tape or a silicone shim to the anti-rattle mechanism to hold it in perfect alignment with the bolt hole.
5. Operating Instructions
5.1 Loading Bikes
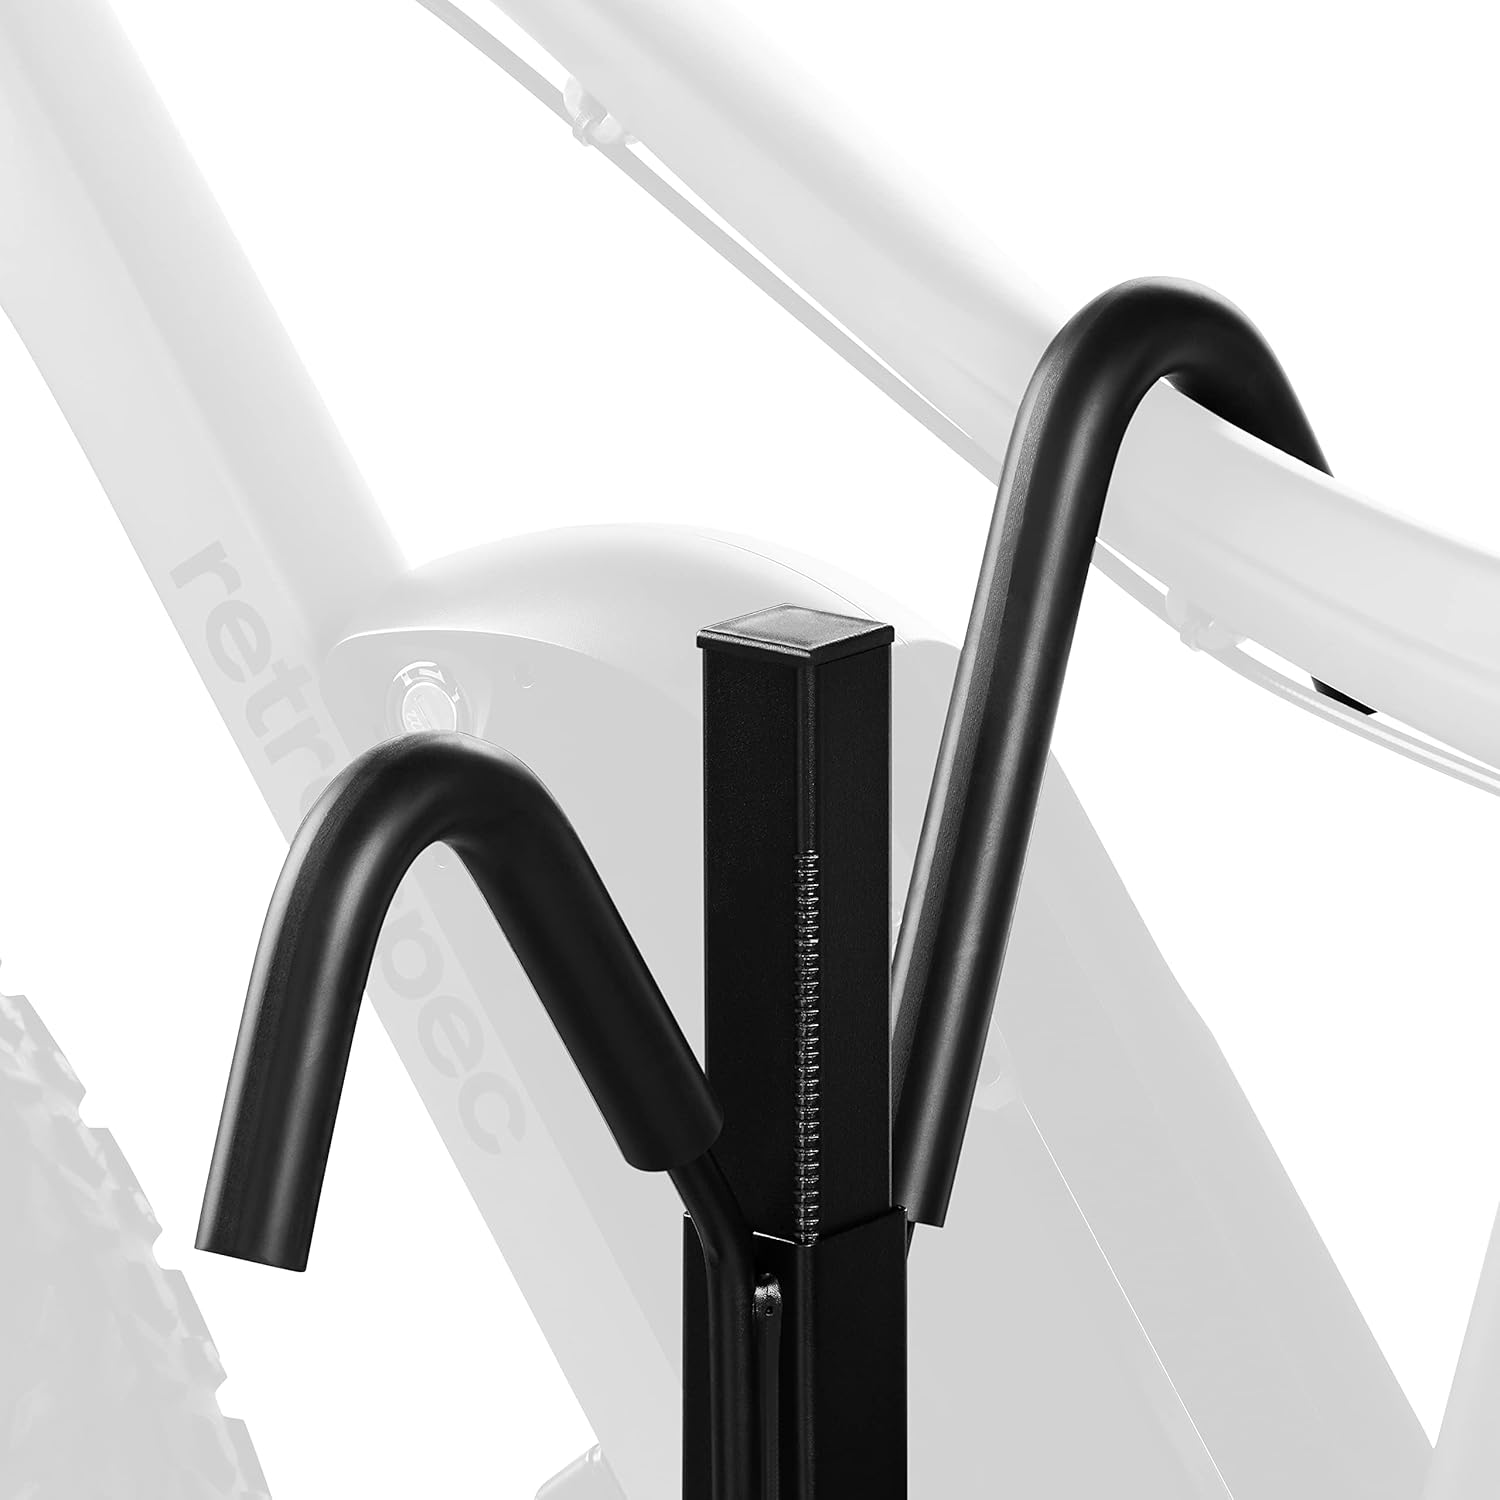
The Endeavor rack is designed to accommodate two e-bikes, each up to 80 lbs. Place the bike wheels into the adjustable wheel trays. The trays are wide enough to fit fat bike tires (up to 5 inches) and can be adjusted along the main bar to match different bike wheelbases. Secure each wheel with the provided rubber straps. The central post features two sliding frame clamps that secure the bike's top frame. For bikes without a traditional top tube (e.g., step-through frames), a top tube adapter (sold separately) may be required. Ensure bikes are held firmly to prevent shaking and wobbling.

5.2 Tilting Mechanism for Trunk Access
The rack features a convenient tilting mechanism that allows you to access your vehicle's trunk without removing the bikes. To tilt the rack, first remove the safety pin located near the hitch connection. Then, press the lever located at the base of the rack. This will allow the rack to tilt downwards, providing clearance for your trunk or tailgate. Once you have accessed your trunk, lift the rack back into its upright position and re-insert the safety pin to secure it.


6. Maintenance
- Cleaning: Clean the rack regularly with mild soap and water to remove dirt, road grime, and salt, especially after exposure to harsh weather conditions. Dry thoroughly to prevent rust.
- Lubrication: Periodically apply a silicone-based lubricant to moving parts, such as the tilting mechanism and sliding components, to ensure smooth operation.
- Fastener Check: Before each use, inspect all bolts, nuts, and straps for tightness. Re-tighten any loose fasteners to the recommended torque specifications.
- Strap Inspection: Check rubber straps and plastic components for cracks, tears, or excessive wear. Replace any damaged parts immediately to ensure secure bike transport.
- Storage: When not in use, store the rack in a dry, protected area. The rack can be folded for compact storage.
7. Troubleshooting
| Problem | Possible Cause | Solution |
|---|---|---|
| Rack wobbles excessively during transit. | Loose hitch connection; play in the anti-rattle mechanism or main joint. | Ensure the hitch bolt is fully tightened. Verify the anti-rattle mechanism is correctly installed and tightened. If wobble persists in the main joint, ensure all assembly bolts are secure. |
| Difficulty inserting/removing anti-rattle mechanism bolt. | Anti-rattle mechanism is misaligned within the hitch arm. | Ensure the anti-rattle U-bracket is perfectly aligned with the bolt hole. Consider adding a small shim or tape to the U-bracket to keep it in place during installation. |
| Bikes are not securely held. | Frame clamps or wheel straps are not tightened sufficiently; incorrect bike placement. | Ensure frame clamps are ratcheted down firmly on the bike frame. Verify wheel straps are tight. Adjust wheel tray positions to match bike wheelbase. For step-through bikes, use a top tube adapter. |
| Rack tilting mechanism is stiff or not engaging. | Lack of lubrication; debris in the mechanism; safety pin not fully removed. | Ensure the safety pin is completely removed. Clean and lubricate the pivot points and lever mechanism. |
8. Specifications
| Feature | Detail |
|---|---|
| Model Name | Retrospec Endeavor Electric Bike Car Rack |
| Model Number | 5439 |
| UPC | 840216311299 |
| Load Capacity | 160 Pounds (80 lbs per bike) |
| Bike Capacity | 2 E-Bikes |
| Mounting Type | Hitch Mount (2" Class III compatible) |
| Wheel Compatibility | 20-29 inch wheels |
| Tire Width Compatibility | Up to 5 inches wide |
| Material | Reinforced Steel |
| Color | Black |
| Item Package Dimensions | 39 x 18 x 7 inches |
| Package Weight | 28.12 Kilograms |
9. Warranty and Support
The Retrospec Endeavor 2-E-Bike Hitch Mount Rack comes with a Limited Warranty. For specific details regarding warranty coverage, terms, and conditions, please refer to the warranty documentation included with your product or visit the official Retrospec website.
For customer support, inquiries, or assistance with your product, please contact Retrospec customer service through their official channels. Information regarding support options can typically be found on the product packaging or the Retrospec brand website.
- Returns: 30-day easy returns are typically available.
- Protection Plans: Additional protection plans may be available for purchase.
Ask a question about this manual
Ask about setup, troubleshooting, compatibility, parts, safety, or missing instructions. Manuals+ will review the question and use this page’s manual context to help answer it.