
Jaspertronics ELPLP47
JASPERTRONICS OEM ELP-LP47 Lamp & Housing User Manual
Model: ELPLP47 | Brand: Jaspertronics
Introduction
This manual provides essential information for the proper installation, operation, and maintenance of your Jaspertronics OEM ELP-LP47 Lamp & Housing. This product is an original replacement lamp with an Ushio bulb, designed for specific Epson projectors. Adhering to these instructions will ensure optimal performance and longevity of the lamp.
The Jaspertronics ELP-LP47 lamp is a recommended original replacement for the following Epson projector models:
- PowerLite G5000
- PowerLite Pro G5150NL
- EB-G5100
- EB-G5100NL
- EB-G5150
- EMP-5101
- G5100
- G5100NL
- G5150
- Powerlite-5101
- Powerlite-G5100
- Powerlite-G5150
- Powerlite-Pro-G5150
Safety Precautions
Always observe the following safety precautions to prevent injury or damage to the product and projector:
- Ensure the projector is unplugged and completely cooled down before attempting any installation or maintenance.
- Do not touch the glass part of the lamp with bare hands, as oils can reduce lamp life. Use gloves or a clean cloth.
- Avoid dropping the lamp or subjecting it to strong impacts.
- Dispose of old lamps according to local regulations, as they may contain mercury.
- Never operate the projector with the lamp cover removed.
Setup and Installation
Follow these steps carefully to install the new lamp housing into your Epson projector.

Figure 1: Front-side view of the Jaspertronics ELP-LP47 Lamp and Housing. This image shows the primary view of the lamp unit, highlighting its compact design and the protective housing.

Figure 2: Top view of the Jaspertronics ELP-LP47 Lamp and Housing, illustrating the electrical connectors. This view is crucial for understanding how the lamp connects to the projector's power supply.
- Power Off and Cool Down: Turn off the projector and unplug the power cord from the wall outlet. Allow the projector to cool down completely for at least 30 minutes. The lamp can be extremely hot immediately after use.
- Locate Lamp Cover: Refer to your projector's specific user manual to locate the lamp cover. It is typically secured by one or more screws.
- Remove Lamp Cover: Use a screwdriver to loosen the screws holding the lamp cover in place. Carefully remove the cover.
- Disconnect Old Lamp: Loosen the screws that secure the old lamp housing. Gently pull the handle on the lamp housing to slide it out of the projector.
- Install New Lamp: Carefully insert the new Jaspertronics ELP-LP47 lamp housing into the projector, ensuring it slides smoothly into place. Do not force it.
- Secure New Lamp: Tighten the screws to secure the new lamp housing firmly.
- Replace Lamp Cover: Reattach the lamp cover and tighten its screws.
- Reset Lamp Timer: Plug the projector back in and turn it on. You may need to reset the lamp timer in the projector's menu system. Consult your projector's manual for specific instructions on resetting the lamp timer.
Operating Considerations
Once the lamp is installed, the projector can be operated normally. Keep the following in mind for optimal performance:
- Warm-up Time: Allow the lamp to warm up for a few minutes after turning on the projector to achieve full brightness and stable color.
- Cool-down Cycle: Always allow the projector to complete its cool-down cycle after turning it off. Do not unplug the projector immediately after shutdown, as this can damage the lamp.
- Environmental Conditions: Operate the projector in a well-ventilated area to prevent overheating, which can shorten lamp life.
Maintenance
Proper maintenance can extend the life of your projector lamp and ensure consistent image quality.
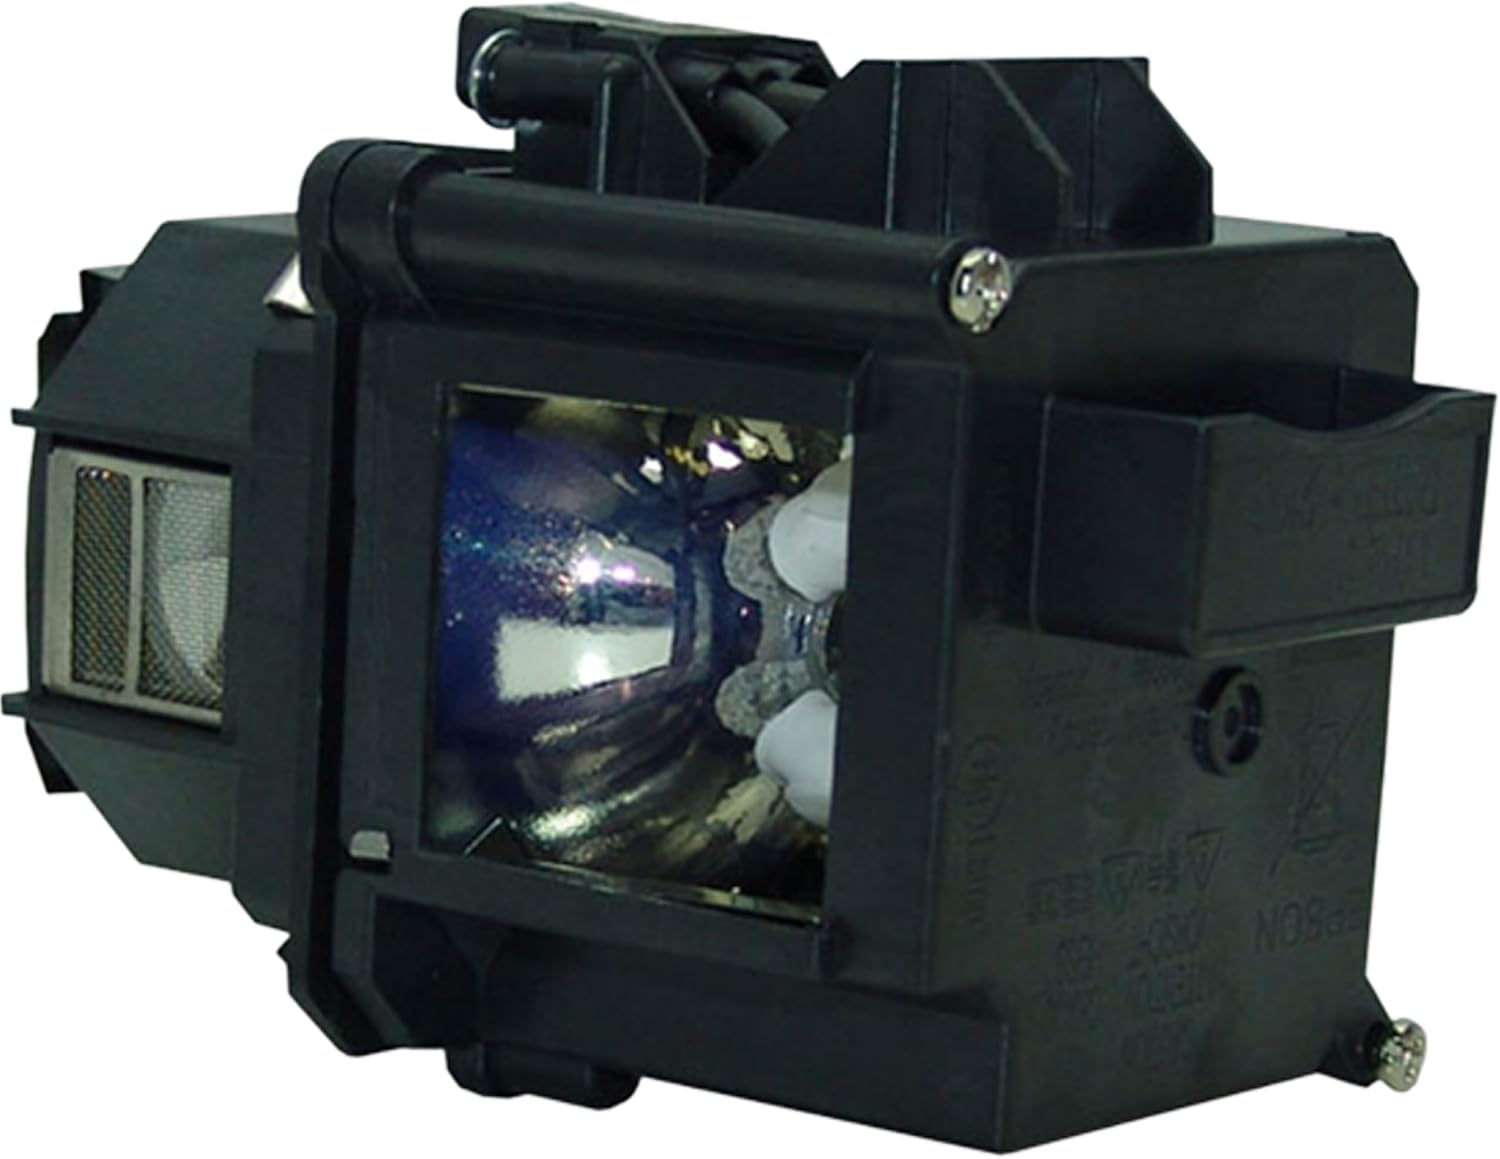
Figure 3: Side view of the Jaspertronics ELP-LP47 Lamp and Housing, revealing the Ushio bulb within. This image demonstrates the integrated design of the lamp and its protective casing.
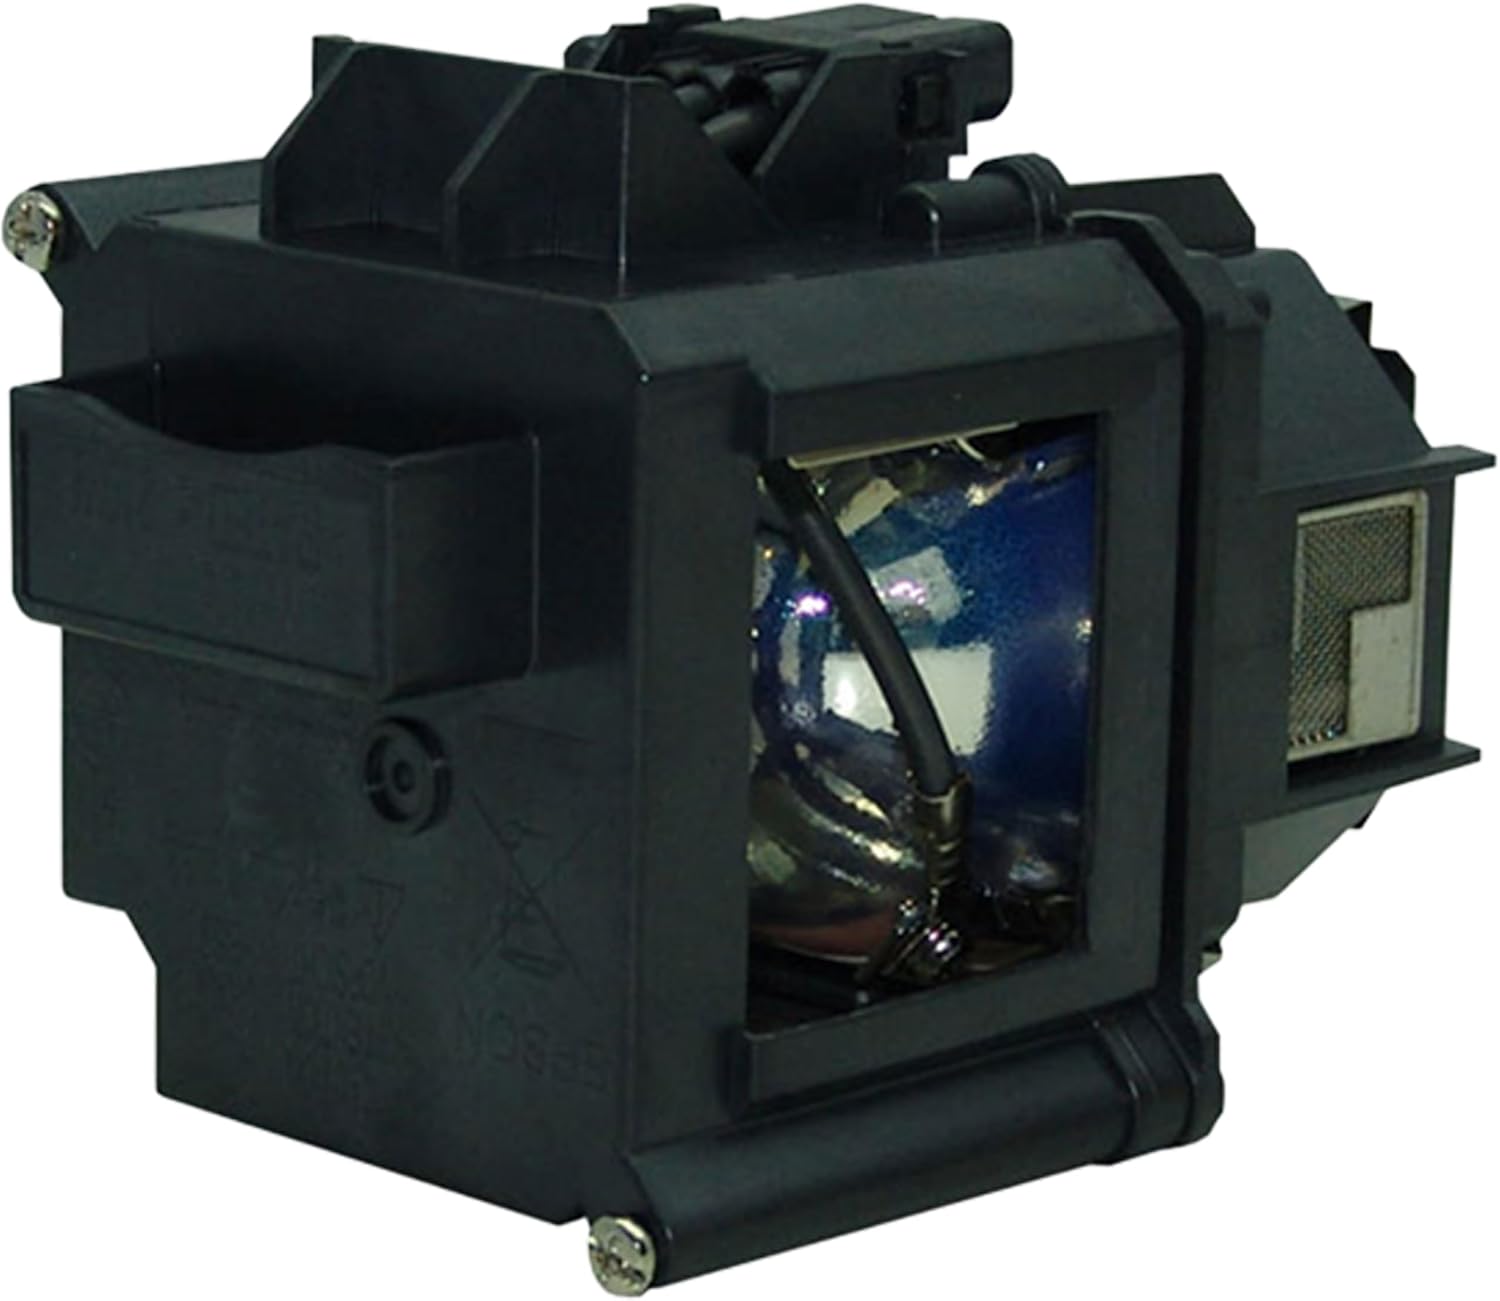
Figure 4: Another side view of the Jaspertronics ELP-LP47 Lamp and Housing, providing a clearer look at the internal components and the bulb's connection points. This perspective helps in understanding the lamp's construction.
- Air Filter Cleaning: Regularly clean or replace the projector's air filter to ensure proper airflow and prevent dust buildup, which can lead to overheating and reduced lamp life.
- Dust Removal: Keep the projector and its surroundings free of dust. Use a soft, dry cloth to clean the exterior.
- Lamp Life Monitoring: Pay attention to any warnings from your projector regarding lamp life. Replace the lamp when it reaches its end of life or when brightness significantly diminishes.
Troubleshooting
If you encounter issues after installing the new lamp, consider the following common problems and solutions:
| Problem | Possible Cause | Solution |
|---|---|---|
| Projector does not turn on after lamp replacement. | Lamp not seated correctly, lamp cover not secured, or power issue. |
|
| Lamp indicator light remains on or flashes. | Lamp timer not reset, or lamp error detected. |
|
| Image is dim or colors are off. | Lamp nearing end of life (unlikely for new lamp), or projector settings. |
|
Specifications
Key technical specifications for the Jaspertronics OEM ELP-LP47 Lamp & Housing:
- Model Number: ELPLP47
- Manufacturer: OEM (Original Equipment Manufacturer)
- Bulb Type: Ushio Metal Halide
- Wattage: 210 watts
- Brightness: 300 lumens (typical for this lamp type in compatible projectors)
- Voltage: 120 Volts
- Product Dimensions: 15.24 x 15.24 x 10.16 cm (6 x 6 x 4 inches)
- Weight: 449.06 g (0.99 lbs)
- Specific Use: Projector Lamp Replacement
- Light Color: White
Warranty and Support
The Jaspertronics OEM ELP-LP47 Lamp & Housing comes with a 240-Day Warranty from the date of purchase. This warranty covers defects in materials and workmanship under normal use.
For warranty claims or technical support, please contact Jaspertronics directly through their official support channels. Keep your proof of purchase for warranty validation.
Note: The warranty does not cover damage caused by improper installation, misuse, accidents, or unauthorized repairs.
Ask a question about this manual
Ask about setup, troubleshooting, compatibility, parts, safety, or missing instructions. Manuals+ will review the question and use this page’s manual context to help answer it.