
UCOCARE A90
UCOCARE Wireless Security Camera User Manual
Model: A90
1. Introduction
Thank you for choosing the UCOCARE Wireless Security Camera. This device is designed to provide reliable and convenient indoor surveillance with advanced features such as 1080P HD video, smart human detection, two-way audio, and extended battery life. This manual will guide you through the setup, operation, and maintenance of your camera to ensure optimal performance.
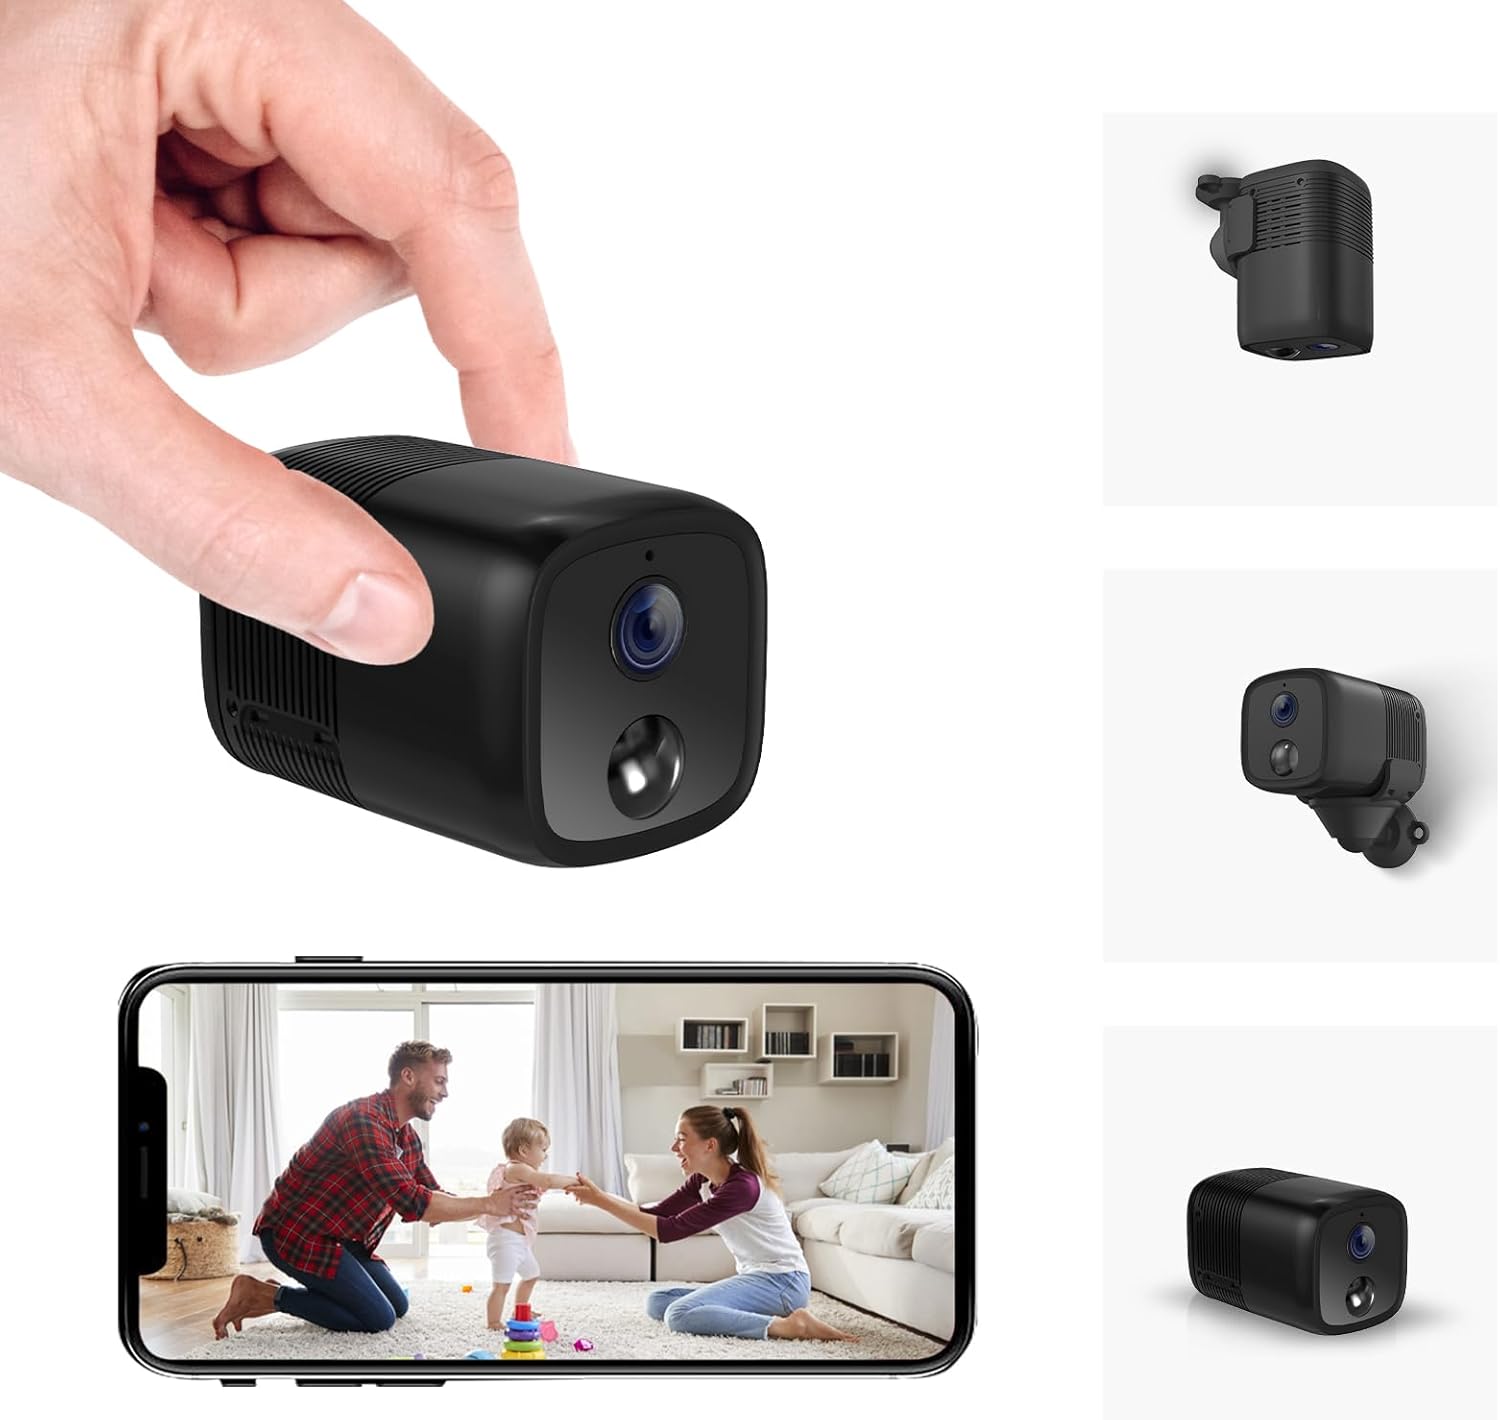
Image: The UCOCARE Wireless Security Camera, demonstrating its compact size and portability, alongside a smartphone displaying its live video feed.
2. What's Included
Please check the package contents to ensure all items are present:
- Security Camera Indoor WiFi
- Mounting Bracket
- Micro USB Charging Cable
- Pack of Screws and Other Installation Tools
- User Manual

Image: The retail packaging of the UCOCARE Wireless Security Camera, Model A90, indicating its contents and branding.
3. Setup Guide
3.1. Charging the Camera
Before initial use, fully charge the camera using the provided Micro USB charging cable. Connect the cable to the camera's charging port and a standard USB power adapter (not included). The charging indicator light will show the charging status.

Image: An illustration emphasizing the camera's 2600mAh high-capacity battery, capable of up to 120 days of consecutive use with typical event triggers.
3.2. App Download and Installation
The UCOCARE camera operates with the 'CloudEdge' application. Download the app from your device's app store:

Image: The back of the product box, displaying QR codes for downloading the 'CloudEdge' application from both the Apple App Store and Google Play Store.
3.3. Connecting to Wi-Fi
The camera connects to a 2.4GHz Wi-Fi network. Follow these steps to connect:
- Open the CloudEdge app and create an account or log in.
- Tap the '+' icon to add a new device.
- Select your camera model from the list.
- Follow the in-app instructions to connect the camera to your 2.4GHz Wi-Fi network. This typically involves scanning a QR code generated by the app with the camera.

Image: A visual guide outlining the three simple steps for connecting the camera: downloading the app, ensuring 2.4GHz Wi-Fi connection, and scanning a QR code.
3.4. Mounting the Camera
The camera's wire-free design and included flexible mounting bracket allow for versatile placement. You can mount it on a wall, ceiling, or place it on a flat surface.
- Surface Placement: Simply place the camera on any flat surface like a table or shelf.
- Wall/Ceiling Mount: Use the provided screws and tools to secure the mounting bracket to your desired location. Attach the camera to the bracket.
Ensure the camera has a clear line of sight to the area you wish to monitor.

Image: Demonstrations of the camera's compact size and flexible installation options, including placement on a surface, wall, or ceiling.
4. Operating Instructions
4.1. Live View and Remote Access
Once connected, you can access the live video feed from your camera anytime, anywhere via the CloudEdge app. Simply open the app and select your camera to view.

Image: A visual representation of the camera's remote viewing and two-way audio capabilities, allowing real-time communication.
4.2. Two-Way Audio
The camera features a built-in microphone and speaker, enabling two-way communication. Tap the microphone icon in the app to speak through the camera, and listen to audio from the camera's location.
4.3. Motion Detection and Alerts
The camera utilizes PIR algorithms for smart human detection, reducing false alarms. When motion is detected, the camera will:
- Send real-time alert messages to your phone.
- Record the event (if storage is available).
- Optionally activate a built-in siren.
You can customize detection sensitivity and set alert time schedules within the app.

Image: A depiction of the camera's accurate motion detection and instant alert capabilities, including a siren and two-way audio to deter intruders.
4.4. Night Vision
The camera is equipped with superior infrared night vision technology, providing clear video up to 10 meters in low-light or no-light conditions.

Image: A comparison demonstrating the camera's 1080P HD video clarity during the day and its effective infrared night vision up to 10 meters in dark environments.
4.5. Video Storage and Playback
Recorded events can be stored locally on a Micro SD card (not included, up to 128GB supported) or via cloud storage services (7-day trial available). You can review recorded clips by selecting the event type and sliding the timeline in the app.

Image: An illustration of the camera's flexible storage options, including local storage via an SD card and cloud services for recorded video.
4.6. Smart Home Integration
The UCOCARE camera is compatible with Google Home and Alexa, allowing for voice control and integration into your smart home ecosystem.

Image: The camera's compatibility with smart home assistants like Alexa and Google Assistant, enabling hands-free voice control for viewing live feeds.
4.7. Multi-User Access
You can share device access with family members or trusted individuals through the app (via QR code or account sharing). The system supports up to 5 simultaneous online viewers.
5. Maintenance
5.1. Battery Management
The camera features a powerful rechargeable battery designed for extended life. To maximize battery performance:
- Charge the camera fully before first use.
- Avoid extreme temperatures that can degrade battery life.
- Utilize the camera's low-power mode settings in the app to conserve energy.
5.2. Cleaning
Wipe the camera lens and body with a soft, dry cloth. Do not use liquid cleaners or abrasive materials, as they may damage the device.
6. Troubleshooting
| Problem | Possible Cause | Solution |
|---|---|---|
| Camera won't turn on | Low battery; Power button not pressed correctly. | Charge the camera fully. Press and hold the power button for a few seconds. |
| Cannot connect to Wi-Fi | Incorrect Wi-Fi password; Not connected to 2.4GHz network; Weak Wi-Fi signal. | Ensure correct password. Connect to a 2.4GHz network (5GHz is not supported). Move camera closer to router or use a Wi-Fi extender. |
| Frequent false alarms | Motion detection sensitivity too high; Environmental factors (e.g., shadows, leaves). | Adjust motion detection sensitivity in the app. Define specific detection zones to exclude irrelevant areas. |
| No video recording | No SD card inserted or full; Cloud storage subscription expired. | Insert a compatible Micro SD card (up to 128GB) or ensure it has free space. Check your cloud storage subscription status. |
| Two-way audio not working | Microphone/speaker muted in app; Network issues. | Check app settings to ensure audio is enabled. Verify stable internet connection. |
7. Specifications
| Feature | Detail |
|---|---|
| Model Name | A90 |
| Video Capture Resolution | 1080p |
| Viewing Angle | 160 Degrees |
| Night Vision Range | 10 Meters |
| Connectivity Protocol | Wi-Fi (2.4GHz only) |
| Power Source | Battery Powered (Lithium Ion, included) |
| Controller Type | iOS, Android, Alexa, Google Home |
| Storage Options | Micro SD Card (up to 128GB), Cloud Storage |
| Item Dimensions (L x W x H) | 11 x 9 x 5.5 cm |
| Item Weight | 140 g |
| Material | Plastic |
| Indoor/Outdoor Usage | Indoor, Outdoor |
8. Warranty and Support
8.1. Warranty Information
This UCOCARE product comes with a 3 Year Warranty from the date of purchase. Please retain your proof of purchase for warranty claims.
8.2. Customer Support
For any issues, questions, or technical assistance, please contact UCOCARE customer service:
Email: svipcustomers@163.com
Your satisfaction is our priority, and we are committed to providing prompt and helpful support.

Image: The side of the product packaging, clearly displaying the customer service email address for support inquiries.
Ask a question about this manual
Ask about setup, troubleshooting, compatibility, parts, safety, or missing instructions. Manuals+ will review the question and use this page’s manual context to help answer it.