
RYOBI PCL206B
Instruction Manual
RYOBI ONE+ 18V Cordless 1/2 in. Drill/Driver
Model: PCL206B | Brand: RYOBI
Introduction
The RYOBI 18V ONE+ Cordless 1/2 in. Drill/Driver (Model PCL206B) is a versatile tool designed for a wide range of drilling and driving applications. It features a powerful motor, a 2-speed gearbox, and a 24-position clutch for precise control. This manual provides essential information for safe and effective operation, maintenance, and troubleshooting of your drill/driver.

Figure 1: RYOBI ONE+ 18V Cordless 1/2 in. Drill/Driver (PCL206B)
Setup
1. Battery Installation
The RYOBI PCL206B Drill/Driver operates on the RYOBI 18V ONE+ Lithium-Ion battery platform. Ensure the battery is fully charged before use. To install the battery:
- Align the battery pack with the battery port on the base of the drill handle.
- Slide the battery into the port until it clicks securely into place.
- To remove, press the release latches on the sides of the battery pack and pull it out.
2. Bit Installation (1/2 in. Keyless Ratcheting Chuck)
The drill/driver features a 1/2 inch keyless ratcheting chuck for quick and secure bit changes.
- Rotate the chuck counter-clockwise to open the jaws.
- Insert the desired drill bit or driver bit into the chuck, ensuring it is centered.
- Rotate the chuck clockwise to tighten the jaws firmly around the bit. The ratcheting mechanism will provide an audible click when securely tightened.
- To remove the bit, rotate the chuck counter-clockwise until the jaws open sufficiently.
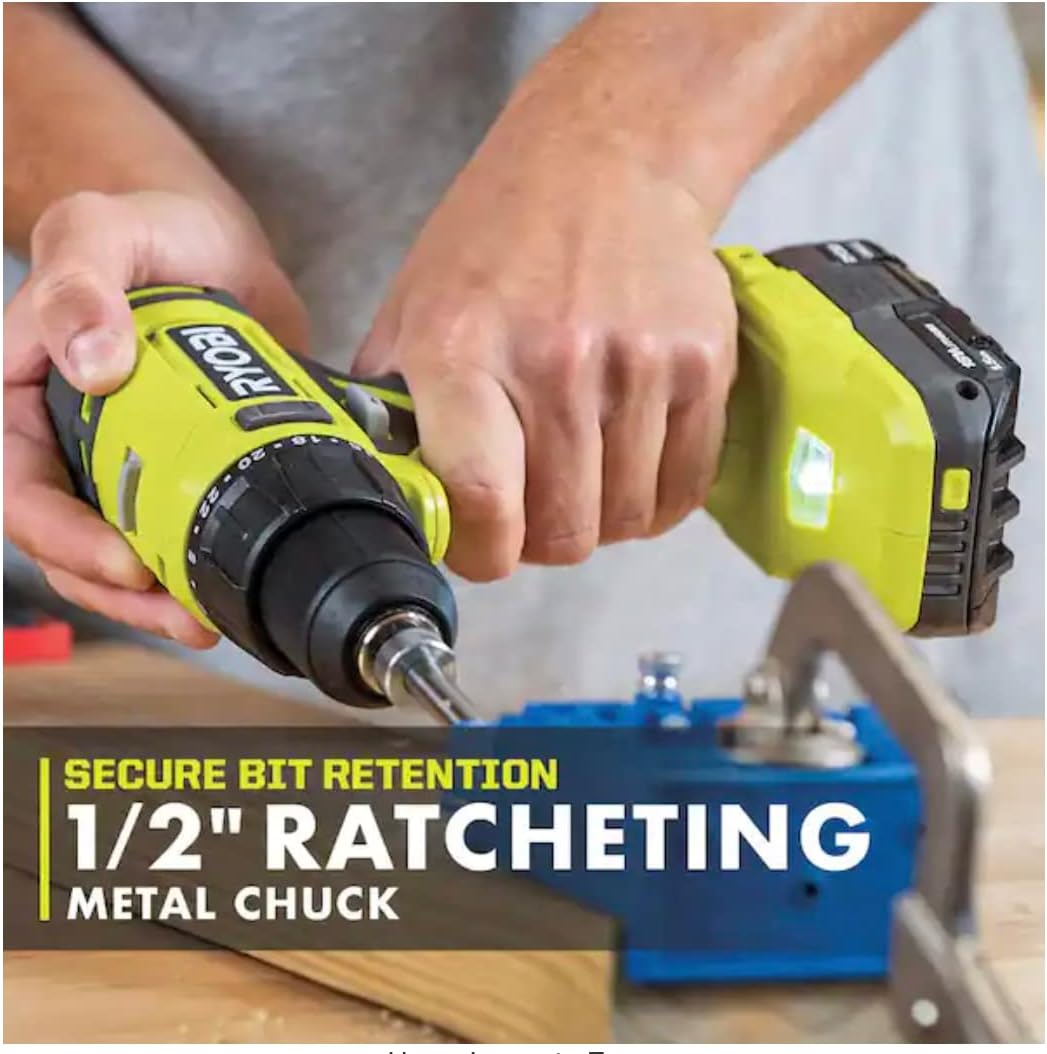
Figure 2: Secure bit retention with the 1/2 inch ratcheting metal chuck.
Operating the Drill/Driver
1. Power and Speed Control
The drill/driver is equipped with a variable speed trigger and a 2-speed gearbox.
- Variable Speed Trigger: Squeeze the trigger to start the drill. The speed increases as you apply more pressure.
- 2-Speed Gearbox: Use the speed selector switch located on top of the drill to choose between two speed settings:
- Low Speed (0-450 RPM): Ideal for high-torque applications like driving screws or drilling large holes.
- High Speed (0-1,750 RPM): Suitable for fast drilling in wood or metal.

Figure 3: Drill operating at high speed (1,750 RPM).
2. Torque and Clutch Settings
The 24-position clutch allows you to adjust the torque output to prevent overdriving screws or damaging materials.
- Rotate the clutch collar to select the desired torque setting (1-23). Lower numbers are for smaller screws or softer materials, while higher numbers are for larger screws or harder materials.
- The drill setting (indicated by a drill bit icon) bypasses the clutch for maximum torque (515 in./lbs.) when drilling.

Figure 4: Drill displaying 515 inch-pounds of torque.
3. Forward/Reverse Selector
A switch located above the trigger controls the direction of rotation:
- Push the switch to the left for forward (clockwise) rotation, used for drilling and driving screws.
- Push the switch to the right for reverse (counter-clockwise) rotation, used for removing screws or backing out drill bits.
- Center position locks the trigger to prevent accidental starting.
4. LED Worklight
The integrated LED worklight illuminates the work area when the trigger is pressed, providing improved visibility in dimly lit conditions.

Figure 5: Drill in use, demonstrating the LED worklight illuminating the work area.
Maintenance
- Cleaning: Keep the tool clean and free of dust and debris. Use a soft, damp cloth for cleaning. Do not use harsh chemicals or abrasive cleaners.
- Storage: Store the drill/driver in a dry, secure location out of reach of children. Remove the battery pack when storing for extended periods.
- Battery Care: Follow the battery manufacturer's instructions for charging, storage, and disposal of the 18V ONE+ Lithium-Ion battery.
Troubleshooting
| Problem | Possible Cause | Solution |
|---|---|---|
| Drill does not start | Battery not installed correctly or discharged. Trigger lock engaged. | Ensure battery is fully seated and charged. Disengage the forward/reverse selector from the center (locked) position. |
| Reduced power or speed | Low battery charge. Incorrect speed setting. | Recharge the battery. Switch to the high-speed setting for faster operation or low speed for more torque. |
| Bit slips in chuck | Chuck not tightened sufficiently. | Retighten the chuck firmly around the bit until it ratchets. |
Specifications
| Feature | Detail |
|---|---|
| Brand | RYOBI |
| Model Number | PCL206B |
| Power Source | Battery Powered |
| Voltage | 18 Volts |
| Maximum Rotational Speed | 1750 RPM |
| Amperage | 3 Amps |
| Maximum Torque | 515 Inch Pounds |
| Number of Speeds | 2 |
| Chuck Size | 1/2 inch Keyless Ratcheting |
| Special Feature | Variable Speed, On-board LED Worklight |
| Product Dimensions | 7.3"L x 2.6"W x 7"H |
| Item Weight | 1.5 Pounds |
| Material | Metal and Plastic/Composite |
Warranty & Support
The RYOBI 18V ONE+ 1/2 in. Drill/Driver (PCL206B) is backed by the RYOBI 3-Year Manufacturer's Warranty. For warranty claims, technical support, or service inquiries, please refer to the official RYOBI website or contact their customer service directly.
For additional resources and product information, visit: www.ryobitools.com
Important Safety Information
Always read and understand all safety warnings and instructions provided with the product before operation. Wear appropriate personal protective equipment (PPE) such as safety glasses, hearing protection, and gloves. Keep work area clean and well lit. Do not operate power tools in explosive atmospheres, such as in the presence of flammable liquids, gases or dust.
Related documentsPCL206B


Ask a question about this manual
Ask about setup, troubleshooting, compatibility, parts, safety, or missing instructions. Manuals+ will review the question and use this page’s manual context to help answer it.