
1. Introduction
Thank you for choosing the Alessi Plissé Multifunction Milk Frother/Jug. This manual provides essential information for the safe and efficient operation, maintenance, and care of your appliance. Please read these instructions carefully before first use and keep them for future reference.
Important Safety Information
- Always ensure the appliance is placed on a stable, flat, heat-resistant surface.
- Do not immerse the power base, cord, or plug in water or any other liquid.
- Keep the appliance out of reach of children.
- Do not operate the appliance with a damaged cord or plug, or after the appliance malfunctions or has been damaged in any manner.
- Unplug the appliance from the outlet when not in use and before cleaning.
- This appliance is for residential use only.
2. Product Overview
The Alessi Plissé Multifunction Milk Frother/Jug is designed to heat and froth milk for various beverages. It features a distinctive pleated design and intuitive controls.
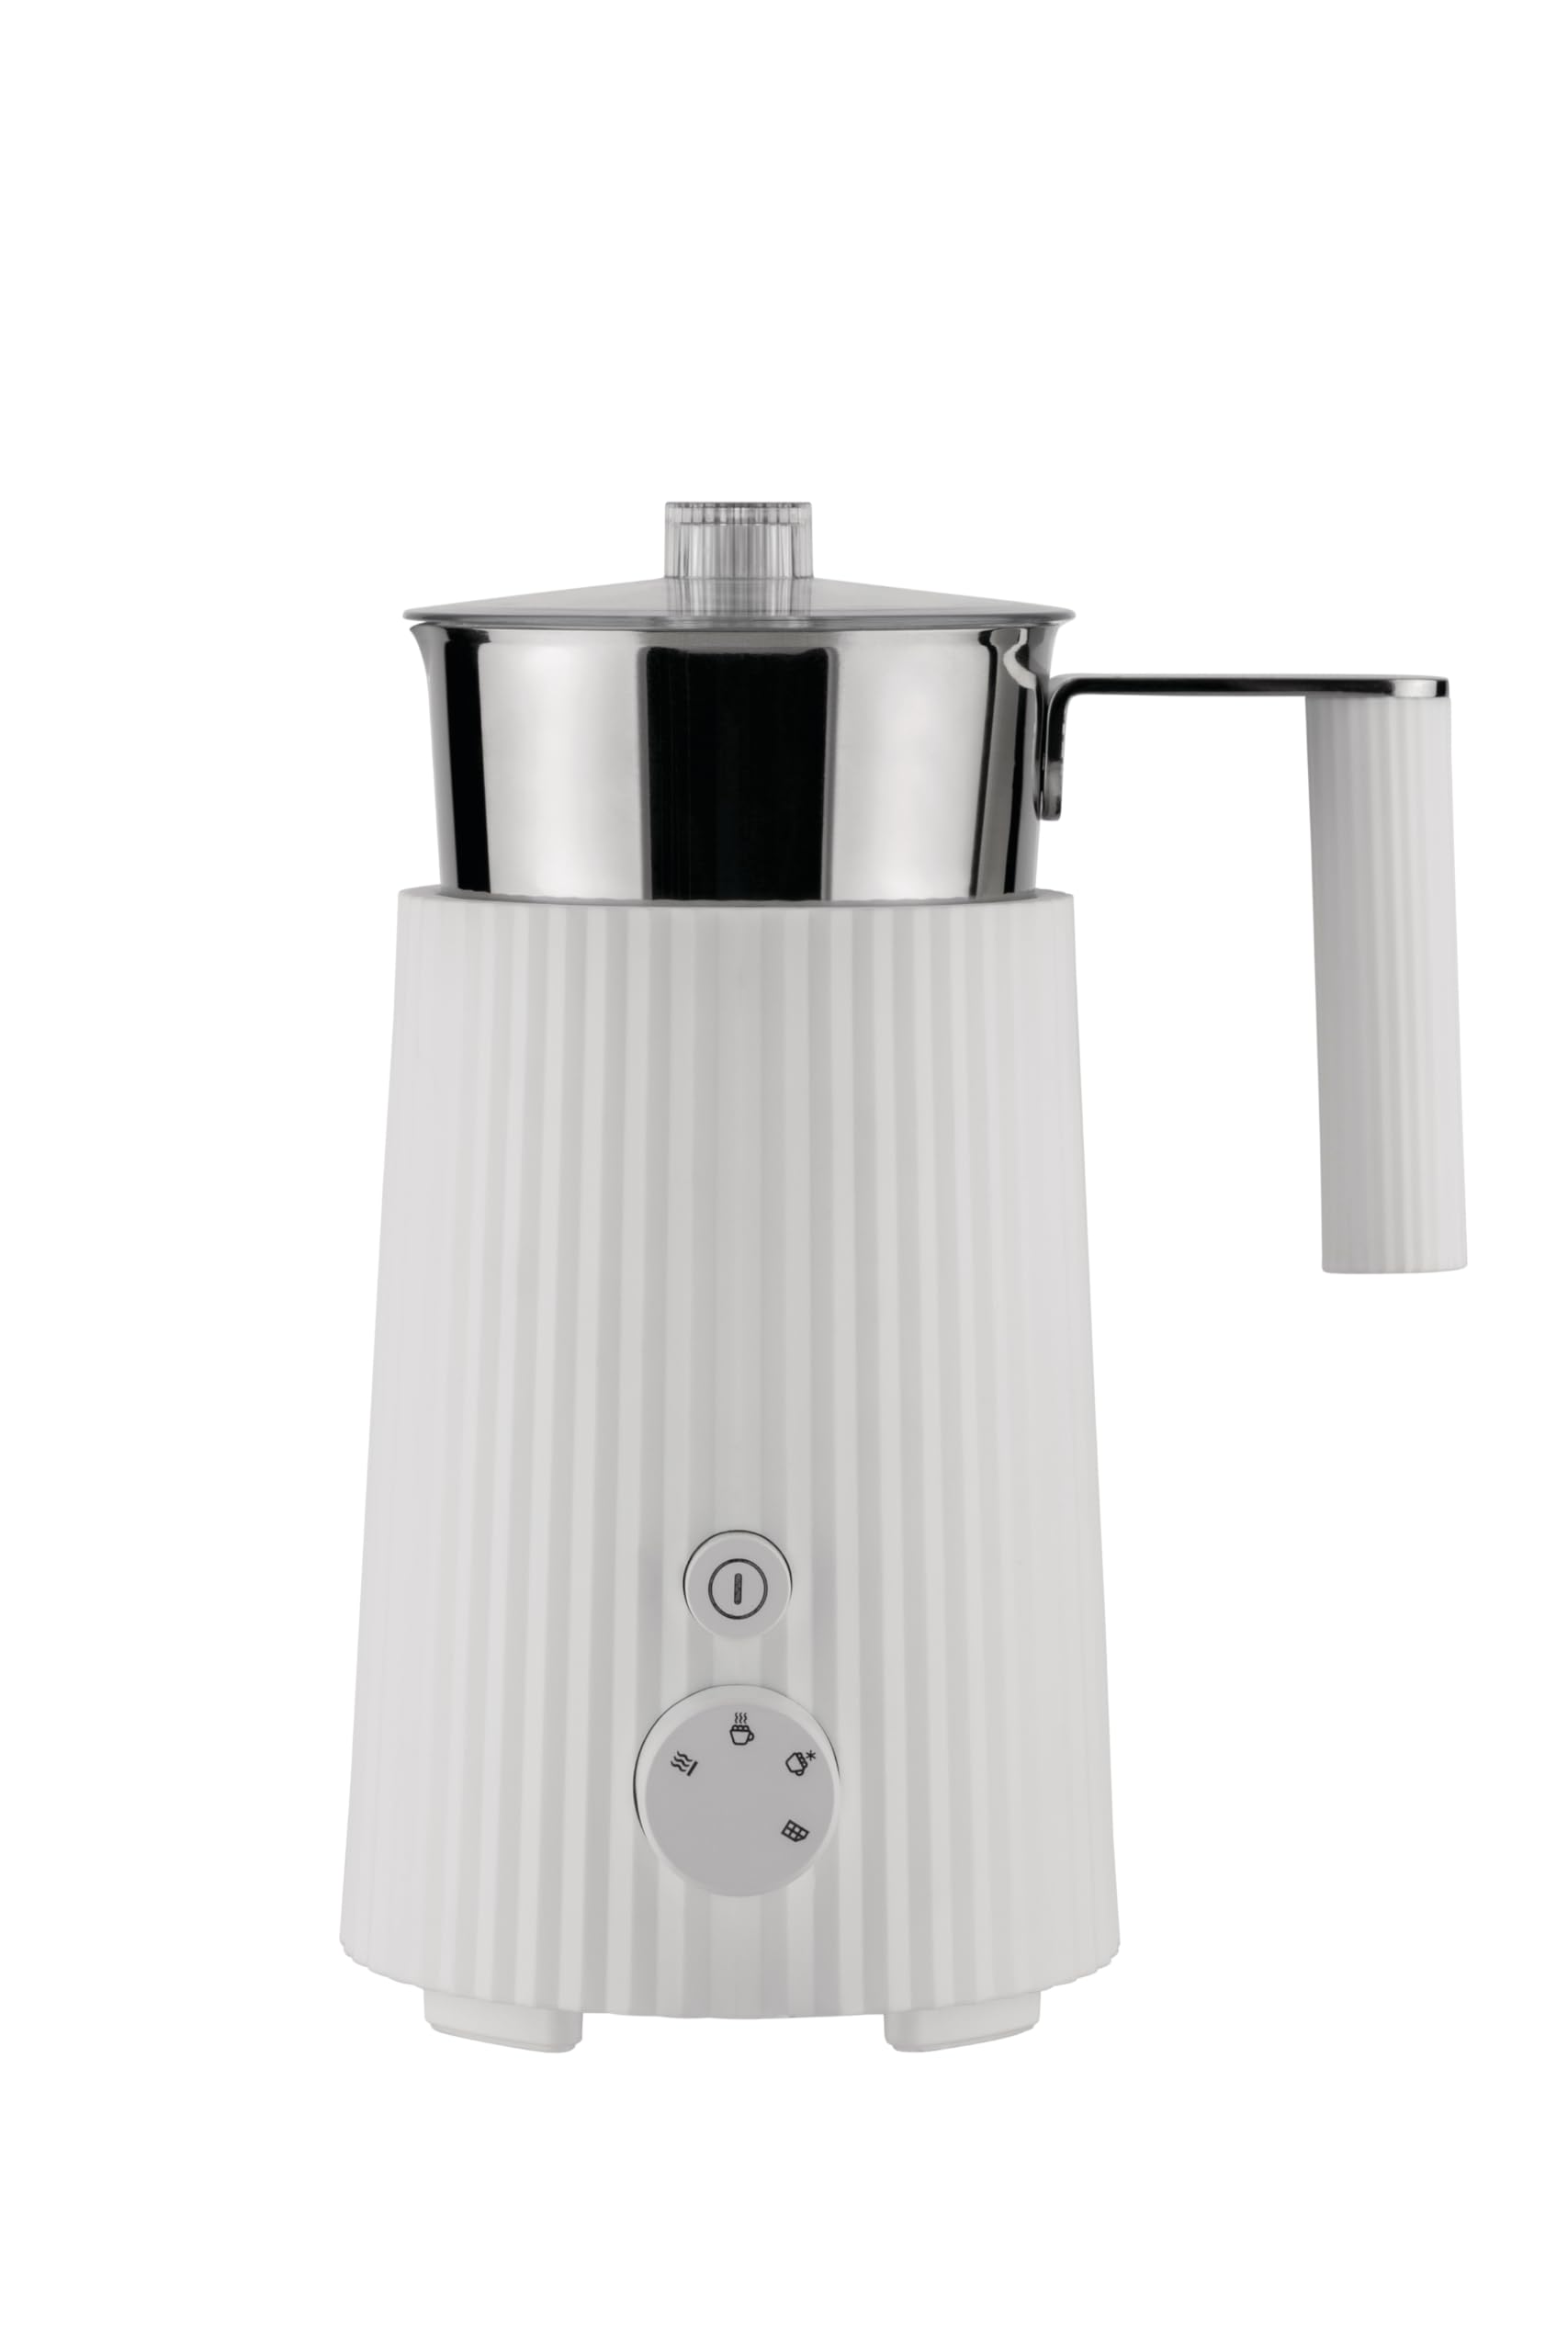
Image: The Alessi Plissé Milk Frother/Jug in white, positioned on a countertop next to a cup of frothed milk and a small pastry.
Components
- Frother Jug: Stainless steel jug with a handle, where milk is frothed or heated.
- Lid: Transparent lid for the frother jug.
- Whisk: Detachable whisk located inside the jug for frothing.
- Power Supply Base: The electrical base that powers the frother jug.

Image: The Alessi Plissé Milk Frother/Jug separated from its power base, showing the stainless steel jug and the white pleated base.
Controls

Image: A close-up view of the control panel on the frother, showing the power button and the function selection dial with various icons.
- Power Button (①): Press to start or stop the frothing/heating process.
- Function Dial: Rotate to select the desired function:
- Hot Froth (☕): For warm, dense milk foam.
- Cold Froth (❃): For cold milk foam.
- Hot Milk (☕ with waves): For heating milk without frothing.
3. Setup
- Unpack: Carefully remove all packaging materials and ensure all components are present.
- Initial Cleaning: Before first use, clean the frother jug and whisk with warm soapy water. Rinse thoroughly and dry. Wipe the power base with a damp cloth.
- Placement: Place the power base on a dry, level, and stable surface away from water sources.
- Assemble: Insert the whisk into the bottom of the frother jug. Place the frother jug onto the power base.
4. Operating Instructions
Follow these steps to use your Alessi Plissé Milk Frother/Jug:
- Add Milk: Pour cold milk into the frother jug. Observe the 'MAX' fill lines indicated inside the jug. Do not exceed the maximum fill line for frothing or heating to prevent overflow.

Image: The interior of the frother jug, highlighting the 'MAX' fill line for milk.

Image: A top-down view of the frother jug with the transparent lid removed, showing the whisk attachment at the bottom.
- Secure Lid: Place the lid securely on the frother jug.
- Select Function: Rotate the function dial on the power base to choose your desired setting (Hot Froth, Cold Froth, or Hot Milk).
- Start: Press the power button (①) to begin the process. The indicator light will illuminate.
- Completion: The appliance will automatically stop when the selected program is complete. The indicator light will turn off.
- Serve: Carefully remove the frother jug from the base and pour the frothed or heated milk.
- Stop Mid-Cycle: To stop the process at any time, press the power button (①) again.
5. Cleaning and Maintenance
Regular cleaning ensures optimal performance and extends the life of your frother.
- Unplug: Always unplug the appliance from the power outlet and allow it to cool completely before cleaning.
- Clean Jug and Whisk: Remove the frother jug from the power base. Detach the whisk. Wash the jug and whisk with warm soapy water using a soft sponge. Rinse thoroughly and dry immediately.
- Clean Lid: Wash the lid with warm soapy water, rinse, and dry.
- Clean Power Base: Wipe the exterior of the power base with a soft, damp cloth. Do not use abrasive cleaners or scourers. Never immerse the power base in water or any other liquid.
- Storage: Store the clean and dry frother in a safe, dry place.
6. Troubleshooting
If you encounter issues with your frother, please refer to the following common problems and solutions:
- Appliance does not turn on:
- Ensure the power cord is securely plugged into a working electrical outlet.
- Check if the frother jug is correctly placed on the power base.
- Milk is not frothing or heating properly:
- Ensure the whisk is correctly inserted into the bottom of the jug.
- Check that the milk level is between the minimum and maximum fill lines.
- Ensure you have selected the correct function on the dial.
- Use fresh, cold milk for best frothing results. Different types of milk (dairy, non-dairy) may yield varying frothing quality.
- Milk overflows during operation:
- You may have exceeded the maximum fill line. Always adhere to the 'MAX' indicator inside the jug.
7. Specifications
- Brand: Alessi
- Model: Plissé Multifunction Milk Frother/Jug
- Color: White
- Style: Modern
- Recommended Use: Residential
- Included Components: Lid, Power Supply Base, Frother Jug, Whisk
8. Warranty and Support
For warranty information and customer support, please refer to the warranty card included with your product or visit the official Alessi website. Do not attempt to repair the appliance yourself; contact authorized service personnel for assistance.


