
1. Introduction
Thank you for choosing the AECOJOY 8.2'x6.5' Manual Retractable Awning. This manual provides essential information for the safe installation, operation, and maintenance of your awning. Please read it thoroughly before assembly and use, and retain it for future reference.
1.1 Safety Information
- Ensure proper anchoring to withstand winds and regularly check the stability of the installation.
- Be cautious when operating the manual crank to avoid injury.
- Retract the awning during high winds, heavy rain, or snow to prevent damage.
- Do not hang objects from the awning frame.
- Keep children and pets away from the awning during operation.
2. Product Features
The AECOJOY Manual Retractable Awning is designed to provide shade and UV protection for various outdoor spaces.
- Versatile Use: Ideal for shading windows, balconies, courtyards, patios, cafes, and restaurants.
- Durable Fabric: Made of 280g polyester with PU coating, offering water resistance, anti-UV properties, and sun fading resistance (30UV+ solar protection).
- Robust Construction: Features a rust-resistant, powder-coated aluminum frame. Designed to resist winds up to 30mph.
- Manual Operation: Easily extend and retract the awning using the included hand crank.
- Adjustable Pitch: The front pitch bar can be adjusted to raise or lower the awning angle.

Figure 1: Awning with adjustable angle feature (40-90 degrees).
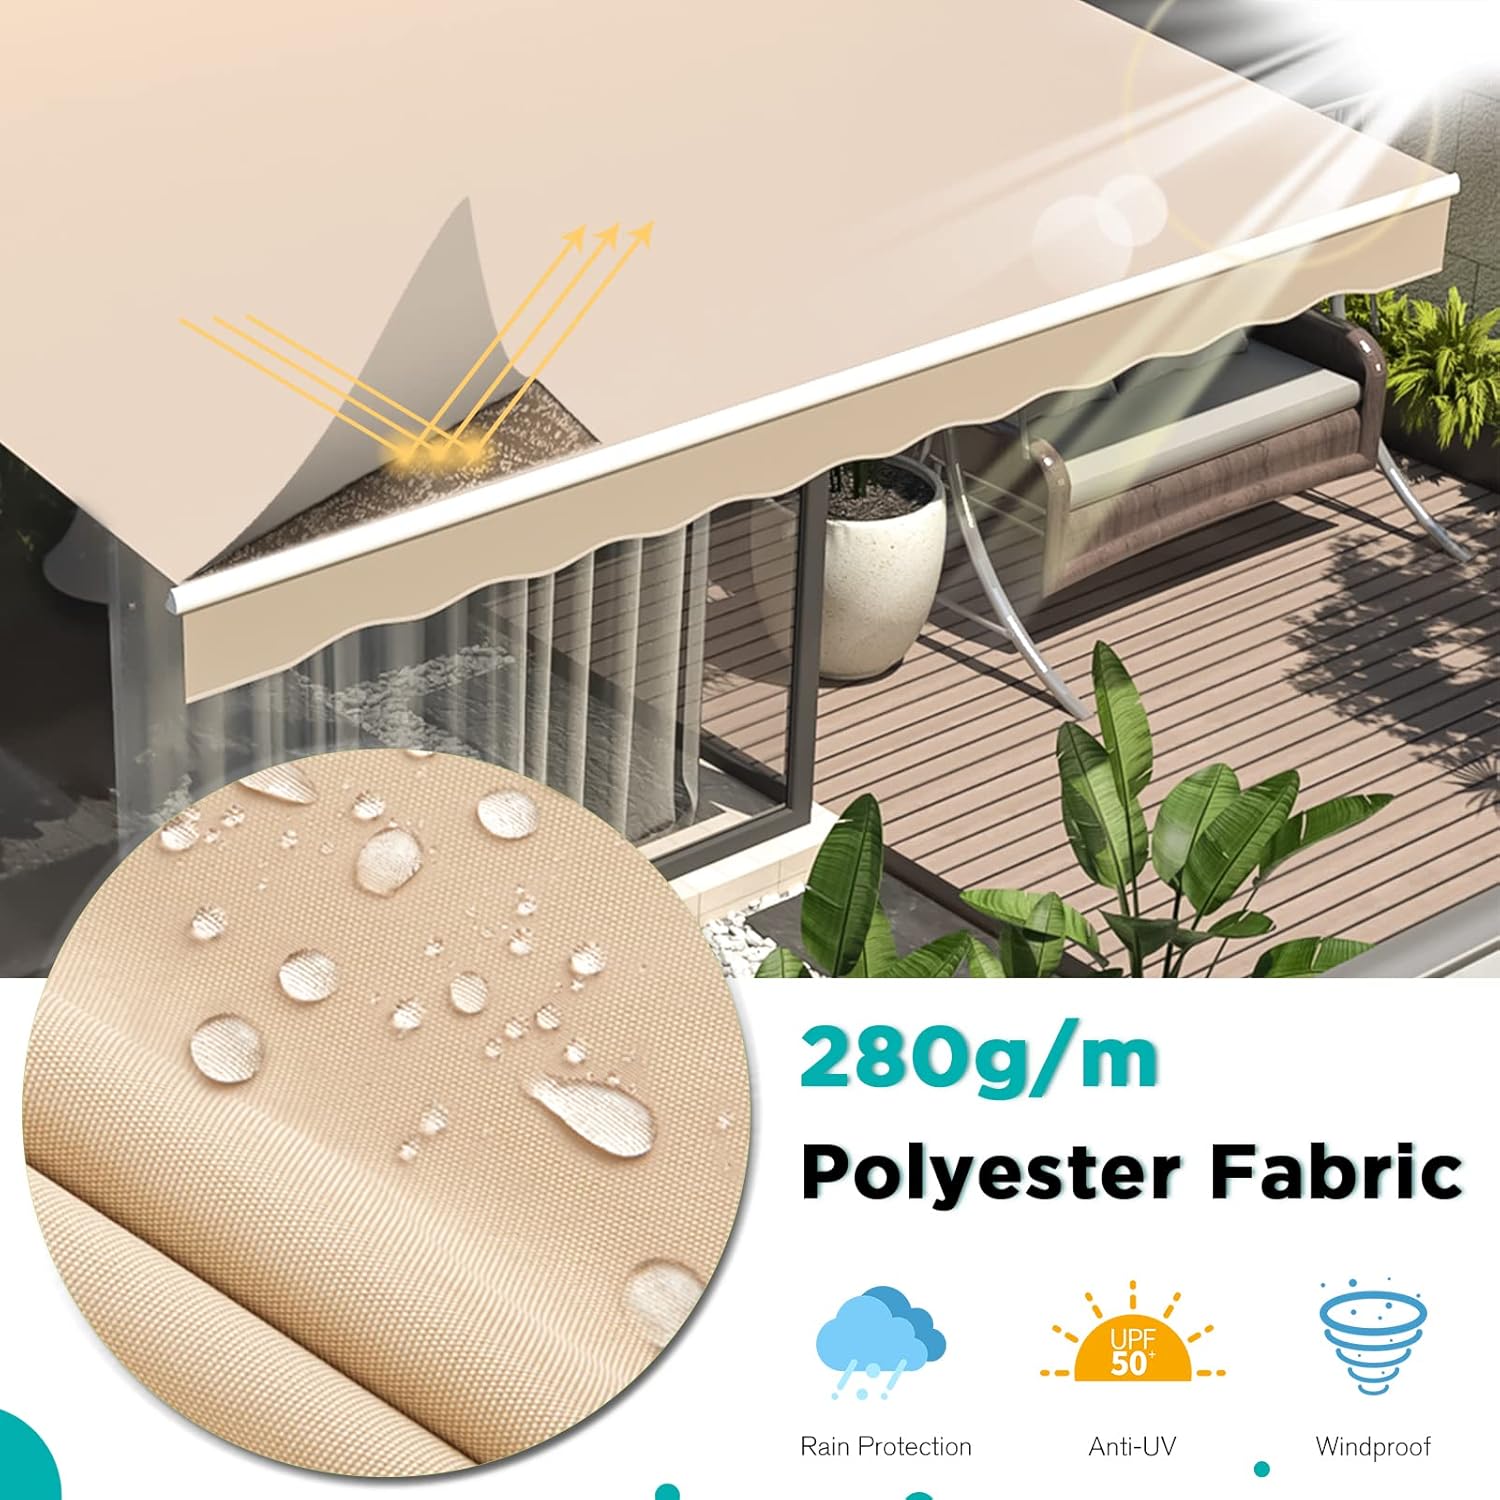
Figure 2: Detail of the 280g polyester fabric, emphasizing its protective features.

Figure 3: Awning dimensions and recommended installation height.
3. Package Contents
Verify that all components are present before beginning assembly. Refer to the packing list included with your product for a complete itemized list.
- Awning Frame Assembly
- Awning Fabric
- Manual Crank Handle
- Mounting Hardware (bolts, screws, etc.)
- Instruction Manual
4. Installation Guide
This awning requires assembly and can be installed on concrete, solid brick, or wooden walls. Professional installation is recommended for optimal safety and performance.
4.1 Pre-Installation Checklist
- Tools Required: Drill, level, measuring tape, wrench set, ladder, safety glasses.
- Wall Type: Ensure the mounting surface is structurally sound and capable of supporting the awning's weight and operational forces.
- Location: Choose a location that provides adequate clearance for the awning to extend and retract fully.
4.2 Mounting the Awning
- Assemble the awning frame according to the detailed diagrams in the included manual.
- Mark the desired mounting points on the wall, ensuring they are level and spaced correctly for the awning brackets.
- Drill pilot holes and securely fasten the mounting brackets to the wall using appropriate anchors for your wall type.
- Carefully lift the awning assembly and attach it to the mounted brackets. Ensure all connections are tight and secure.
- Attach the fabric to the roller tube and front bar as per the manual's instructions.

Figure 4: Examples of awning installation in various home and business settings.

Figure 5: Awning extended over a patio area.
5. Operating Instructions
Your AECOJOY awning is operated manually using the provided crank handle.
5.1 Extending and Retracting the Awning
- To Extend: Insert the crank handle into the loop on the gearbox. Turn the handle clockwise to extend the awning. Continue turning until the awning reaches the desired extension or is fully extended.
- To Retract: Turn the crank handle counter-clockwise to retract the awning. Continue turning until the awning is fully closed against the wall.
5.2 Adjusting the Awning Pitch
The pitch (angle) of your awning can be adjusted to optimize shade coverage or water runoff.
- Locate the adjustment bolts on the awning arms.
- Using the appropriate wrench, loosen the adjustment bolts slightly.
- Adjust the front bar to the desired angle. Ensure both sides are adjusted evenly to maintain a level appearance.
- Tighten the adjustment bolts securely once the desired pitch is achieved.
6. Maintenance and Care
Regular maintenance will prolong the life and appearance of your awning.
- Cleaning the Fabric: Clean the awning fabric periodically with mild soap and water. Use a soft brush or sponge. Rinse thoroughly with clean water and allow to air dry completely before retracting. Do not use harsh chemicals or abrasive cleaners.
- Frame Inspection: Annually inspect the frame, mounting brackets, and all fasteners for tightness and signs of wear or corrosion. Tighten any loose bolts.
- Lubrication: Periodically lubricate moving parts, such as the arm joints and gearbox, with a silicone-based spray lubricant.
- Weather Protection: Always retract the awning during strong winds, heavy rain, or snow to prevent damage to the fabric and frame.
7. Troubleshooting
Refer to the table below for common issues and their solutions.
| Problem | Possible Cause | Solution |
|---|---|---|
| Awning does not extend or retract smoothly. | Obstruction in the arms or roller; gearbox issue; lack of lubrication. | Check for obstructions. Lubricate moving parts. If issue persists, contact customer support. |
| Awning sags or is uneven. | Uneven arm tension; loose mounting brackets; incorrect pitch adjustment. | Check and adjust arm tension. Ensure mounting brackets are secure. Re-adjust the pitch evenly on both sides. |
| Fabric collects water. | Insufficient pitch angle. | Increase the pitch angle of the awning to allow for proper water runoff. |
| Awning makes unusual noises during operation. | Lack of lubrication; loose components. | Lubricate all moving parts. Check for and tighten any loose bolts or screws. |
8. Product Specifications
| Brand | AECOJOY |
| Model | B0BSH2KV9H |
| Size | 8.2x6.5 FT (98.4"W x 78"D) |
| Projection Distance | 6.5 Feet |
| Color | Beige |
| Material | Alloy Steel, Aluminum |
| Fabric Type | Polyester (280g with PU coating) |
| Operation Mode | Manual |
| Required Assembly | Yes |
9. Warranty and Customer Support
AECOJOY products are manufactured to high-quality standards. For specific warranty details, please refer to the warranty card included with your purchase or contact AECOJOY customer support.
If you encounter any issues or have questions regarding your awning, please contact our customer support team for assistance. Provide your model number (B0BSH2KV9H) when contacting support to ensure efficient service.
Contact Information: Refer to the contact details provided on the product packaging or the official AECOJOY website.