1. Product Overview
The Taylin IOL573BK is a 2-light outdoor wall lantern designed to provide both up and down illumination. Featuring a sleek black finish and clear glass panels, this fixture is suitable for various outdoor settings such as porches, patios, and entryways. It utilizes two user-replaceable Type A bulbs, each up to 60W, for efficient and balanced lighting.
Key features include:
- Dual up and down lighting for comprehensive illumination.
- Durable metal construction with a black finish.
- Clear glass panels to maximize light output.
- Designed for outdoor use.
- Easy Connect system for simplified installation.

Figure 1: Front view of the Taylin IOL573BK outdoor light fixture, showcasing its cylindrical design and black finish.
2. Safety Information
WARNING: Risk of electric shock. Disconnect power at the fuse box or circuit breaker before installation or servicing.
- Read all instructions carefully before beginning installation.
- All wiring must be in accordance with national and local electrical codes. If you are unsure about wiring, consult a qualified electrician.
- Ensure the mounting surface can support the weight of the fixture.
- Do not exceed the maximum wattage specified for the bulbs.
- Handle glass components with care to prevent breakage.
- This fixture is rated for outdoor use. Ensure all connections are properly sealed against moisture.
3. Package Contents
Verify that all components are present before beginning installation:
- Taylin IOL573BK Light Fixture (1)
- Mounting Hardware Kit (1)
Note: Bulbs are not included and must be purchased separately.
4. Setup and Installation
The Easy Connect system is designed to simplify the installation process. Follow these general steps:
Turn Off Power: Locate the circuit breaker or fuse box that controls the power to the installation location. Turn off the power completely before proceeding.
Prepare Mounting Surface: Ensure the electrical box is securely mounted and the wiring is accessible.
Attach Mounting Bracket: Secure the provided mounting bracket to the electrical box using the screws from the mounting hardware kit.
Make Electrical Connections: Connect the fixture's wires to the household wires according to standard electrical codes (black to black, white to white, ground to ground). Use wire nuts to secure connections. Ensure all connections are tight and properly insulated.
Mount Fixture: Carefully align the fixture with the mounting bracket and secure it in place using the provided screws. Ensure the fixture is flush against the wall and stable.
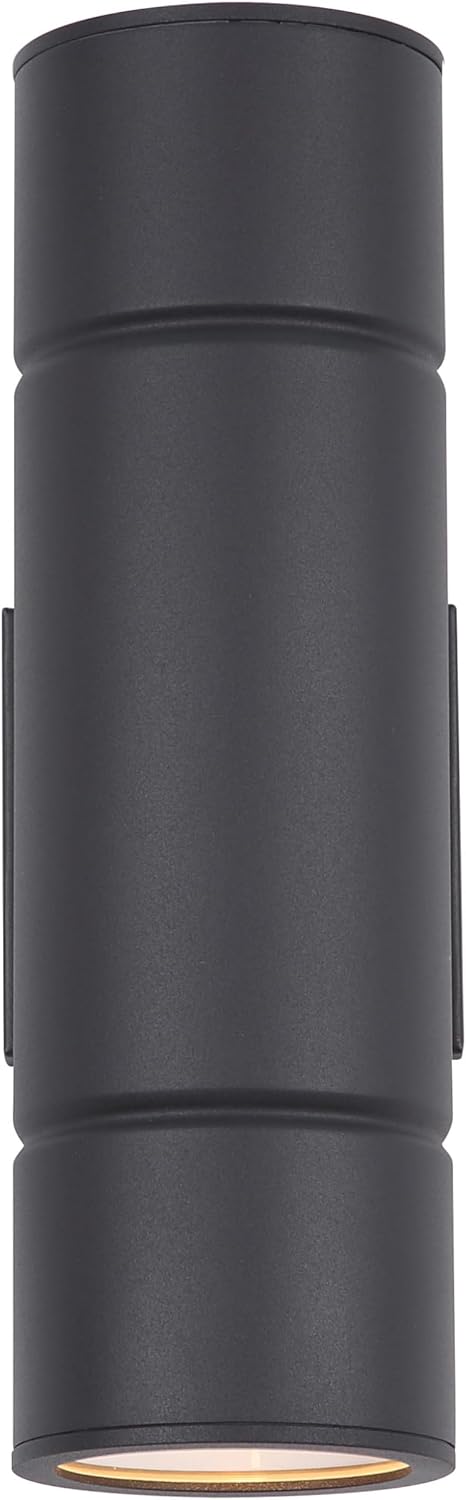
Figure 2: The Taylin IOL573BK fixture installed on an exterior wall, demonstrating its up and down lighting effect.
Install Bulbs: Insert two Type A bulbs (E26 base, max 60W each) into the sockets at the top and bottom of the fixture. Do not overtighten.

Figure 3: Close-up view of the Taylin IOL573BK, highlighting the light output from the bottom section.
Restore Power: Once installation is complete and all connections are secure, restore power at the circuit breaker or fuse box.
If you are not familiar with electrical installations, it is recommended to consult a qualified electrician.
5. Operating Instructions
The Taylin IOL573BK outdoor light fixture is designed for simple operation. Once installed and powered, it can be controlled by a standard wall switch connected to its circuit. If integrated into a smart home system, it may also be controlled via compatible remote methods, depending on your specific setup.
To operate:
- Flip the wall switch to the 'ON' position to illuminate the fixture.
- Flip the wall switch to the 'OFF' position to turn off the fixture.
6. Maintenance
Regular maintenance will help preserve the appearance and functionality of your light fixture.
- Cleaning: To clean the fixture, wipe it with a soft, damp cloth. Do not use abrasive cleaners or solvents, as these may damage the finish or glass.
- Bulb Replacement: Ensure power is turned off at the circuit breaker before replacing bulbs. Allow bulbs to cool before handling. Replace with Type A bulbs (E26 base) with a maximum wattage of 60W per bulb.
- Inspection: Periodically inspect the wiring and connections for any signs of wear or damage. Ensure the fixture remains securely mounted.
7. Troubleshooting
| Problem | Possible Cause | Solution |
|---|---|---|
| Light does not turn on. |
|
|
| Light flickers. |
|
|
8. Specifications
| Attribute | Specification |
|---|---|
| Model Number | IOL573BK |
| Dimensions (L x W x H) | 4.25" x 5.5" x 13" |
| Voltage | 120 Volts |
| Wattage (Max) | 120 watts (2 x 60W Type A) |
| Bulb Base | E26 |
| Material | Metal, Glass |
| Finish | Black |
| Indoor/Outdoor Usage | Outdoor |
| Assembly Required | Yes |
| Item Weight | 2.78 pounds |
9. Warranty and Support
This Taylin IOL573BK light fixture comes with a 1-year manufacturer's warranty. This warranty covers defects in materials and workmanship under normal use.
For warranty claims, technical support, or any questions regarding your product, please contact Canarm customer service. Keep your proof of purchase for warranty validation.
For more information, visit the official Canarm website or refer to your purchase documentation.


