
1. Important Safety Instructions
Please read all instructions carefully before using the appliance. Keep this manual for future reference.
- Do not immerse the heating base in water or other liquids.
- Ensure the voltage rating matches your power supply.
- Always supervise children when the appliance is in use.
- Unplug from the outlet when not in use and before cleaning.
- Do not operate any appliance with a damaged cord or plug.
- Avoid touching hot surfaces. Use handles or knobs.
- The appliance features an over-temperature dry burn automatic power-off device for safety.
- Use on a stable, flat, heat-resistant surface.
2. Product Components
The BILPIKOGoo Electric Hot Pot comes with the following components:
- 1 x Glass Lid
- 1 x Egg Steamer Rack
- 1 x Soup Pot (1.6L capacity)
- 1 x Frying Pot
- 1 x Heating Base
- 1 x Bamboo Spatula
- 1 x Storage Bag
- 1 x Power Cord
- 2 x Cleaning Cottons
- 1 Kit x Dinnerwares

Image 1: Overview of the BILPIKOGoo Electric Hot Pot components. This image displays the soup pot with an egg steamer rack inside, the glass lid, the heating base with a control knob, and the separate frying pan.
3. Setup and Initial Use
3.1 Unpacking
Carefully remove all components from the packaging. Inspect for any damage. Retain packaging for future storage or transport if desired.
3.2 Initial Cleaning
Before first use, wash the soup pot, frying pot, glass lid, egg steamer rack, and dinnerwares with warm soapy water. Rinse thoroughly and dry completely. Wipe the heating base with a damp cloth; do not immerse the base in water.
3.3 Assembly
- Place the heating base on a stable, flat, and heat-resistant surface.
- Choose either the soup pot or the frying pot. The pots feature a split design, allowing them to be placed securely on the heating base.
- Ensure the pot is properly seated on the heating base before adding ingredients or plugging in the power cord.
- Attach the power cord to the heating base, then plug it into a standard 110V outlet.

Image 2: The soup pot securely placed on the heating base, ready for operation. The foldable handle is extended.
4. Operating Instructions
4.1 Power Connection and Control
After placing the desired pot on the heating base and plugging in the power cord, turn the control knob located on the front of the heating base to select the desired heat level. The knob offers an 8-level temperature control function, allowing for precise adjustment. While the dial indicates multiple levels, practical operation often provides distinct low, medium, and high heat settings.

Image 3: Close-up of the heating base showing the temperature control knob. The knob allows for adjustment of heat levels.
4.2 Cooking Functions
- Soup Pot: Ideal for boiling water, cooking pasta, noodles, ramen, oatmeal, soups, and stewing. The 1.6L capacity is suitable for 1-2 people. The egg steamer rack can be inserted for steaming eggs or other small items.
- Frying Pot: Use for frying eggs, steaks, pancakes, stir-frying vegetables, or other pan-fried dishes.
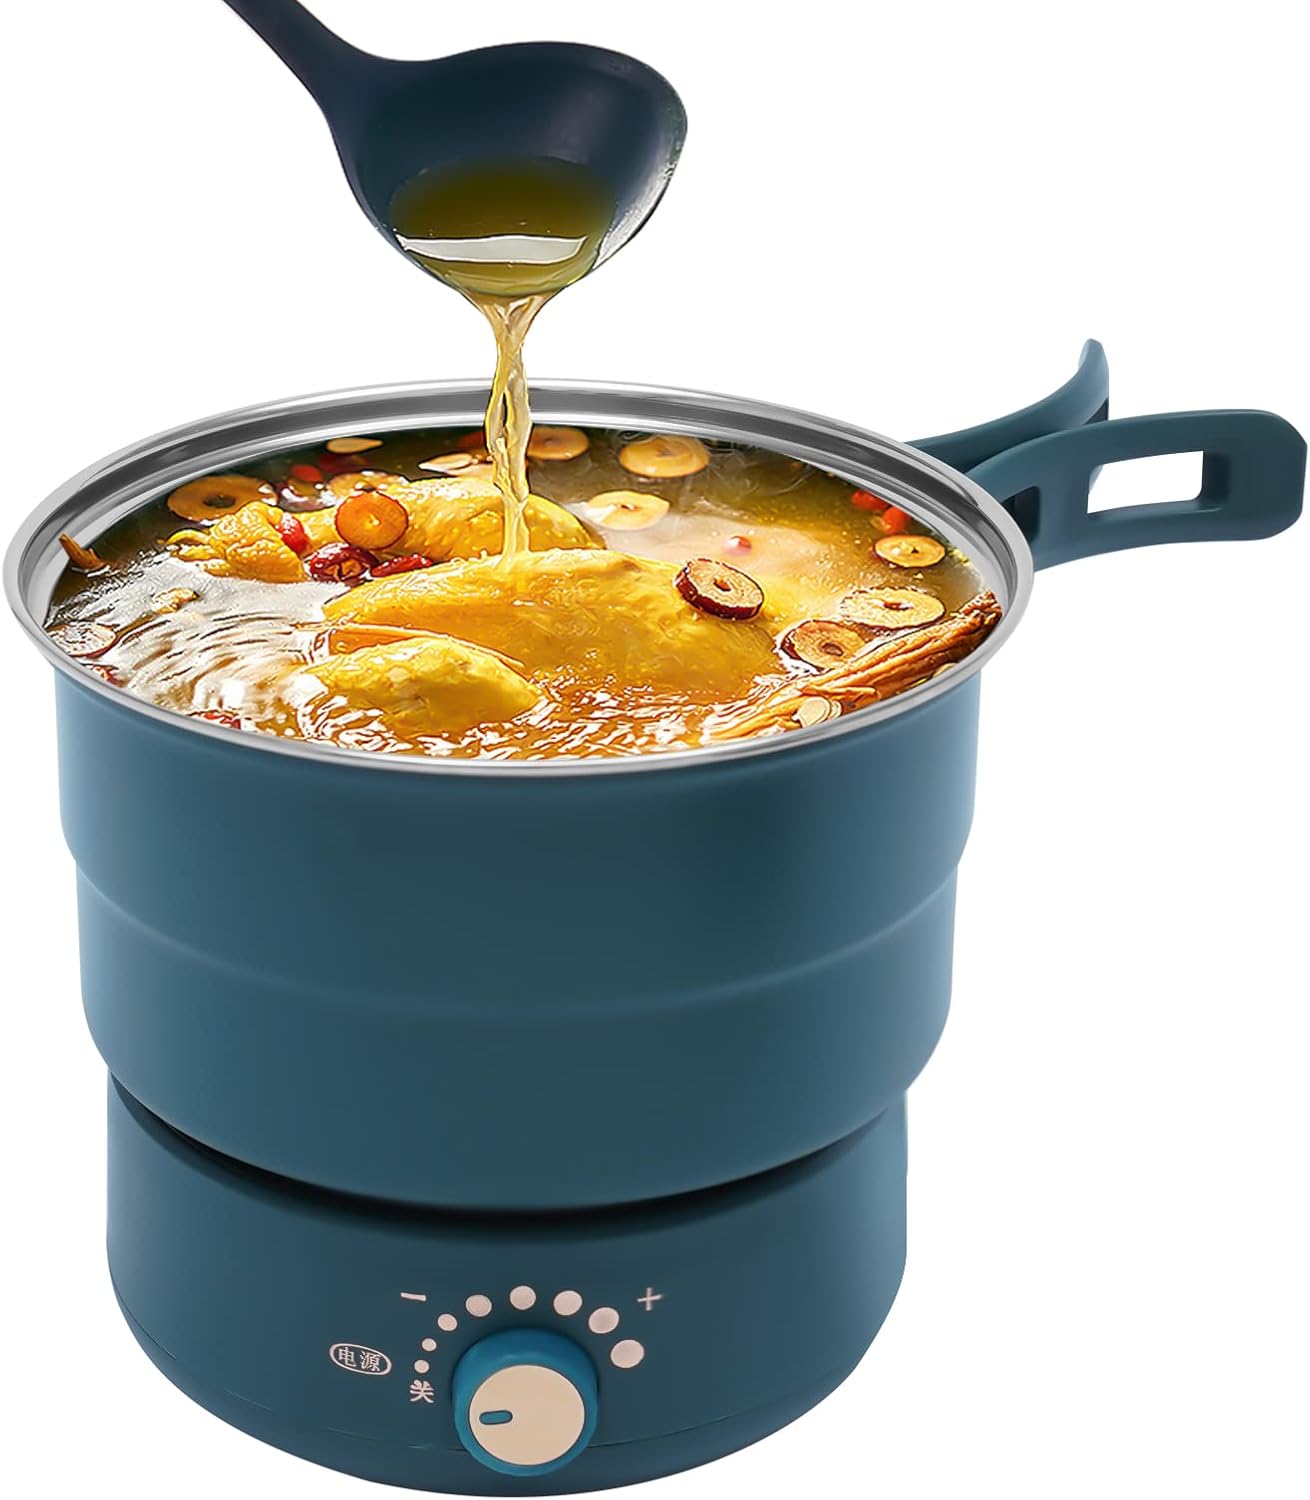
Image 4: The soup pot in use, containing a meal with liquid being poured in with a ladle. This demonstrates its function for liquid-based cooking.

Image 5: The frying pot securely placed on the heating base, ready for frying. The foldable handle is extended.
4.3 Safety Features
- Anti-Scald Handles: The soup pot, frying pot, and lid are equipped with handles designed to remain cool during operation, reducing the risk of burns.
- Dry Burn Protection: The appliance includes an automatic power-off device that activates if the pot runs dry or overheats, preventing damage and ensuring user safety.
5. Maintenance and Cleaning
5.1 Cleaning
- Always unplug the appliance and allow it to cool completely before cleaning.
- The soup pot, frying pot, glass lid, egg steamer rack, and dinnerwares can be washed with warm soapy water. The non-stick coating on the frying pot and the 304 stainless steel of the soup pot facilitate easy cleaning.
- Wipe the heating base with a damp cloth. Never immerse the heating base in water or any other liquid. The split design of the pot and base enhances cleaning safety.
- Note: This appliance is not dishwasher safe. Hand washing is recommended.
- Use the provided cleaning cottons for gentle cleaning.
5.2 Storage
When not in use, the heating base, soup pot, frying pot, and lid can be stacked together for compact storage. The foldable handles on the pots further aid in space-saving. Store in a dry place, preferably in the provided storage bag.

Image 6: The electric hot pot components, including the heating base, soup pot, and lid, stacked neatly for compact storage. The foldable handles are retracted.
6. Troubleshooting
- Appliance does not turn on:
- Ensure the power cord is securely plugged into both the appliance and a working 110V outlet.
- Check if the control knob is turned to an active heat setting (not "off").
- Food is not heating evenly:
- Ensure the pot is properly seated on the heating base.
- Stir food occasionally for more consistent heating.
- Appliance suddenly turns off during use:
- This may be the dry burn protection activating. Check if the pot has run out of liquid or if it has overheated. Allow the appliance to cool down before attempting to use it again.
- Temperature control seems limited:
- While the knob has multiple indicator dots, the practical heat settings are typically distinct low, medium, and high. Adjust the knob to find the desired cooking intensity.
7. Specifications
| Brand | BILPIKOGoo |
| Model | Electric Hot Pot |
| Material | Plastic, 304 Stainless Steel, Glass |
| Color | Green |
| Rated Voltage | 110V |
| Rated Power | 500W |
| Soup Pot Capacity | 1.6 Liters (0.42 gal) |
| Soup Pot Diameter | 18cm (7.09in) |
| Soup Pot Height | 12cm (4.72in) |
| Frying Pot Diameter | 17.2cm (6.77in) |
| Frying Pot Height | 4cm (1.57in) |
| Base Diameter | 14.8cm (5.83in) |
| Base Height | 6.8cm (2.68in) |
| Control Method | Knob Type (8-level adjustment) |
| Operation Mode | Automatic |
| Dishwasher Safe | No |

Image 7: Diagram illustrating the key dimensions of the soup pot, frying pot, and heating base.
8. Warranty and Support
For warranty information and customer support, please refer to the documentation provided at the point of purchase or contact the retailer/manufacturer directly. Keep your purchase receipt as proof of purchase.