
1. Introduction
This manual provides essential information for the safe and effective installation, operation, and maintenance of your QNK 2.2KW 220V Variable Frequency Drive (VFD). Please read this manual thoroughly before using the product and retain it for future reference. The QNK VFD is designed to convert single-phase or three-phase 220V AC input into a three-phase 220V AC output, allowing for precise speed control of compatible motors, such as those found in CNC spindle applications.

Image 1.1: The QNK 2.2KW 220V VFD unit, showing the main body, detachable control panel, and an included extension cable.
2. Safety Information
WARNING: Risk of Electric Shock. Improper installation or operation can lead to serious injury or death. Always follow safety precautions.
- Ensure the power supply is disconnected before any installation, wiring, or maintenance.
- Wait at least 5 minutes after disconnecting power for internal capacitors to discharge before touching any components.
- This VFD supports an external resistor. If your motor has a heavy load, select a VFD with a higher power level or consult for model selection.
- The VFD cannot be used as a power source for other equipment or to drive a motor with a supply voltage lower than 80V.
- Do not connect the VFD’s output terminals with capacitive loads.
- For heavy equipment like cranes or compressors, choose a VFD with a larger power output (e.g., a 5.5 Kw motor should be connected to a 7.5 Kw VFD).
- If a generator powers the VFD, ensure the generator's output voltage level is within +/-15%.
- Installation and wiring should only be performed by qualified personnel.
3. Product Features
- Power Specifications: Input: 1-phase/3-phase 220 VAC (+/- 15%), 0-11 A, 50/60 Hz. Output: 3-phase 220 VAC, 0-11A, 0-2,000 Hz.
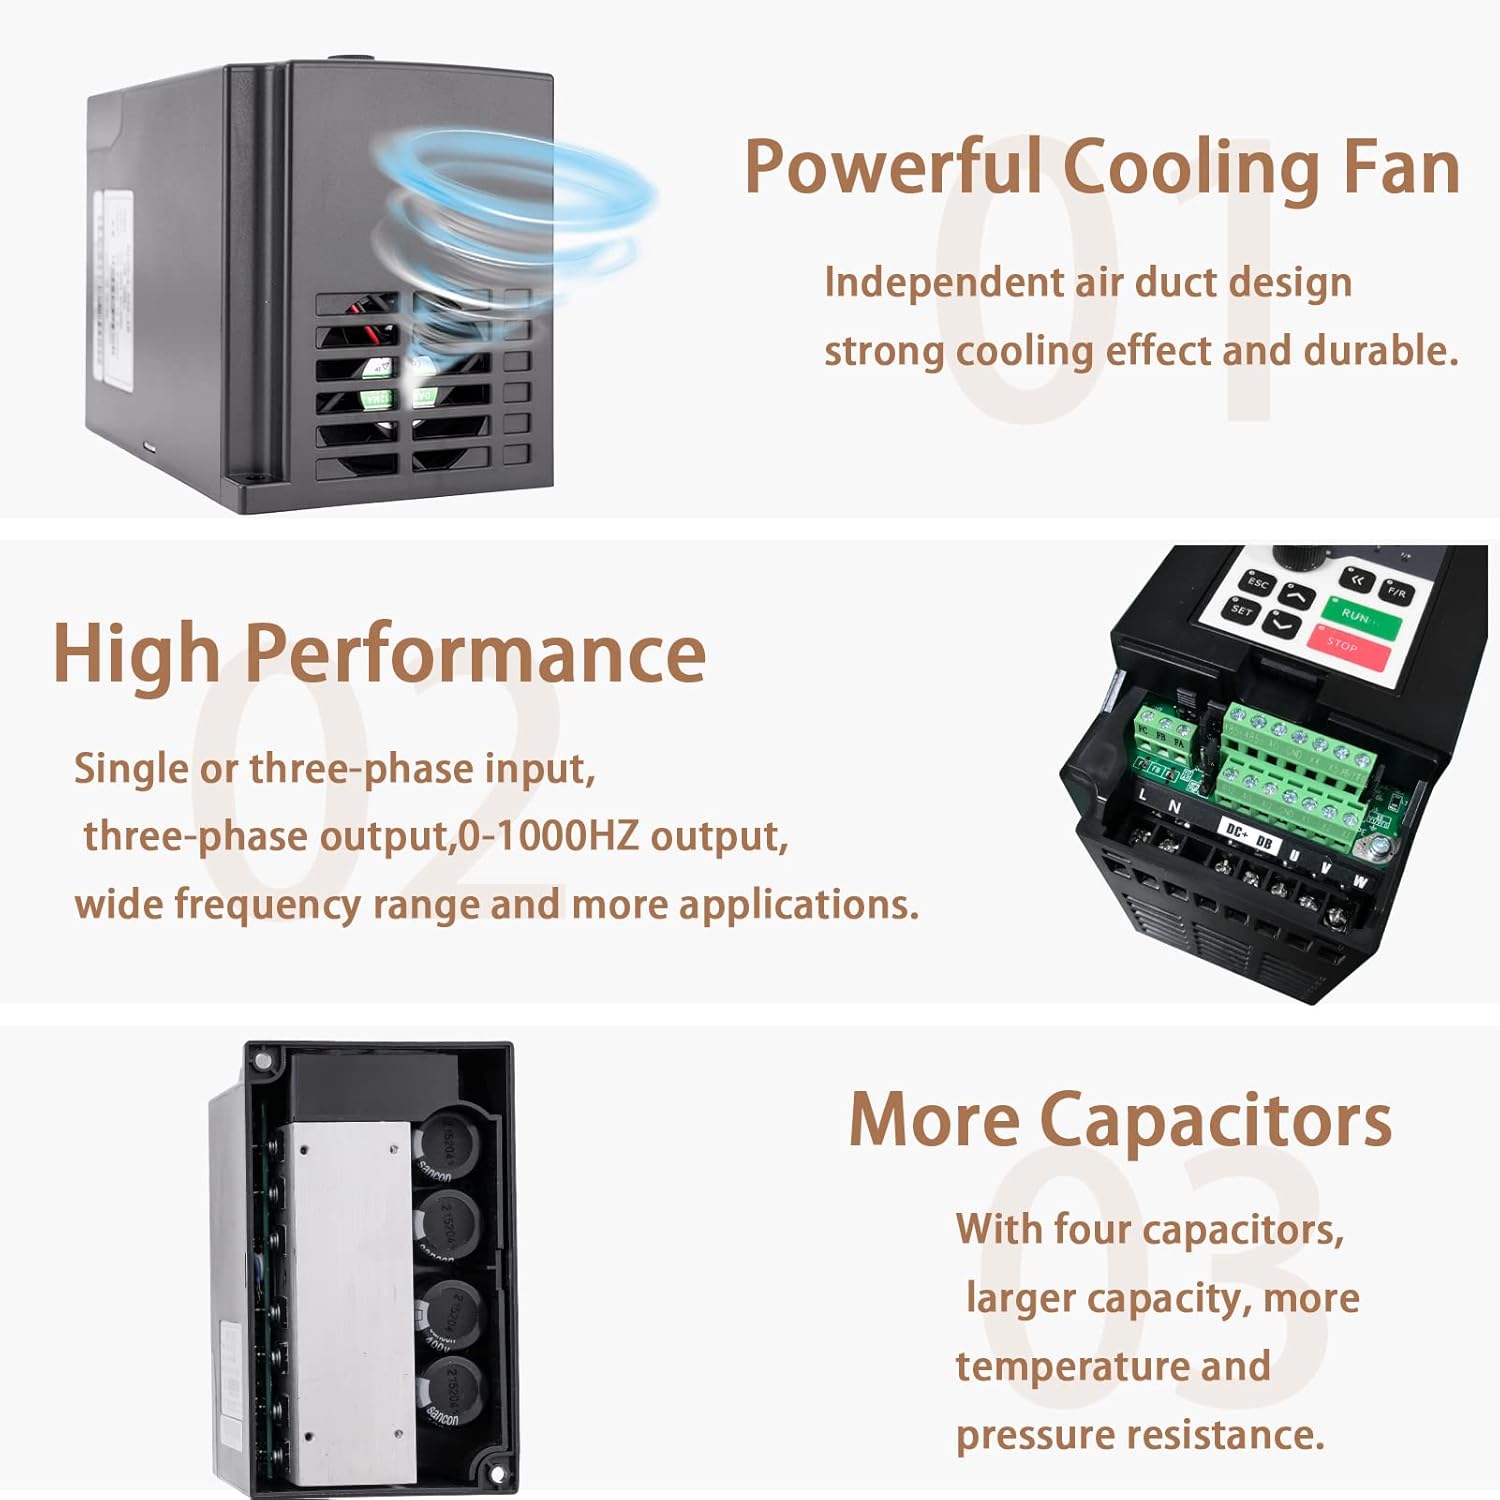
- Quiet Operation: Utilizes PMW control technology and component compatibility design for low-noise operation and reduced electromagnetic interference.
- Control Modes: Supports V/F Control and Vector Control. Frequency setting modes include digital setting, analog setting, serial communication (RS485 with MODBUS), and PID setting for precise control.
- Enhanced Safety & Durability: Features multiple protective functions including overload, fuse, over-voltage (DC voltage >400V), under-voltage (DC voltage <200V), restart, stall, short circuit, and overheat protection. Constructed with copper coil internals and a non-flammable exterior.
- Efficient Heat Dissipation: A multi-grid design provides ample cooling space between electronic components and the case, ensuring fast heat dissipation and preventing dust and water mist from entering the circuit board.
- Wide Application: Suitable for various equipment such as Spindle Motors, CNC Routers, Milling Machines, Pumps, Compressors, and Grinders.

4. Setup and Installation
4.1. Physical Installation
Mount the VFD in a location that is dry, well-ventilated, and free from excessive dust, corrosive gases, or direct sunlight. Ensure adequate clearance around the unit for proper airflow and heat dissipation. Refer to the dimensions below for mounting considerations.

Image 4.1: Detailed external and installation dimensions of the VFD unit, showing measurements in millimeters for mounting purposes.
4.2. Wiring Connections
All wiring must comply with local electrical codes and standards. Use appropriate wire gauges for the VFD's power rating. Ensure all connections are secure to prevent loose contacts and potential hazards.

Image 4.2: Comprehensive VFD connection diagram illustrating terminals for power input (single or three-phase), motor output (U, V, W), brake resistor, multi-function digital inputs (X1-X6), analog inputs (AI1, AI2), multi-function relay output (FA, FB, FC), and RS485 communication interface.
Key Connection Points:
- Power Input (L1/L, L2/N, L3): Connect your 220V AC power supply here. For single-phase 220V, connect to L1 and L2/N.
- Motor Output (U, V, W): Connect these terminals directly to your 3-phase motor.
- Brake Resistor (DC+, DB): Optional connection for external braking resistor.
- Ground (PE): Essential for safety. Connect to a reliable earth ground.
- Control Terminals (X1-X6, AI1, AI2, etc.): Used for external control signals such as start/stop, speed adjustment (potentiometer), and communication.
5. Operating Instructions
5.1. Control Panel Overview
The VFD features a user-friendly control panel for monitoring and adjusting parameters. The panel can be detached and extended using the provided cable for remote operation.


5.2. Button Functions
| Button Icon | Button's Name | Function Description |
|---|---|---|
| SET | SET | Access menu, select parameter, confirm parameter. |
| ESC | ESC | Return to previous menu or exit. |
| UP Arrow | UP | Modify and select parameters (increase value). |
| DOWN Arrow | DOWN | Modify and select parameters (decrease value). |
| Left/Right Arrows | SHIFT | Monitor different operation statuses and switch digit place. |
| F/R | DIR | Change the running direction of the motor. |
| Green RUN | RUN | Initiate run command. |
| Red STOP | STOP | Stop command or abnormal reset command. |
Image 5.3: The VFD control panel with a corresponding table detailing the function of each button.
5.3. Basic Operation
- Power On: Ensure all wiring is correct and secure. Apply power to the VFD. The display will illuminate.
- Parameter Setting: Use the SET button to enter the parameter menu. Navigate through parameters using the UP and DOWN arrows. Use the SHIFT button to move between digits when setting numerical values. Press SET again to confirm changes.
- Start Motor: Press the RUN button to start the motor.
- Adjust Speed: Use the rotary knob on the control panel or the UP and DOWN arrows to adjust the motor speed (frequency).
- Change Direction: Press the F/R button to toggle the motor's rotation direction.
- Stop Motor: Press the STOP button to halt the motor.
6. Maintenance
Regular maintenance ensures the longevity and optimal performance of your VFD.
- Cleaning: Periodically clean the VFD's exterior and ventilation openings to prevent dust accumulation, which can hinder heat dissipation. Use a soft, dry cloth. Do not use liquid cleaners.
- Connection Checks: Regularly inspect all wiring connections for tightness and signs of wear or corrosion. Re-tighten as necessary.
- Environmental Conditions: Ensure the operating environment remains within the specified temperature and humidity ranges to prevent damage.
- Fan Inspection: Check the cooling fan for proper operation and ensure it is free from obstructions.
7. Troubleshooting
If the VFD displays an error code or exhibits unexpected behavior, refer to the following general troubleshooting steps. For specific error codes and advanced diagnostics, consult the detailed operation manual provided with the product or contact customer support.
- No Power/Display: Check the input power supply and all power connections. Ensure the VFD is properly grounded.
- Motor Not Running: Verify that the RUN command is active. Check motor wiring and ensure motor parameters are correctly set in the VFD. Confirm there are no active fault conditions.
- Overload/Overcurrent: Reduce the motor load. Check for mechanical issues with the motor or driven equipment. Verify motor parameters (e.g., rated current) are correctly set.
- Overvoltage/Undervoltage: Check the input power supply voltage. Ensure it is stable and within the VFD's specified range.
- Overheat: Ensure adequate ventilation around the VFD. Clean any dust from cooling fins and fans. Reduce ambient temperature if possible.
- Parameter Setting Issues: If parameters cannot be changed, ensure the VFD is in stop mode and not locked. Refer to the manual for parameter access levels.
8. Specifications
| Specification | Value |
|---|---|
| Manufacturer | QNK |
| Model Number | 2.2kw220v |
| Item Weight | 3.65 pounds |
| Product Dimensions | 3.5 x 4.6 x 5.9 inches |
| Size | 2.2KW(3HP 220V) |
| Color | Black |
| Style | 2.2KW 3HP 220V |
| Material | Copper |
| Power Source | 220v |
| Voltage | 220 Volts |
| Wattage | 2.2 KW |
| Item Package Quantity | 1 |
| Display Style | LCD or LED |
| Special Features | Ergonomic |
| Included Components | VFD |
| Recommended Uses For Product | Workshop |
9. Customer Support
If you encounter any error codes, have questions regarding operation, or require assistance with this product, please do not hesitate to contact our customer support team. We are committed to providing prompt assistance within 24 hours.
For further information or to visit our official store, please refer to the brand link:
