
PENDEJATO 8 SERIES-S-0086PW
PENDEJATO Non-Electric Bidet Toilet Attachment
Model: 8 SERIES-S-0086PW
1. Introduction
The PENDEJATO Non-Electric Bidet Toilet Attachment is designed to provide a refreshing and hygienic cleaning experience. This attachment offers dual spray modes for comprehensive front and rear washing, adjustable water pressure, and a self-cleaning retractable nozzle. Its ultra-slim design ensures it integrates seamlessly with most standard toilets without affecting seat height. This manual provides detailed instructions for installation, operation, maintenance, and troubleshooting to ensure optimal performance and longevity of your bidet attachment.
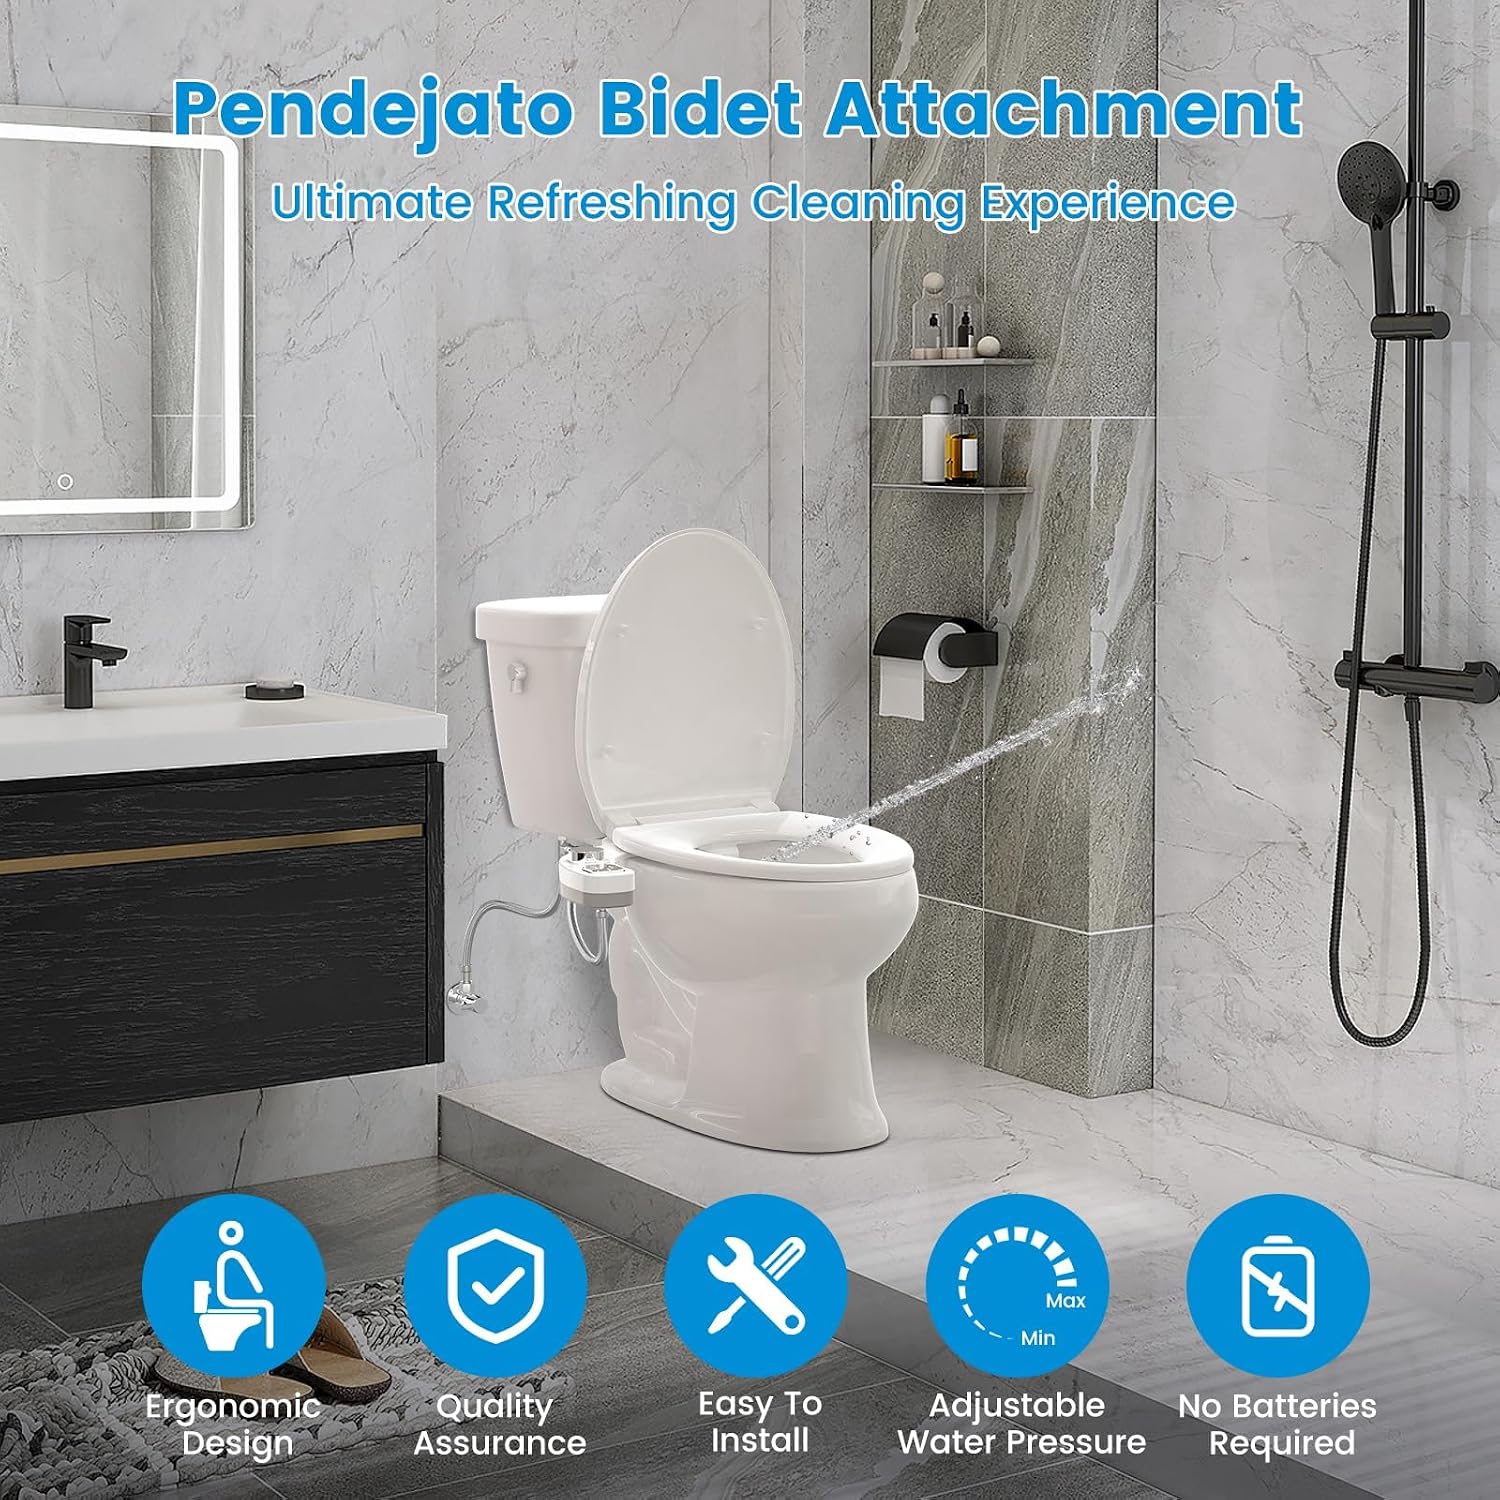
Image: The PENDEJATO Bidet Attachment seamlessly integrated with a toilet in a contemporary bathroom environment, highlighting its sleek design and functionality.
2. Safety Information
- Ensure all water connections are securely tightened to prevent leaks.
- Do not use abrasive cleaners or harsh chemicals on the bidet attachment, as this may damage the finish or internal components.
- Always turn off the water supply before performing any maintenance or installation procedures.
- This product is designed for use with cold water supply only. Connecting to a hot water supply may cause scalding.
3. Package Contents
Please verify that all components listed below are included in your package:
- Ultradun bidet (Ultra-thin bidet attachment)
- 80 cm gevlochten metalen slang (80 cm braided metal hose)
- Messing T-stekker (3/8) (Brass T-adapter (3/8 inch))
- Rubber Washer
- Seal Tape

Image: An exploded view diagram illustrating the main components of the bidet attachment, including the control panel, nozzles, and connection accessories like the braided hose and T-adapter.
4. Setup and Installation
The PENDEJATO bidet attachment is designed for quick and easy installation on most standard two-piece toilets. Follow these steps carefully:
4.1 Compatibility Check
Ensure your toilet is compatible with the bidet attachment. This bidet is generally compatible with two-piece toilets (where the tank is separate from the bowl). Refer to the diagram below for key measurements.

Image: A detailed diagram illustrating how to measure your toilet to ensure compatibility with the bidet attachment, showing key dimensions for two-piece toilets.
4.2 Installation Steps
- Turn off Water Supply: Locate the water shut-off valve behind your toilet and turn it clockwise until the water flow stops. Flush the toilet to drain the tank.
- Remove Toilet Seat: Unscrew the bolts holding your toilet seat to the toilet bowl. Carefully remove the toilet seat.
- Install Bidet Attachment: Place the bidet attachment on the toilet bowl, aligning its mounting holes with the toilet's bolt holes. Adjust the sliding plates on the bidet to fit the bolt spacing.
- Reattach Toilet Seat: Place your toilet seat back on top of the bidet attachment and secure it with the original bolts. Ensure the bidet is firmly in place and the seat is stable.
- Connect T-Adapter: Disconnect the flexible water supply hose from the toilet tank's fill valve. Install the supplied brass T-adapter onto the fill valve. Ensure the rubber washer is properly seated to prevent leaks.
- Connect Bidet Hose: Connect one end of the braided metal hose to the T-adapter and the other end to the bidet attachment's water inlet. Hand-tighten first, then use a wrench for a snug fit, but do not overtighten.
- Restore Water Supply: Slowly turn the water shut-off valve counter-clockwise to restore water supply to the toilet and bidet. Check all connections for leaks. If leaks occur, tighten the connections slightly.

Image: A simplified three-step visual guide for installing the bidet attachment, demonstrating the process of removing the toilet seat, positioning the bidet, and connecting the water supply.

Image: A four-panel visual guide detailing the installation process, from removing the toilet seat to securing the bidet and connecting the water line, culminating in a complete setup.
5. Operating Instructions
Your PENDEJATO bidet attachment features intuitive controls for a personalized cleaning experience.
5.1 Control Panel Overview

Image: A detailed view of the bidet's control panel, featuring a rotary knob for adjusting water pressure and distinct push-buttons for activating different cleaning modes.

Image: A visual breakdown of the bidet's control panel, showing the water pressure adjustment knob and buttons for activating the posterior and female wash modes.
5.2 Using the Bidet Functions
- Adjust Water Pressure: Use the rotary knob to increase or decrease the water pressure. Turn towards "Max" for stronger pressure and "Min" for gentler pressure.
- Posterior Wash: Press the button labeled with the posterior icon (typically a single spray symbol) for a thorough rear cleaning.
- Female Wash: Press the button labeled with the female icon (typically a double spray symbol) for a softer, wider spray designed for feminine hygiene.
- Self-Cleaning Nozzle: After each use, the nozzle automatically retracts behind a protective guard and performs a self-cleaning rinse. You can also activate a dedicated self-cleaning function by pressing the corresponding button (if available, often indicated by a spray icon with a circle).

Image: A visual representation of the bidet's key functions: the precise female wash, the effective posterior wash, and the automatic self-cleaning mechanism of the retractable nozzle.
6. Maintenance
Regular maintenance ensures the longevity and hygienic operation of your bidet attachment.
- Nozzle Cleaning: The bidet features a self-cleaning nozzle that rinses itself after each use. For a more thorough cleaning, you can manually activate the self-cleaning function if your model has a dedicated button.
- Exterior Cleaning: Wipe the exterior of the bidet attachment with a soft, damp cloth and mild soap. Avoid using abrasive cleaners, harsh chemicals, or strong detergents, as these can damage the surface finish.
- Deep Cleaning: Periodically, you may wish to disconnect the bidet and clean it more thoroughly. Ensure the water supply is turned off before disconnecting.
7. Troubleshooting
If you encounter any issues with your bidet attachment, refer to the following common problems and solutions:
| Problem | Possible Cause | Solution |
|---|---|---|
| Water Leakage | Loose connections, missing/damaged washers, incorrect T-adapter installation. | Ensure all connections (T-adapter, hoses) are tightened securely. Check that rubber washers are correctly seated. Apply seal tape if necessary. |
| No Water Flow or Low Pressure | Water supply valve closed, clogged nozzle, water pressure knob set to minimum. | Ensure the toilet's water shut-off valve is fully open. Check if the water pressure knob on the bidet is turned up. Inspect nozzles for any blockages and clean if necessary. |
| Nozzle Not Retracting Properly | Debris around the nozzle, mechanism obstruction. | Gently clean around the nozzle area to remove any debris. Ensure nothing is obstructing its movement. |
8. Specifications
- Brand: PENDEJATO
- Model Number: 8 SERIES-S-0086PW
- Product Dimensions: 39.8 x 13 x 6 cm
- Weight: 770 Grams
- Color: Silver
- Material: ABS Plastic
- Power Source: Non-electric (Water pressure operated)
- Included Components: Ultra-thin bidet, 80 cm braided metal hose, Brass T-adapter (3/8 inch)
- First Available Date: January 6, 2023

Image: A side view highlighting the bidet's ultra-slim 0.5cm profile, emphasizing that it maintains the normal height of the toilet seat for user comfort.
9. Warranty and Support
PENDEJATO offers an 18-month extended warranty for this product, ensuring your satisfaction and peace of mind. This warranty covers manufacturing defects and issues arising from normal use.
For any questions, concerns, or warranty claims, please contact PENDEJATO customer support. Refer to your purchase documentation or the seller's information on the platform where you purchased the product for specific contact details.
We are committed to providing excellent customer service and will assist you promptly.
Related documents8 SERIES-S-0086PW


Ask a question about this manual
Ask about setup, troubleshooting, compatibility, parts, safety, or missing instructions. Manuals+ will review the question and use this page’s manual context to help answer it.