
1. Introduction
Thank you for purchasing the Arafuna 12.5-inch Portable DVD Player. This manual provides essential information for setting up, operating, and maintaining your device. Please read it thoroughly before use to ensure optimal performance and longevity of your player.

Image: The Arafuna Portable DVD Player, remote control, and car headrest holder.
2. Product Overview
2.1 Included Components
- 1 x Arafuna Portable DVD Player
- 1 x Remote Control
- 1 x Car Charger
- 1 x AC Adapter
- 1 x RCA Cable
- 1 x User Manual (this document)

Image: Contents of the Arafuna Portable DVD Player package.
2.2 Key Features
- HD Swivel Screen: 10.5-inch HD screen with 270° rotation and 180° flip for multiple viewing angles.
- Multiple Power Modes: Built-in 5000mAh rechargeable battery (up to 5 hours playback), AC adapter, and car charger.
- Wide Compatibility: Supports DVD, CD, VCD, SVCD, CD-R/+R, DVD-R/+R, DVD-RW/+RW discs (not Blu-ray). Compatible with USB drives and SD cards (max 32GB FAT32, 720*576 pixel for video files like VOB/MPG/MPEG/AVI/FLV/DAT/DIVX/MP3/MP2).
- Sync Screen Functionality: Connect to a TV via RCA cable or sync with another compatible player.
- Last Memory: Resumes playback from where you left off.
- Dual Stereo Speakers: Integrated speakers for clear audio.
- Car Headrest Holder: Included for convenient in-car use.
3. Setup
3.1 Initial Charging
- Connect the AC adapter to the DC IN port on the DVD player.
- Plug the AC adapter into a standard wall outlet.
- Allow the player to charge fully before first use. The charging indicator light will change when charging is complete.
3.2 Powering the Device
The player can be powered by its internal rechargeable battery, the included AC adapter, or the car charger.
- AC Power: Use the AC adapter for home or office use.
- Car Power: Use the car charger to power the player and charge the battery in your vehicle.
- Battery Power: The built-in battery provides up to 5 hours of playback on a full charge.
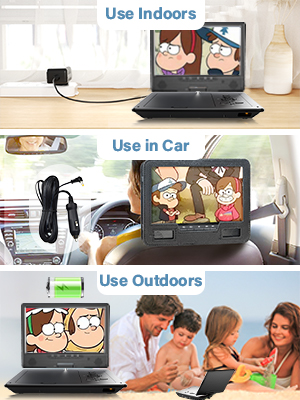
Image: Various power options for the portable DVD player.
3.3 Car Headrest Installation
The included headrest holder allows for secure mounting in a vehicle.
- Attach the headrest holder to the back of a car seat headrest.
- Securely place the portable DVD player into the holder. Ensure all buttons and ports are accessible.
- Connect the car charger if continuous power is desired.

Image: Portable DVD player installed in a car headrest holder.
4. Operating Instructions
4.1 Basic Disc Playback
- Open the disc cover.
- Carefully place a compatible DVD or CD onto the spindle, label side up.
- Close the disc cover.
- Turn on the player using the ON/OFF switch.
- The disc should begin playing automatically. Use the control buttons (Play/Pause, Stop, Skip) on the player or remote control to manage playback.
4.2 Swivel Screen Operation
The screen can be rotated 270° and flipped 180° for flexible viewing.
- Gently rotate the screen clockwise or counter-clockwise up to 270°.
- Flip the screen 180° to convert the player into a tablet-like display, ideal for mounting or compact viewing.

Image: Screen rotation and flip capabilities.
4.3 USB and SD Card Playback
The player supports media playback from USB drives and SD cards.
- Insert a USB drive into the USB port or an SD card into the SD/MMC CARD slot.
- Use the 'MODE' button on the player or remote to select the USB or SD card input.
- Navigate through your files using the directional buttons and press 'OK' to select and play.
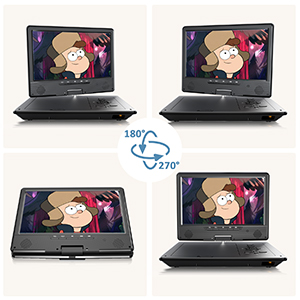
Image: USB and SD card input options.
4.4 Sync Screen Function
Connect your portable DVD player to a larger display or another compatible player.
- Connect to TV: Use the included RCA cable to connect the AV OUT port on the player to the AV IN ports on your television. Select the correct AV input on your TV.
- Sync with another player: Use an AV cable (not included) to connect the AV OUT of one player to the AV IN of another compatible player to display the same content simultaneously.
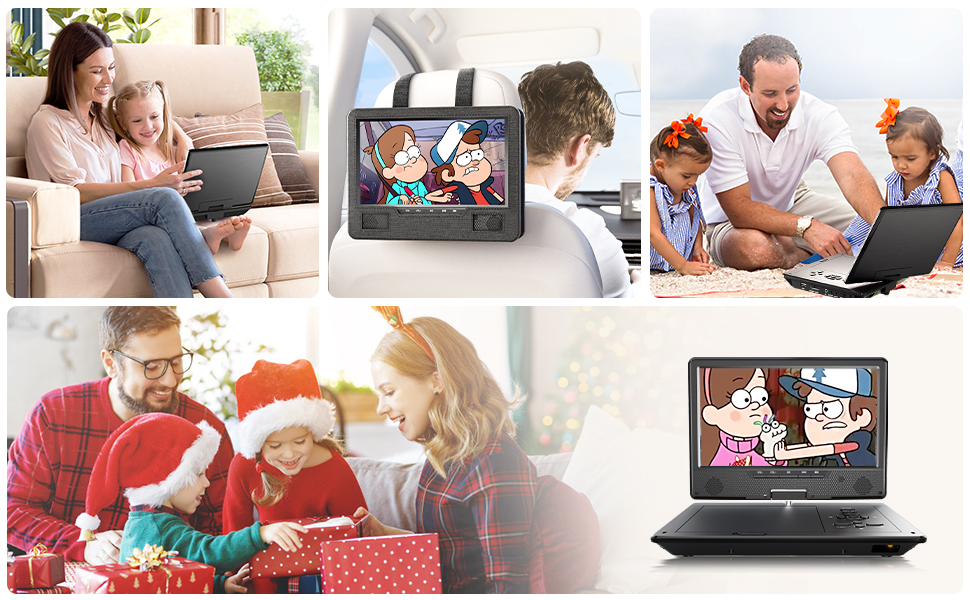
Image: Options for syncing the screen to a TV, another player, or a projector.
4.5 Last Memory Function
The player automatically remembers the last playback point of a disc or media file. When you power it on again, it will resume from where you left off.
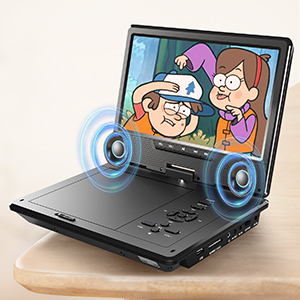
Image: Demonstration of the Last Memory function.
4.6 Video Demonstration
Video: Arafuna Portable DVD Player in operation, demonstrating various features and connectivity options.
5. Maintenance
5.1 Cleaning
- Use a soft, dry cloth to clean the exterior of the player.
- For the screen, use a soft, lint-free cloth specifically designed for electronics screens. Do not use abrasive cleaners or solvents.
- Keep the disc compartment free of dust and debris.
5.2 Battery Care
- To prolong battery life, avoid fully discharging the battery frequently.
- If storing the player for an extended period, charge the battery to approximately 50% and store in a cool, dry place.
5.3 Disc Handling
- Always handle discs by their edges to avoid fingerprints and scratches.
- Store discs in their cases when not in use.
- Clean dirty discs with a soft, lint-free cloth wiping from the center outwards.
6. Troubleshooting
If you encounter issues with your Arafuna Portable DVD Player, please refer to the following common solutions:
| Problem | Possible Solution |
|---|---|
| Player does not power on | Ensure the power adapter or car charger is securely connected and the power switch is in the 'ON' position. Check if the battery is charged. |
| No disc detected / Disc error | Verify the disc is inserted correctly, label side up. Clean the disc for smudges or scratches. Ensure the disc type is compatible (not Blu-ray). |
| No picture on screen | Check screen brightness settings. If connected to an external display, ensure the AV cable is properly connected and the TV input is correct. |
| No sound or low volume | Adjust the volume using the VOL+/- buttons on the player or remote. Check headphone connection if applicable. Ensure external speakers/TV are not muted. |
| Remote control not working | Ensure there are no obstructions between the remote and the player. Replace the remote control batteries. |
7. Specifications
- Screen Size: 10.5 inches (HD Swivel Screen)
- Overall Player Size: 12.5 inches
- Resolution: 1920x1080 (implied for HD content, actual panel resolution may vary)
- Battery: 5000mAh Lithium Polymer (included)
- Battery Life: Up to 5 hours
- Supported Media Types: DVD, CD, VCD, SVCD, CD-R/+R, DVD-R/+R, DVD-RW/+RW (non-Blu-ray)
- Supported USB/SD Formats: VOB/MPG/MPEG/AVI/FLV/DAT/DIVX/MP3/MP2 (max 32GB FAT32, 720*576 pixel)
- Connectivity: USB, SD/MMC Card, Headphone, AV OUT, AV IN, DC IN
- Audio Output Mode: Stereo
- Item Weight: 3.56 pounds
- Manufacturer: Arafuna
8. Warranty and Support
For warranty information or technical support, please refer to the contact details provided with your purchase documentation or visit the official Arafuna support website. Keep your purchase receipt as proof of purchase for warranty claims.
