
1. Introduction
This manual provides instructions for the safe and efficient installation, operation, and maintenance of your Relaxdays Bicycle Lift. This ceiling-mounted system is designed for space-saving storage of bicycles, including e-bikes, with a maximum load capacity of approximately 30 kg and suitable for ceilings up to 4 meters high. Please read all instructions carefully before use.
2. Safety Information
WARNING: Failure to follow these safety instructions may result in injury or damage to the product or property.
- Ensure the mounting surface (ceiling) is structurally sound and capable of supporting the weight of the bicycle lift and the bicycle (up to 30 kg).
- Use appropriate mounting hardware for your ceiling type. The included screws may not be suitable for all surfaces and may be of lower quality; consider using stronger screws and anchors if necessary.
- Always ensure the rope is correctly threaded through all pulleys and the safety mechanism before lifting or lowering the bicycle.
- Do not exceed the maximum load capacity of 30 kg.
- Keep hands and fingers clear of moving parts, especially pulleys and the rope, during operation.
- When lowering the bicycle, control the rope carefully. Friction can cause heat build-up; wearing gloves is recommended.
- Regularly inspect the rope, pulleys, and hooks for signs of wear or damage. Replace any worn components immediately.
- This product is intended for indoor use only.
For additional safety information, refer to the provided Safety Information (PDF) document.
3. Package Contents
Verify that all components are present before beginning installation:
- 2 Ceiling mounting plates with pulleys
- 2 Bicycle hooks with pulleys
- 1 Rope (approx. 13.8 meters long)
- 1 Rope cleat/holder
- Mounting hardware (screws, anchors)
Note: The rope included may be thin; consider replacing it with a thicker, more durable rope for improved handling and longevity.
4. Specifications
| Feature | Specification |
|---|---|
| Brand | Relaxdays |
| Model Number | 10010040 |
| Material | Iron |
| Color | Black |
| Max Load Capacity | 30 kg |
| Max Ceiling Height | 4 meters |
| Product Dimensions (D x W x H) | 9 x 25 x 138 cm |
| Item Weight | 1490 Grams |
| Assembly Required | Yes |
| Mounting Type | Ceiling Mount |
| Recommended Use | Bicycle storage in garages or basements |
| Indoor/Outdoor Use | Indoor |
| Country of Origin | Taiwan |
5. Installation Instructions
Follow these steps to install your Relaxdays Bicycle Lift. It is recommended to have a second person assist during installation.
5.1. Prepare the Mounting Location
- Choose a suitable location on your ceiling, ensuring it is structurally sound and can support the weight.
- Measure the distance between your bicycle's handlebars and seat to determine the optimal spacing for the two ceiling mounting plates. This distance will vary depending on your bicycle.
- Mark the drilling points for both ceiling mounting plates. Ensure they are aligned and parallel.
5.2. Mount the Ceiling Plates
- Drill pilot holes at the marked locations.
- Insert appropriate wall anchors (if needed for your ceiling type).
- Securely attach the two ceiling mounting plates to the ceiling using screws.

Image: A red bicycle suspended from the ceiling using the Relaxdays Bicycle Lift in a garage setting. A ladder and some tools are visible nearby, demonstrating space-saving storage.
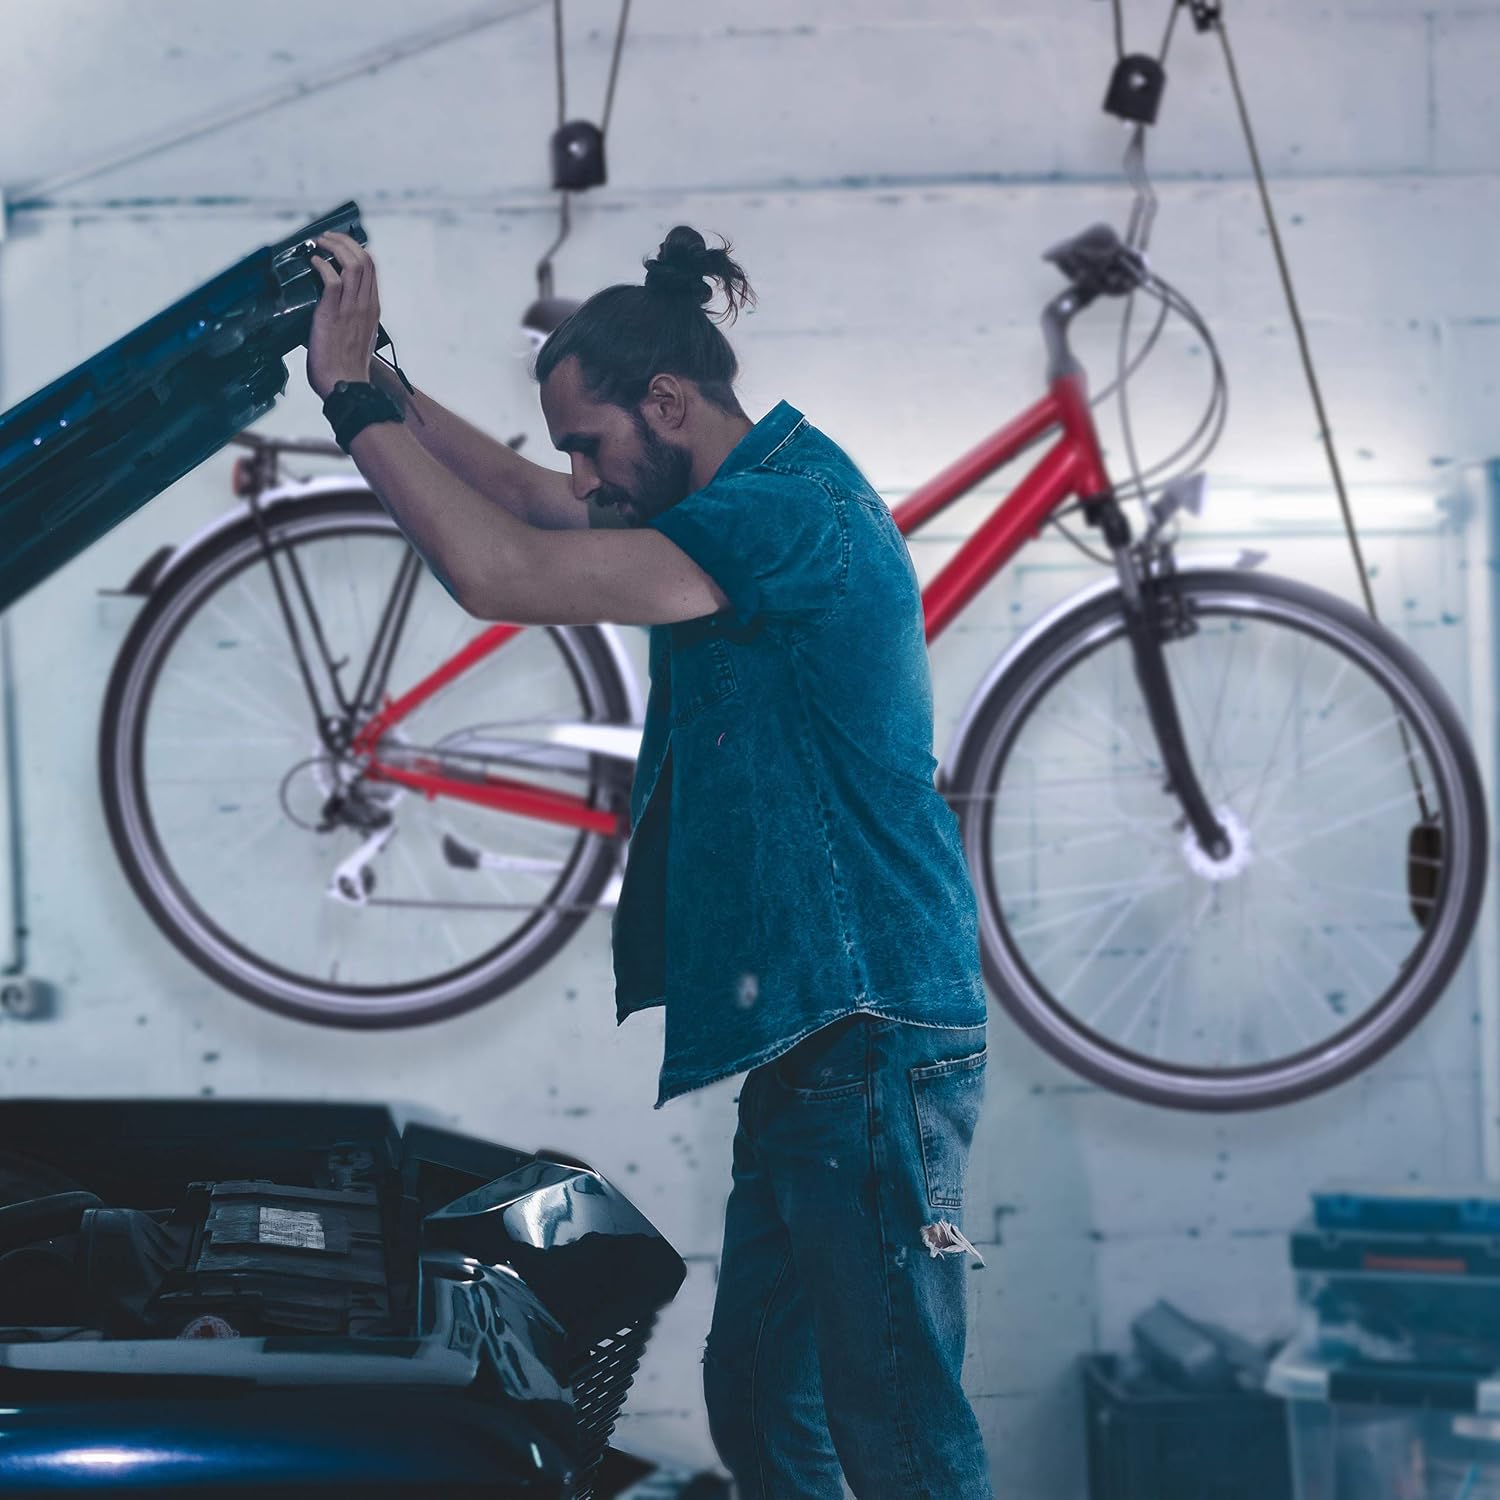
Image: A man working on a car in a garage, with a bicycle suspended from the ceiling in the background, illustrating the space-saving benefit of the lift.
5.3. Thread the Rope
- Refer to the diagram for correct rope threading. The rope should pass through the pulleys on both ceiling plates and both bicycle hooks.
- Ensure the rope is properly seated in all pulley grooves to prevent it from derailing during operation.
- Thread the end of the rope through the self-locking mechanism on one of the ceiling plates.

Image: A diagram illustrating the dimensions of the bicycle lift components, including the ceiling plates, hooks, and the rope path. Key dimensions are labeled in centimeters.

Image: A close-up view of the rope self-locking mechanism integrated into one of the ceiling mounting plates, showing how the rope is secured.
5.4. Install Rope Cleat
- Mount the rope cleat on a wall at a convenient height, allowing you to easily secure the excess rope.

Image: The rope cleat, designed to hold the excess rope securely once the bicycle is lifted. One image shows the cleat alone, the other with the rope wrapped around it.
6. Operating Instructions
The bicycle lift uses a pulley system to make lifting and lowering your bicycle effortless.
6.1. Attaching the Bicycle
- Lower the hooks by pulling the rope to release the self-locking mechanism and allowing the hooks to descend.
- Position your bicycle directly beneath the hooks.
- Carefully attach one hook to the handlebars and the other hook to the seat or rear frame of the bicycle. The hooks are rubber-coated for protection.

Image: A close-up view of the two rubber-coated hooks designed to securely hold the bicycle without scratching its frame.
6.2. Lifting the Bicycle
- Pull the rope downwards to lift the bicycle. The pulley system reduces the effort required.
- As you pull, the self-locking mechanism will engage automatically when you stop pulling, holding the bicycle at the desired height.
- Lift the bicycle until it is at a safe and convenient height for storage, ensuring it does not obstruct movement below.
- Once the bicycle is lifted, secure any excess rope around the wall-mounted cleat.
6.3. Lowering the Bicycle
- To lower the bicycle, gently pull the rope slightly away from the self-locking mechanism to disengage it.
- Slowly release the rope, allowing the bicycle to descend in a controlled manner.
- Caution: The rope may generate heat due to friction during lowering. It is advisable to wear gloves to protect your hands.
- Once the bicycle is on the ground, unhook it from the lift.

Image: A diagram illustrating the range of motion for the bicycle lift hooks, showing them in both their fully raised and fully lowered positions.
7. Maintenance
Regular maintenance ensures the longevity and safe operation of your bicycle lift.
- Rope Inspection: Periodically check the rope for fraying, cuts, or excessive wear. Replace the rope if any damage is observed.
- Pulley Inspection: Ensure all pulleys rotate freely and are not obstructed. Clean any dust or debris that may accumulate.
- Mounting Hardware: Regularly check that all screws and anchors are tight and secure. Retighten if necessary.
- Hook Condition: Inspect the rubber coating on the hooks for wear or damage. This coating protects your bicycle's finish.
8. Troubleshooting
- Bicycle not lifting smoothly:
- Check if the rope is correctly threaded through all pulleys.
- Ensure the rope is not tangled or obstructed.
- Verify that the bicycle's weight does not exceed the 30 kg capacity.
- Rope slips out of pulleys:
- Ensure the rope is properly seated in the pulley grooves.
- Consider replacing the rope with a thicker, more robust one if it frequently slips or frays.
- Self-locking mechanism not engaging:
- Ensure the rope is correctly threaded through the mechanism.
- Check for any debris obstructing the mechanism.
9. Warranty and Support
This product comes with no explicit manufacturer's warranty as per the product specifications. For any issues or support, please contact your retailer or the manufacturer, Relaxdays, directly.
Manufacturer: RELCV|#Relaxdays
Country of Origin: Taiwan
