
Introduction
Thank you for purchasing the JoFomp 13-Inch Digital LED Alarm Clock. This multi-functional clock is designed for clear visibility and ease of use, featuring a large LED display, remote control, temperature display, and battery backup. Please read this manual carefully to ensure proper setup and operation.
Product Features
- Large 13-Inch LED Display: Provides clear and comfortable visibility of time, date, day of the week, and temperature.
- Multi-Functionality: Includes clock, date, week, temperature, alarm, and countdown timer modes.
- Auto Brightness Dimmer: Features 10 levels of adjustable brightness and a built-in light sensor for automatic adjustment.
- Wireless Remote Control: Conveniently adjust settings without needing to physically access the clock.
- Dual Alarm Clock: Set two separate alarms for different schedules.
- Automatic Daylight Saving Time (DST): Automatically adjusts for DST changes.
- Battery Backup: Maintains settings and triggers alarms during power outages (display does not light up on battery power alone). Requires 2 AAA alkaline batteries (not included).
- Versatile Placement: Can be used as a wall clock or a desk clock.
Package Contents
- JoFomp 13-Inch Digital LED Alarm Clock
- Remote Control
- USB Power Cable
- Instruction Manual
Setup
1. Power Connection
Connect the clock to a power source using the provided USB cable. The clock requires a 5V/1A or 5V/2A adapter (not included). The clock must be plugged in to operate the display.
2. Battery Installation (for backup)
For battery backup functionality, install 2 AAA alkaline batteries (not included) into the battery compartment. This ensures that time settings and alarms are retained during a power outage, though the display will not be active.
3. Initial Power On
Once connected to power, the clock display will activate. Use the remote control to turn the display on or off by pressing the red power button.

Image: The JoFomp 13-inch Digital LED Alarm Clock displaying the time, date, day of the week, and temperature. The clock is shown in a desk setup.
4. Mounting Options
The clock can be placed on a desk or mounted on a wall. For wall mounting, use the designated slots on the back of the clock. Ensure the mounting surface is secure.

Image: The JoFomp 13-inch Digital LED Alarm Clock mounted on a wall above a sofa, demonstrating its use as a wall clock.
Operating Instructions
1. Setting Time and Date
The clock typically synchronizes time automatically. If manual adjustment is needed, refer to the remote control functions.
2. Adjusting Brightness
The clock features 10 levels of brightness. Press the 'Sun' button on the remote control to cycle through brightness levels or activate the auto-dimming feature. The auto-dimming feature adjusts brightness based on ambient light.

Image: The clock display showing various brightness levels, from L-10 (brightest) to L-02 (dimmest), illustrating the 10-level brightness adjustment feature.
3. Setting Alarms
The clock supports dual alarms. Press the 'Alarm' button on the remote, then 'Set' to enter alarm setting mode. Use the number buttons to input the desired alarm time, then press 'Set' to confirm. You can also select specific days for the alarm to be active.
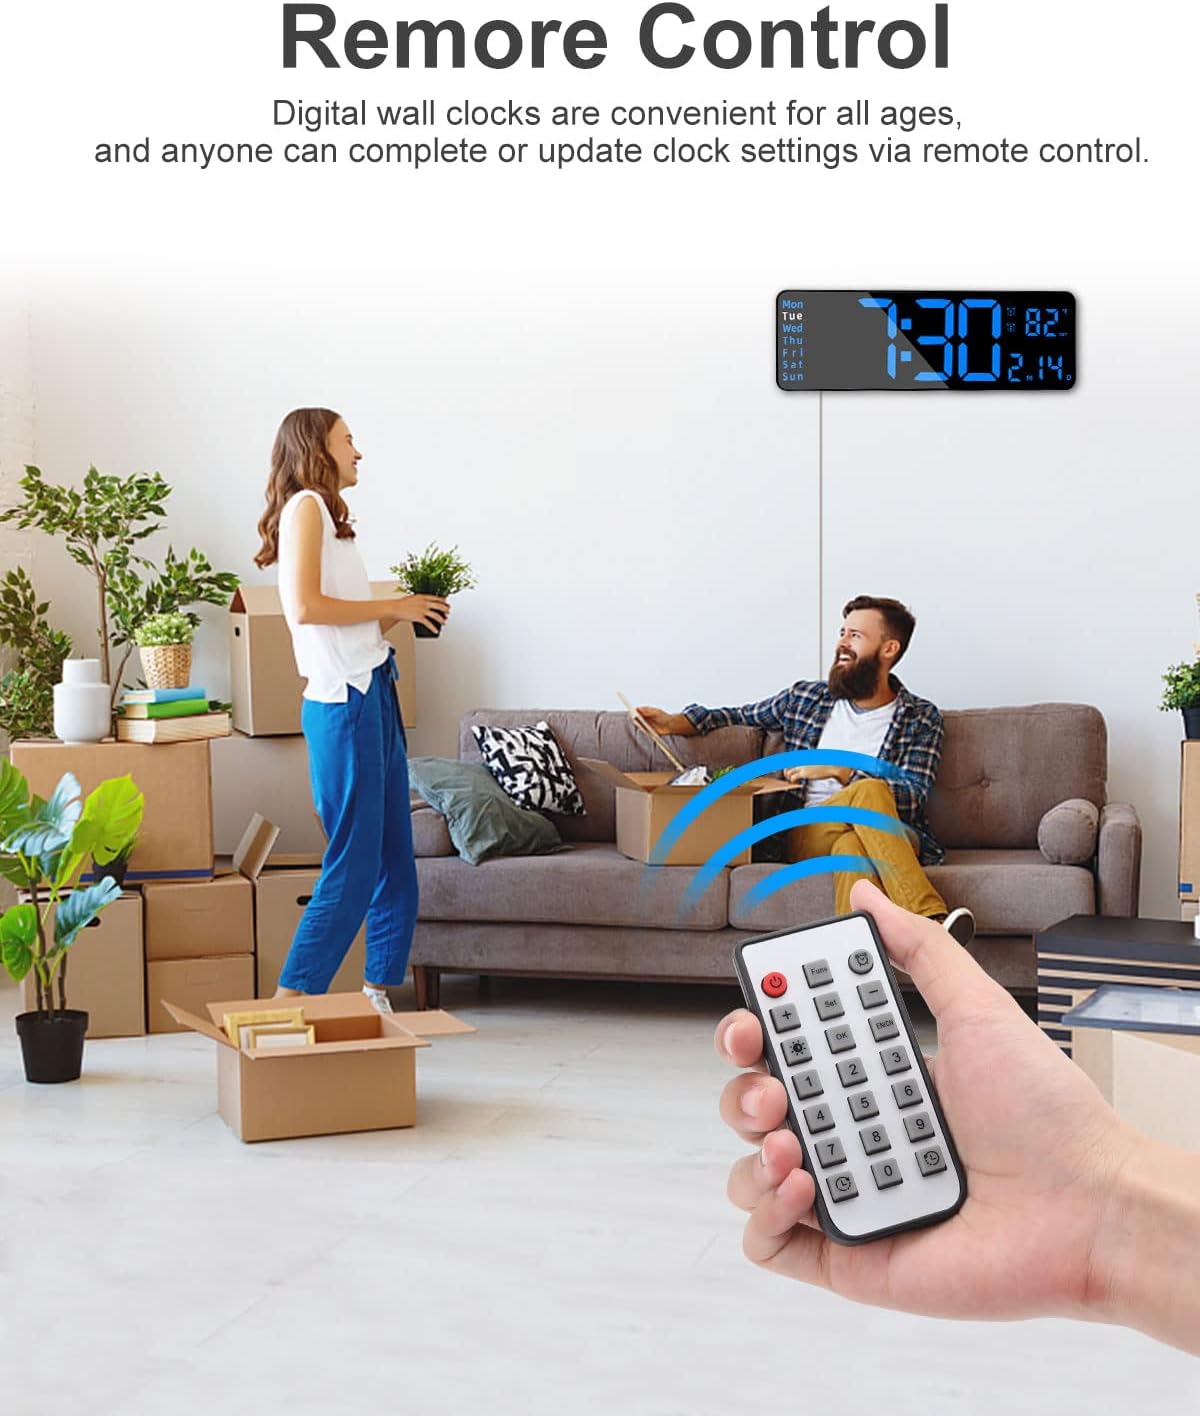
Image: The clock displaying two different alarm times, indicating its dual alarm functionality for different schedules.
4. Using the Timer Function
The clock includes both count-up and countdown timers. Press the 'Timer' button on the remote to activate the timer mode. For countdown, input the desired duration using the number buttons and press 'OK'. For count-up, simply press 'OK' to start. Press 'OK' again to pause/stop the timer.

Image: An hourglass symbolizing time, alongside the digital clock displaying both count-up and countdown timer functions.
5. Daylight Saving Time (DST)
The clock features an automatic DST adjustment. Ensure this feature is enabled in the settings if you reside in an area observing DST.

Image: The digital clock shown with illustrations of traditional clocks adjusting for Daylight Saving Time, indicating the automatic DST feature.
6. Remote Control Usage
The remote control allows for easy adjustment of all clock settings. Point the remote directly at the clock for optimal response.

Image: A hand holding the remote control, demonstrating its use to adjust the settings of the JoFomp 13-inch Digital LED Alarm Clock.
7. Video Demonstration
For a visual guide on setting up and using the clock's features, please watch the official product video below.
Video: An official product video demonstrating the features and operation of the JoFomp Large Digital Clock with Remote Control.
Maintenance
- Cleaning: Wipe the clock surface with a soft, dry cloth. Avoid abrasive cleaners or solvents.
- Power: Ensure the clock is connected to a stable 5V power supply.
- Battery Replacement: Replace AAA batteries in the remote control and for the clock's backup function as needed.
Troubleshooting
| Problem | Possible Cause | Solution |
|---|---|---|
| Clock display is off | No power, power adapter issue, or remote control off. | Ensure USB cable is securely connected to a working 5V power adapter. Press the red power button on the remote. |
| Remote control not working | Remote batteries are dead or remote is not pointed at the clock. | Replace remote control batteries. Ensure direct line of sight to the clock. |
| Alarm not sounding during power outage | No AAA batteries installed for backup. | Install 2 AAA alkaline batteries for alarm backup functionality. |
| Incorrect time or date | Manual setting error or DST not enabled. | Use the remote control to manually set the correct time and date. Check DST settings. |
| Temperature display inaccurate | Clock recently moved or in an area with fluctuating temperature. | Allow time for the internal sensor to stabilize. Ensure clock is not near heat sources or vents. |
Specifications
- Brand: JoFomp
- Model Number: 6629-1
- Display Type: Digital LED
- Display Size: 13 inches
- Color: All Blue (for this variant)
- Product Dimensions: 12.6"W x 4.1"H
- Power Source: Corded Electric (5V/1A or 5V/2A adapter required, not included)
- Battery Backup: 2 AAA batteries (not included) for settings retention and alarm during power outage.
- Special Features: Remote Control, Auto Brightness Dimmer, Dual Alarm, DST, Temperature Display, Timer.
- Mounting Type: Wall Mount or Desk Placement
Warranty and Support
This JoFomp Digital LED Alarm Clock comes with a limited warranty. For detailed warranty information or technical support, please refer to the contact information provided with your purchase or visit the official JoFomp website. Please retain your proof of purchase for warranty claims.