
HYTE Y40
HYTE Y40 Mid-Tower ATX Computer Gaming Case Instruction Manual
Model: Y40 (CS-HYTE-Y40-BW)
1. Introduction
This manual provides essential information for the setup, operation, and maintenance of your HYTE Y40 Modern Aesthetic Panoramic Tempered Glass Mid-Tower ATX Computer Gaming Case. Please read this manual thoroughly before installation and use to ensure proper functionality and safety.

Figure 1: Front view of the HYTE Y40 White Gaming Case, showcasing its panoramic tempered glass panels.
2. Key Features
- Panoramic Tempered Glass: Features precisely beveled edges and 2-piece panoramic tempered glass for an unobstructed view of internal components.
- PCIE 4.0 Riser Cable: Includes a color-matched PCIE 4.0 Luxury Riser Cable for vertical GPU mounting, supporting the latest graphics cards.
- Enhanced Airflow: Designed with 4 full slots for GPU support and additional airflow space for high-intensity processing.
- Pre-installed Fans: Comes with 2x120mm fans pre-installed (one beneath the power supply shroud and one at the rear) for immediate cooling.
- Advanced Cable Management: Robust cable management strategy with dedicated spaces and tie-downs behind the motherboard shelf and within the power supply shroud.
- Radiator Support: Side mount accommodates up to a 280mm radiator with a combined thickness of up to 120mm, suitable for custom liquid cooling loops.
3. Technical Specifications
| Specification | Detail |
|---|---|
| Model Name | Y40 |
| Item Model Number | CS-HYTE-Y40-BW |
| Case Type | Mid Tower |
| Motherboard Compatibility | ATX |
| Material | Tempered Glass |
| Color | White |
| Product Dimensions (LxWxH) | 17.2 x 9.4 x 18.4 inches |
| Item Weight | 19 pounds |
| Power Supply Mounting Type | Bottom Mount |
| Cooling Method | Air |
| Fan Size (Pre-installed) | 120 Millimeters (2x) |
| Number of USB 3.0 Ports | 1 |
4. Setup and Installation
This section outlines the general steps for assembling your PC components within the HYTE Y40 case. For detailed instructions on specific component installation, please refer to the respective component manuals.
4.1 Preparing the Case
Before installing any components, ensure the case is placed on a stable, flat surface. Remove the tempered glass side and front panels by loosening the captive thumb screws and carefully lifting them away. This provides full access to the interior.
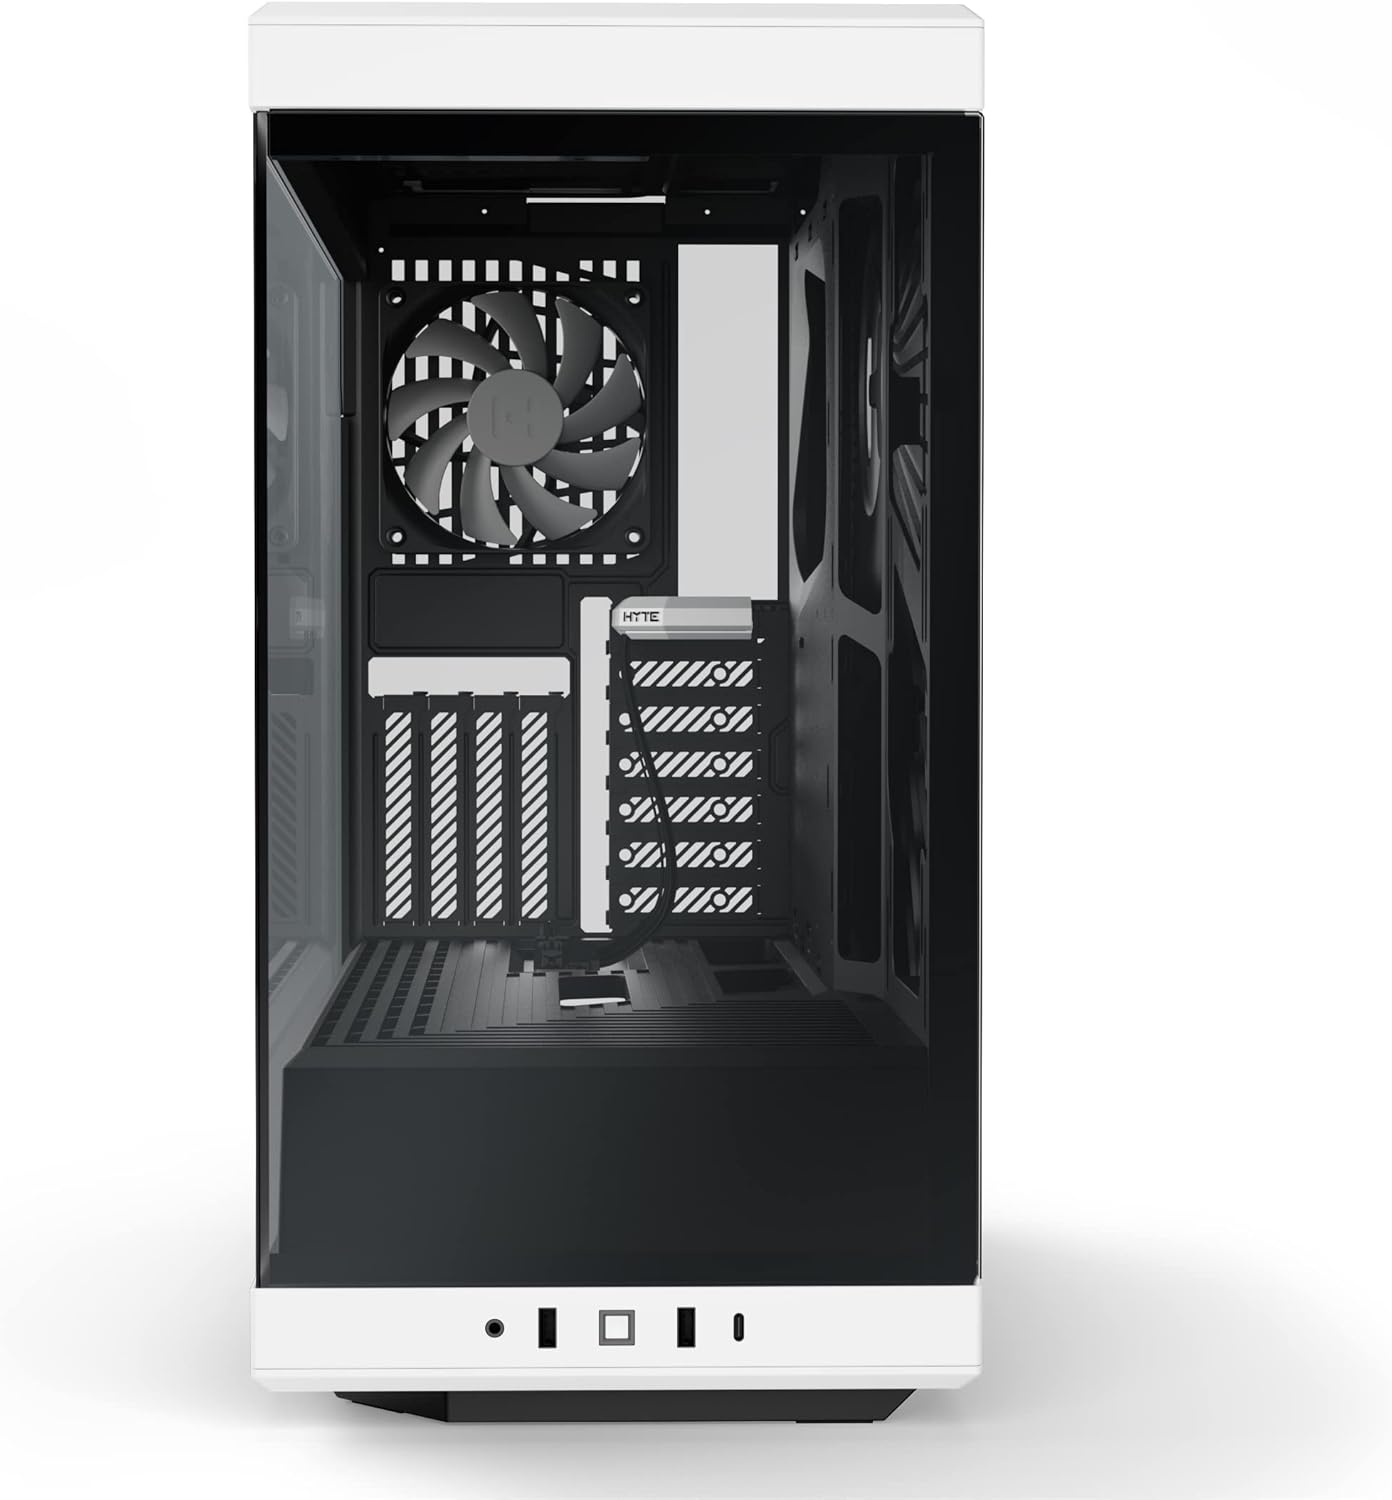
Figure 2: HYTE Y40 case with the side panel removed, showing the interior layout.
4.2 Motherboard Installation
Align your ATX motherboard with the standoffs inside the case. Secure the motherboard using the provided screws. Ensure all necessary cables (e.g., 24-pin ATX, 8-pin CPU) are routed through the designated cutouts for clean cable management.

Figure 3: Motherboard installed within the HYTE Y40 case, illustrating cable routing options.
4.3 Power Supply Unit (PSU) Installation
The HYTE Y40 supports bottom-mounted ATX PSUs. Slide your PSU into the dedicated compartment at the bottom rear of the case. Secure it with screws from the rear of the case. Utilize the cable management channels to route PSU cables to their respective components.
Video 1: Demonstration of PSU installation and cable management within a PC case. This video illustrates the process of securing the PSU and routing its cables effectively.
4.4 Graphics Card (GPU) Installation
The HYTE Y40 features a vertical GPU mounting system with an included PCIE 4.0 Luxury Riser Cable. Install your GPU onto the riser cable and secure it within the case. Ensure proper connection of the riser cable to the motherboard's PCIE slot and connect the necessary power cables from the PSU to the GPU.
Video 2: Overview of the HYTE Y40 case, highlighting its vertical GPU mounting and PCIE 4.0 riser cable. This video demonstrates the aesthetic and functional aspects of the GPU installation.
4.5 Cooling System Setup
The case comes with 2x120mm fans pre-installed. Additional fans or radiators can be installed on the side mount (up to 280mm radiator) or other designated areas. Ensure correct fan orientation for optimal airflow (intake/exhaust).
Video 3: Installation guide for an AIO cooler and fans in a PC case, demonstrating how to manage tubes and cables for a clean build.
5. Operating Instructions
After all components are securely installed and cables are connected, replace the tempered glass panels. Connect your peripherals (monitor, keyboard, mouse) and power cable. Press the power button located on the front I/O panel to start your system.

Figure 4: Fully assembled HYTE Y40 case with internal components illuminated by RGB lighting.
6. Maintenance
Regular maintenance ensures optimal performance and longevity of your PC. Keep the case clean and free of dust.
- Dust Filters: Periodically clean the dust filters to maintain optimal airflow and prevent dust buildup inside the case.
- Panel Cleaning: Use a soft, lint-free cloth to clean the tempered glass panels. Avoid abrasive cleaners that may scratch the surface.
- Cable Management: Periodically check cable routing to ensure no cables are obstructing airflow or fan operation.
7. Troubleshooting
If you encounter issues with your HYTE Y40 case, consider the following common troubleshooting steps:
- No Power: Ensure the PSU is properly connected to the wall outlet and the power switch on the PSU is in the 'ON' position. Check all internal power connections (24-pin, CPU, GPU).
- Overheating: Verify that all fans are spinning correctly and are oriented for optimal airflow. Clean any dust filters that may be clogged. Ensure CPU and GPU coolers are properly seated.
- Component Not Detected: Re-seat the component (e.g., GPU, RAM) in its slot. Check all power and data connections.
8. Warranty and Support
For warranty information and technical support, please visit the official HYTE website or contact their customer service. Keep your proof of purchase for warranty claims.
Visit the HYTE Store: HYTE Store
Related documentsY40


Ask a question about this manual
Ask about setup, troubleshooting, compatibility, parts, safety, or missing instructions. Manuals+ will review the question and use this page’s manual context to help answer it.