
BLAZEVIDEO T26
BLAZEVIDEO Full HD 4K/2160P 32MP Trail & Game Camera User Manual
Model: T26
Brand: BLAZEVIDEO
1. Introduction
This user manual provides comprehensive instructions for the setup, operation, and maintenance of your BLAZEVIDEO Full HD 4K/2160P 32MP Trail & Game Camera. Please read this manual thoroughly before using the camera to ensure optimal performance and longevity. This camera is designed for wildlife observation, hunting, and property security, offering high-resolution imaging and robust outdoor performance.
2. Product Overview
2.1 Package Contents
Upon unpacking, please verify that all items listed below are present:
- 1 x BLAZEVIDEO Trail Camera
- 1 x Instruction Manual
- 1 x Mounting Strap
- 1 x USB Cable

Figure 2.1: BLAZEVIDEO Trail Camera with its included accessories: the instruction manual, a USB cable for data transfer, and a durable mounting strap for installation.
2.2 Key Features
- High Resolution Imaging: Captures stunning 4K/2160P video and 32MP still photos, ensuring clear and detailed recordings.
- Fast Trigger Speed: Features an ultra-fast 0.1-second trigger speed to capture motion quickly and accurately.
- Extended Night Vision: Equipped with 40pcs no-glow infrared LEDs, providing up to 100ft (30m) of clear night vision without disturbing wildlife.
- Durable and Waterproof: IP66 rated housing ensures protection against rain, dust, and harsh environmental conditions.
- Wide Angle Lens: Offers a 120-degree wide-angle view to cover a broader area.
- Built-in LCD Screen: A 2.4-inch color LCD screen allows for easy setup and review of captured media directly on the device.
- Large Storage Support: Supports SD cards up to 128GB (not included) for extensive recording capacity.
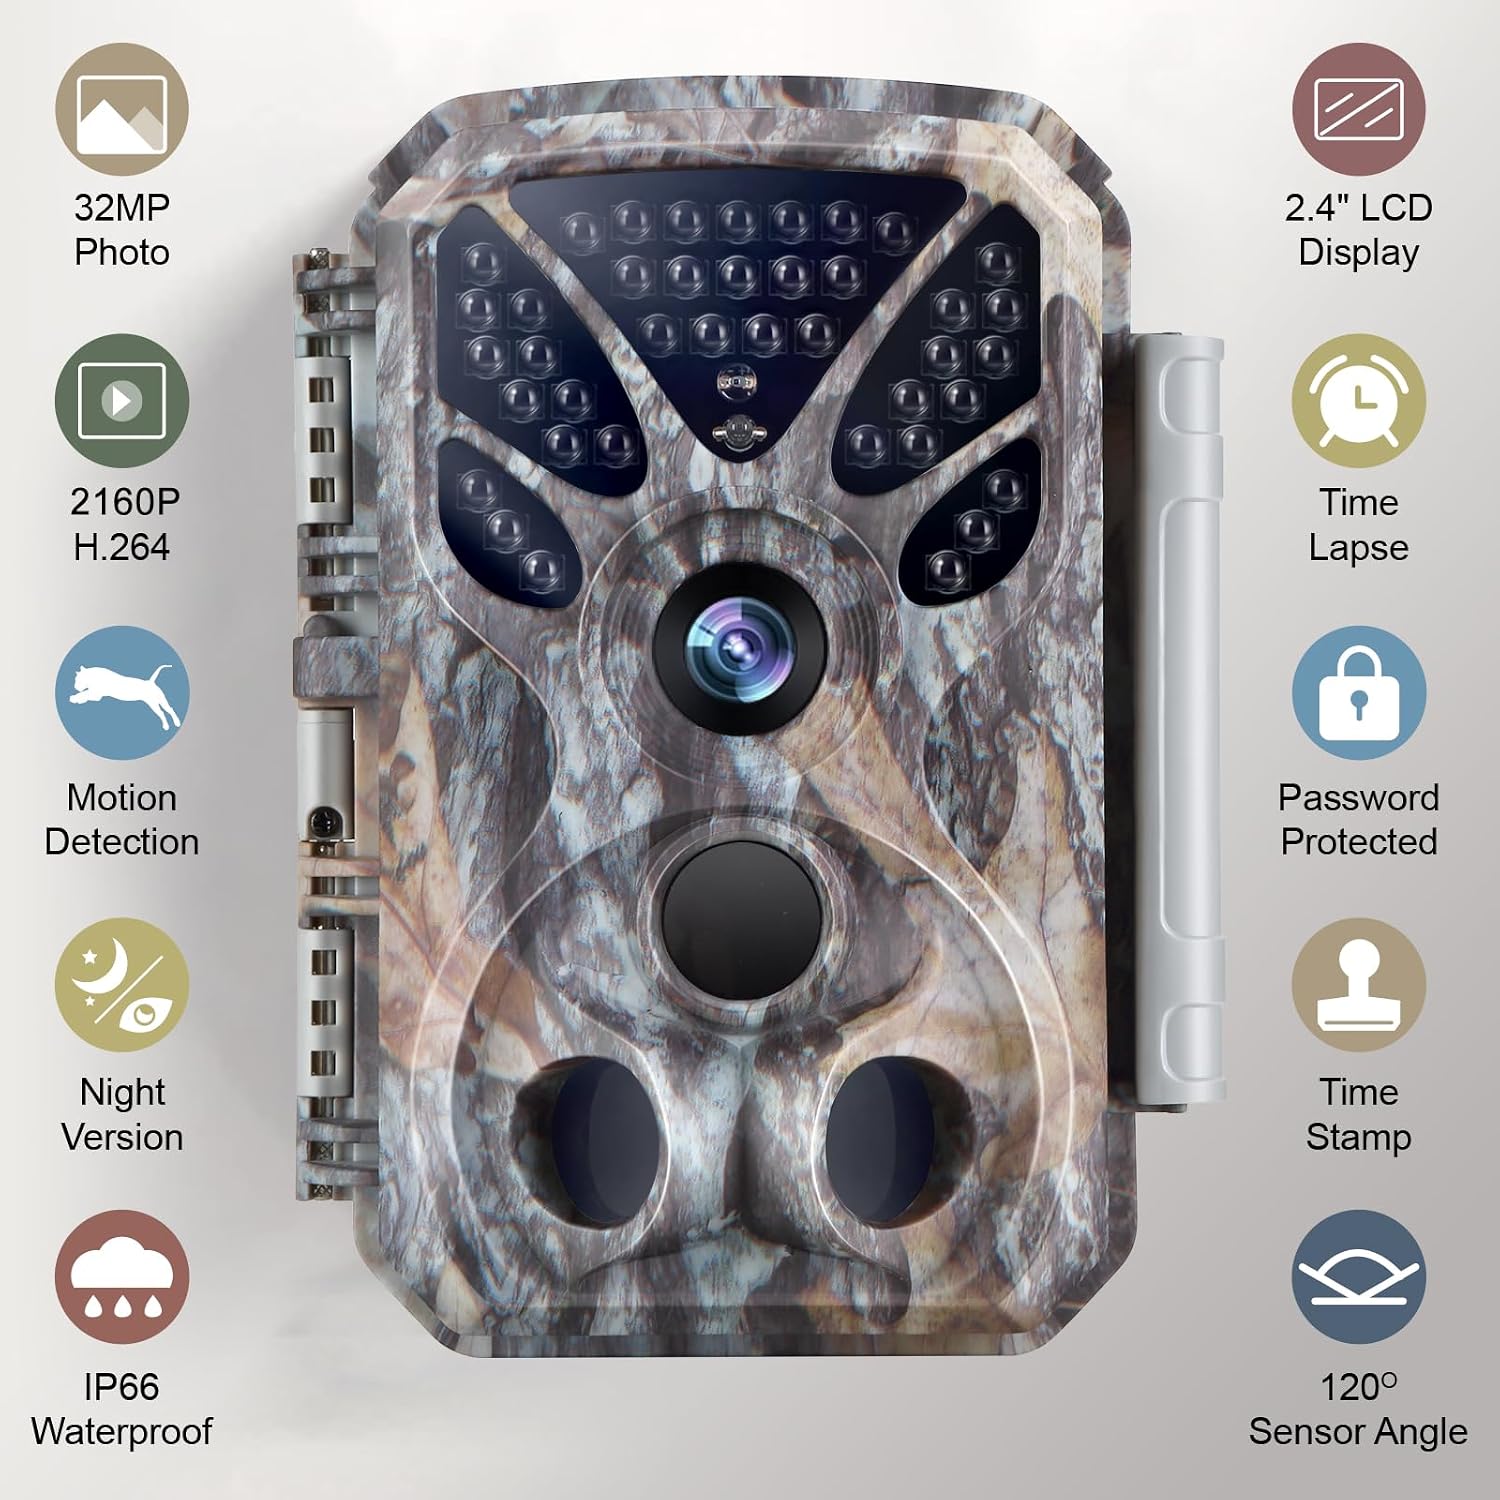
Figure 2.2: Visual representation of the camera's main features, including its high-resolution photo and video capabilities, motion detection, night vision, and waterproof design.
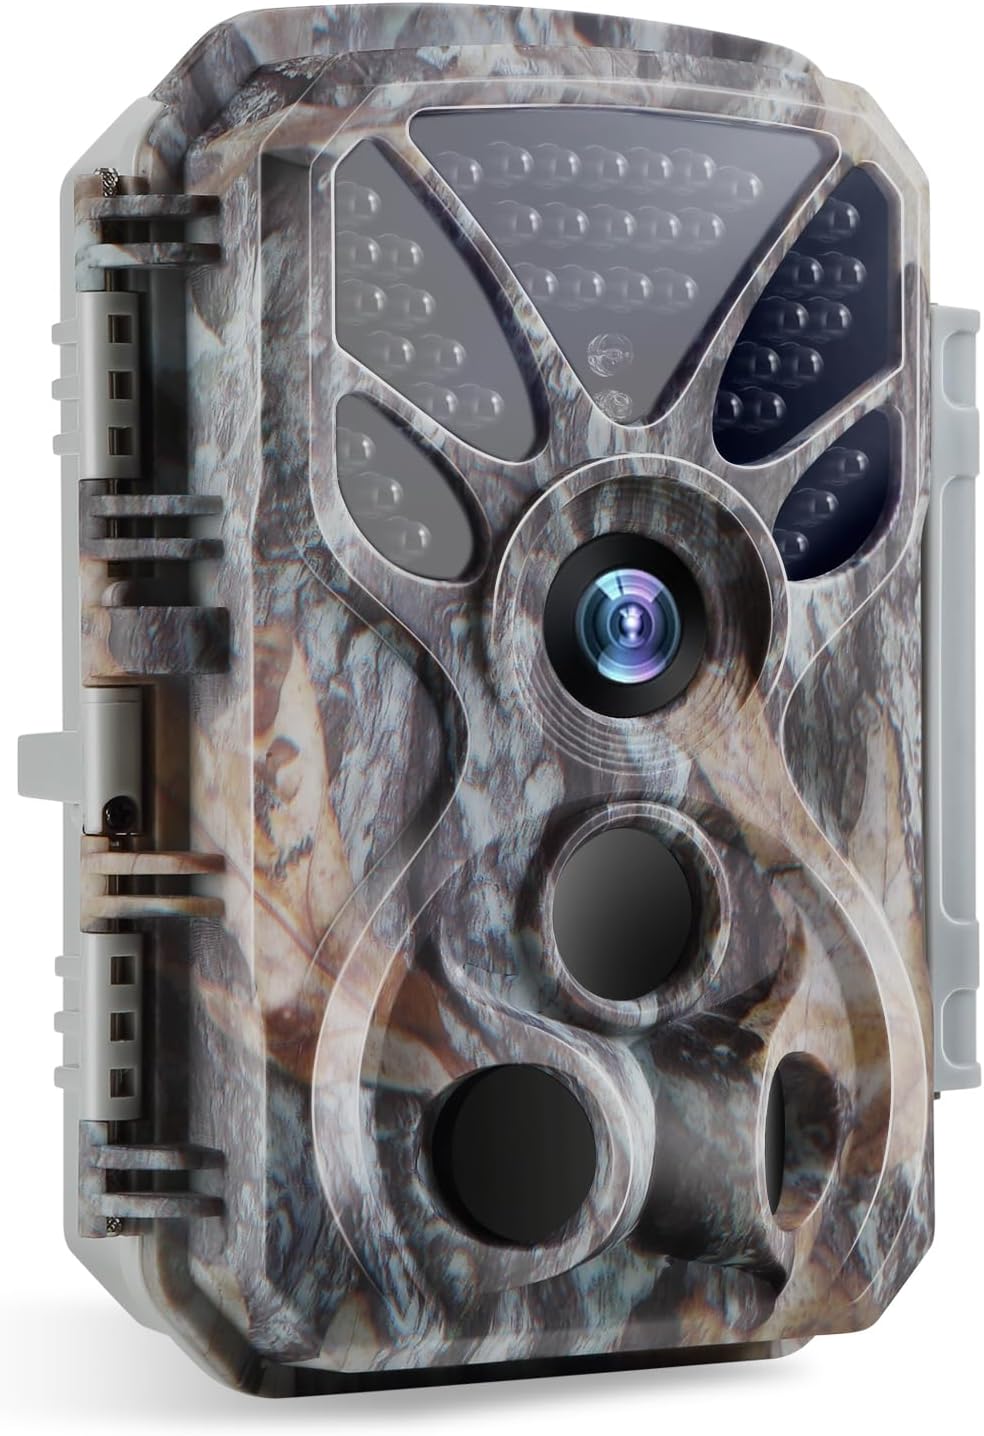
Figure 2.3: Front view of the BLAZEVIDEO Trail Camera, highlighting its compact design and sensor layout.
3. Setup
3.1 Battery Installation
The camera requires 8 AA batteries (not included). Ensure the camera is powered off before installing or replacing batteries. Open the camera casing and insert the batteries according to the polarity indicators inside the battery compartment.
3.2 SD Card Installation
A micro SD card (up to 128GB, not included) is required to store photos and videos. With the camera powered off, locate the SD card slot and insert the card with the gold contacts facing down until it clicks into place. To remove, press the card gently until it springs out.
3.3 Mounting the Camera
Use the included mounting strap to secure the camera to a tree, pole, or other suitable structure. Thread the strap through the slots on the back of the camera and fasten it securely. Ensure the camera is stable and pointed towards the desired monitoring area. The camera can also be mounted using a wall mount (not included) or tripod (not included) via the threaded insert at the bottom.

Figure 3.1: Rear view of the camera demonstrating mounting options and additional accessory ports.
4. Operating Instructions
4.1 Powering On and Off
To power on the camera, slide the mode switch from OFF to SETUP or ON. In SETUP mode, you can configure settings and review media. In ON mode, the camera will enter surveillance mode after a short countdown.
4.2 Navigating the Menu
Use the 2.4-inch LCD screen and the control buttons (Push Button control type) to navigate the camera's menu. Access settings such as photo resolution, video resolution, trigger interval, PIR sensitivity, and operating mode (Photo, Video, Photo+Video, Time Lapse).
4.3 Recording Modes
- Photo Mode: Captures still images when motion is detected.
- Video Mode: Records video clips when motion is detected.
- Photo + Video Mode: Captures both a still image and a video clip upon motion detection.
- Time Lapse Mode: Captures images at set intervals, useful for observing slow processes like plant growth or construction.

Figure 4.1: Examples of high-resolution 32MP photos and 4K/2160P videos captured by the camera.

Figure 4.2: Demonstration of the camera's rapid 0.1-second trigger speed, capturing fast-moving subjects.

Figure 4.3: Illustration of the camera's 120-degree wide-angle range, capturing a broad perspective of the environment.

Figure 4.4: Example of the time-lapse function, useful for monitoring gradual changes over time.
4.4 Night Vision and Motion Detection
The camera automatically switches to night vision mode in low light conditions, utilizing its 40pcs no-glow infrared LEDs to capture clear images and videos up to 100 feet away. The motion detection system (PIR sensor) triggers recording when movement is detected within its range, ensuring efficient capture of activity.

Figure 4.5: Night vision capability demonstrating clear image capture in dark environments.
5. Maintenance
5.1 Cleaning and Storage
Regularly clean the camera lens and PIR sensors with a soft, dry cloth to ensure optimal performance. Avoid using abrasive cleaners. When not in use for extended periods, remove the batteries and store the camera in a cool, dry place away from direct sunlight.
5.2 Battery and SD Card Management
Monitor battery levels regularly, especially in cold weather, as battery life can be affected. Replace all batteries simultaneously with new ones. Periodically format the SD card (after backing up important data) to maintain optimal recording performance and prevent data corruption.

Figure 5.1: The camera's IP66 waterproof design ensures reliable operation in various weather conditions.
6. Troubleshooting
Common Issues and Solutions
| Problem | Possible Cause | Solution |
|---|---|---|
| Camera not powering on | Low or dead batteries; incorrect battery installation. | Replace with fresh AA batteries, ensuring correct polarity. |
| No photos/videos recorded | SD card full or corrupted; incorrect mode setting; PIR sensitivity too low; no motion detected. | Format or replace SD card; check camera mode; increase PIR sensitivity; ensure camera is in an area with motion. |
| Poor image/video quality | Dirty lens; low light conditions; subject too far or too close. | Clean the lens; ensure adequate lighting or proper night vision settings; adjust camera placement. |
| Slow trigger response | PIR sensitivity setting; environmental factors (e.g., extreme cold). | Increase PIR sensitivity. Ensure camera is not exposed to extreme temperatures that might affect sensor performance. |
| Inaccurate temperature display | Sensor calibration variance. | This is typically a minor variance and does not affect core camera functionality. No user adjustment is available. |
7. Specifications
| Feature | Detail |
|---|---|
| Effective Still Resolution | 32 MP |
| Video Capture Resolution | 4K/2160P |
| Frame Rate | 30fps |
| Trigger Speed | 0.1 seconds |
| Night Vision Range | 100 Feet |
| Viewing Angle | 120 Degrees |
| International Protection Rating | IP66 |
| Display | 2.4" LCD Screen |
| Storage | Supports up to 128GB SD Card (not included) |
| Power Source | 8 x AA Batteries (not included), 12V DC (optional adapter) |
| Material | Acrylonitrile Butadiene Styrene (ABS) |
| Connectivity Protocol | USB |
| Control Method | Push Button |
| Item Weight | 1.17 pounds |
| Package Dimensions | 7.28 x 4.76 x 3.7 inches |
8. Warranty and Support
For detailed warranty information and customer support, please refer to the official BLAZEVIDEO website or the warranty card included with your product. If you encounter any issues not covered in this manual, please contact BLAZEVIDEO customer service for assistance.
The manufacturer is BLAZEVIDEO. Date First Available: December 20, 2022.
Ask a question about this manual
Ask about setup, troubleshooting, compatibility, parts, safety, or missing instructions. Manuals+ will review the question and use this page’s manual context to help answer it.