1. Product Overview
The NETUM C750 is a versatile and portable 1D/2D barcode scanner designed for various business applications. Its compact size and multiple connection options make it suitable for use with tablets, smartphones, PCs, and POS systems. This manual provides essential instructions for setting up, operating, and maintaining your C750 scanner.
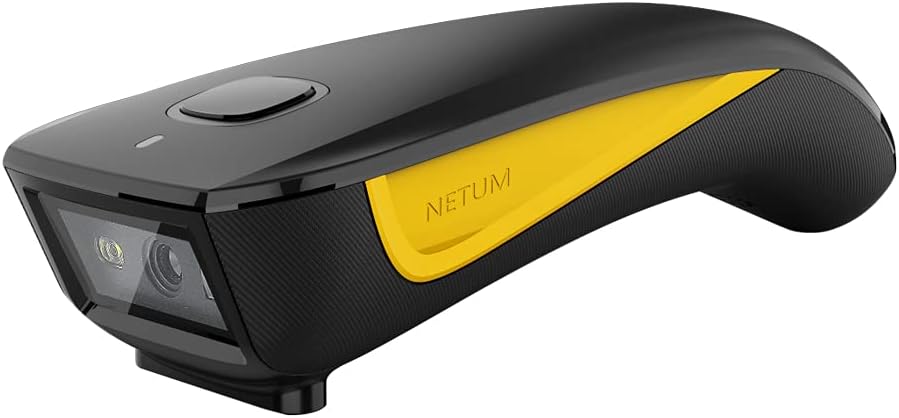
Figure 1: NETUM C750 2D Barcode Scanner. This image displays the compact design of the scanner, highlighting its scanning lens and the ergonomic trigger button. The device features a black body with a distinctive yellow accent.
2. Setup Guide
2.1 Unboxing and Initial Charge
Upon receiving your NETUM C750 scanner, carefully remove all components from the packaging. Before first use, it is recommended to fully charge the device. Connect the scanner to a USB power source using the provided USB cable. The indicator light will show charging status.
2.2 Connection Modes
The NETUM C750 offers three connection methods to ensure compatibility with a wide range of devices.
2.2.1 Bluetooth Connection
- Power On: Turn on the scanner using the physical power switch.
- Enter Pairing Mode: Scan the "Bluetooth Pairing" barcode (refer to the quick start guide included in the package for specific barcodes). The indicator light will flash, indicating it's ready to pair.
- Connect to Device: On your host device (laptop, PC, mobile phone, tablet, iPhone, iPad, POS), enable Bluetooth and search for available devices. Select "NETUM C750" from the list to connect.
- Confirmation: A successful connection will be indicated by a specific sound or a steady indicator light on the scanner.
Note: The Bluetooth transmission distance is approximately 10 meters (33 feet) in an environment with obstacles.
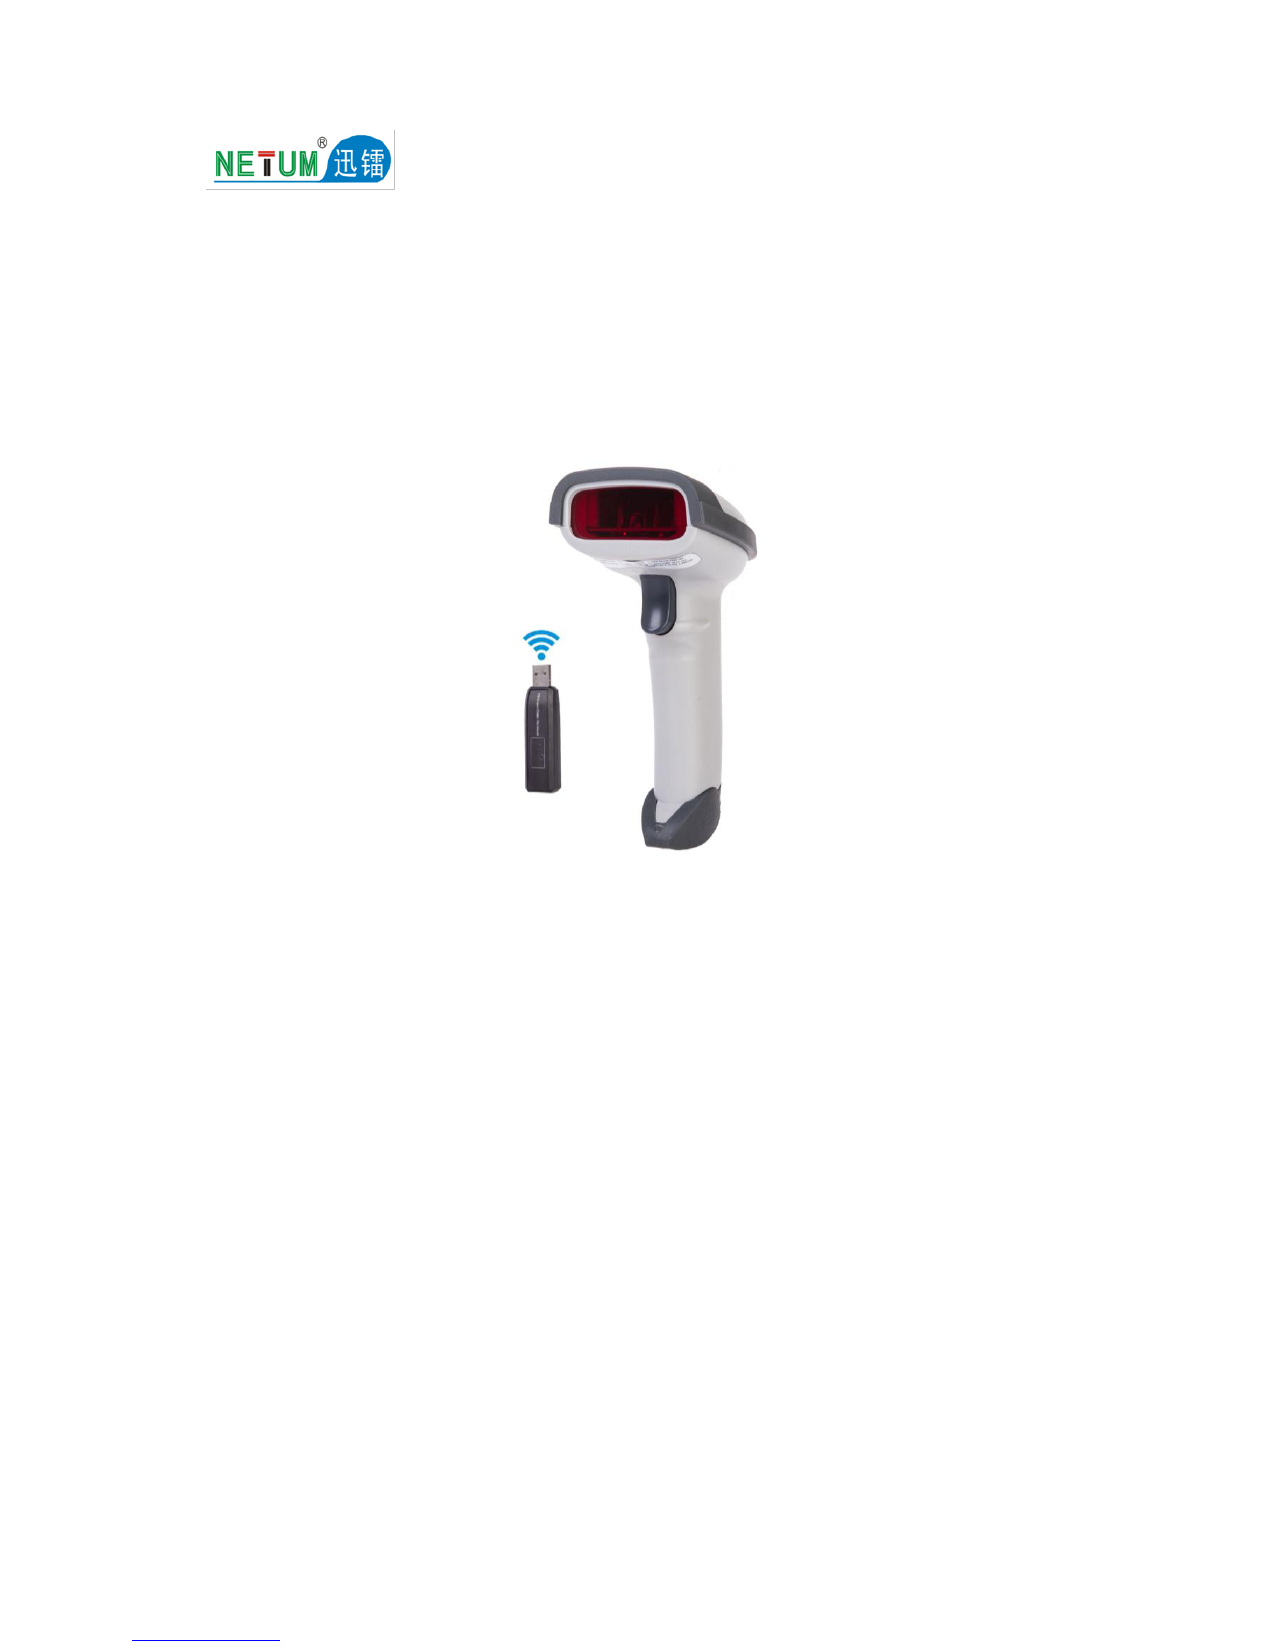
2.2.2 2.4G Wireless Connection
- Insert Dongle: Plug the provided 2.4G USB dongle into an available USB port on your host device (Windows XP/7/8/10, Mac OS, Linux).
- Power On Scanner: Turn on the scanner. It should automatically connect to the dongle.
- Confirmation: A successful connection is typically indicated by a specific sound or a steady indicator light.
Note: The 2.4G wireless transmission distance can reach up to 100 meters (330 feet) in an environment without obstacles.
2.2.3 USB Wired Connection
- Connect Cable: Connect the scanner to your host device using the provided USB cable.
- Automatic Recognition: The device will typically be recognized automatically by your operating system as a HID keyboard device.
- Functionality: In wired mode, the scanner can be used immediately, and it will also charge simultaneously.
3. Operating Instructions
3.1 Basic Scanning Operation
- Power On: Ensure the scanner is powered on and successfully connected to your host device via one of the methods described in Section 2.2.
- Open Application: Open an application on your host device where you want the scanned data to appear (e.g., a text editor, spreadsheet, or POS software).
- Position Scanner: Aim the scanning window of the C750 at the barcode you wish to scan. Ensure the entire barcode is within the scanner's field of view.
- Trigger Scan: Press the trigger button on the scanner. A successful scan will be indicated by a beep and/or a flash of the indicator light, and the barcode data will appear in your application.
Tip: For optimal scanning, hold the scanner at an appropriate distance and angle to avoid glare on the barcode.
3.2 Indicator Lights and Sounds
The scanner uses indicator lights and audible beeps to communicate its status:
- Blue Light (Flashing): Bluetooth pairing mode.
- Blue Light (Solid): Bluetooth connected.
- Green Light (Flash/Beep): Successful scan.
- Red Light (Solid): Charging.
- Red Light (Flashing): Low battery warning.
- Short Beep: Successful scan, button press, or mode change.
- Long Beep: Error or connection failure.
4. Maintenance
4.1 Cleaning the Scanner
To ensure optimal performance, keep the scanner clean. Use a soft, lint-free cloth slightly dampened with water or a mild cleaning solution to wipe the exterior. Pay special attention to the scanning window. Do not use abrasive cleaners or solvents, as these can damage the device.
4.2 Storage
When not in use, store the NETUM C750 scanner in a cool, dry place, away from direct sunlight and extreme temperatures. Avoid dropping the device or exposing it to excessive moisture.
5. Troubleshooting
| Problem | Possible Cause | Solution |
|---|---|---|
| Scanner does not power on. | Low battery. | Charge the scanner using the USB cable. |
| Scanner does not connect via Bluetooth. | Not in pairing mode; Bluetooth off on host device; out of range. | Ensure scanner is in pairing mode (flashing blue light). Enable Bluetooth on host device. Move scanner closer to host device. |
| Scanner does not connect via 2.4G wireless. | Dongle not properly inserted; out of range. | Ensure USB dongle is securely plugged in. Move scanner closer to the dongle. |
| Scanner does not read barcodes. | Barcode damaged/unreadable; incorrect scanning angle/distance; scanning window dirty; scanner not connected. | Try scanning a different barcode. Adjust angle and distance. Clean the scanning window. Verify connection status. |
| Scanned data appears incorrectly. | Keyboard layout mismatch; scanner settings. | Ensure the host device's keyboard layout matches the scanner's default or configured layout. Refer to the full programming guide for advanced settings. |
6. Specifications
- Brand: NETUM
- Model: C750
- Compatible Devices: Desktop, Laptop, Smartphone, Tablet
- Power Source: Corded Electric, USB Cable
- Connectivity: Bluetooth, 2.4G Wireless, USB Wired
- Barcode Types: 1D, 2D (QR)
- Weight: Less than 3 ounces (portable design)
- ASIN: B0BQBPC2G9
- Manufacturer: NETUM
7. Warranty and Support
For warranty information, technical support, or further assistance with your NETUM C750 barcode scanner, please refer to the documentation included with your purchase or visit the official NETUM website. Contact details for customer service are typically provided on the product packaging or within the quick start guide.