
1. Important Safety Instructions
Please read all instructions carefully before using the appliance. Keep this manual for future reference.
- Ensure the voltage indicated on the appliance corresponds to your local mains voltage before connecting.
- Do not immerse the appliance, power cord, or plug in water or any other liquid.
- Always unplug the coffee maker from the power outlet before cleaning and when not in use. Allow it to cool down before adding or removing parts.
- Do not operate any appliance with a damaged cord or plug, or after the appliance malfunctions or has been damaged in any manner.
- The appliance is for household use only. Do not use outdoors.
- Do not let the cord hang over the edge of a table or counter, or touch hot surfaces.
- Place the coffee maker on a firm, flat surface, away from hot gas or electric burners and heated ovens.
- Do not touch hot surfaces. Use handles or knobs.
- Close supervision is necessary when any appliance is used by or near children.
- Do not use the appliance for other than its intended use.
2. Product Overview
The Cecotec Coffee 66 Drop & Thermo Time is a drip coffee maker designed for ease of use and consistent coffee brewing. It features a programmable timer, intensity control, and a thermal carafe to keep your coffee warm.

Figure 2.1: Front view of the Cecotec Coffee 66 Drop & Thermo Time Drip Coffee Maker. This image shows the main body, control panel with LCD display, and the thermal carafe in its position.
Components:
- Water Tank: Located at the back, with a clear water level indicator.
- Lid: Covers the water tank and coffee filter basket.
- Filter Basket: Holds the reusable mesh filter or paper filter.
- Reusable Mesh Filter: For holding coffee grounds.
- Thermal Carafe: Stainless steel carafe with a capacity of up to 10 cups, designed to keep coffee hot.
- Control Panel: Features an LCD display and buttons for various functions.
- Measuring Spoon: For accurate coffee ground measurement.
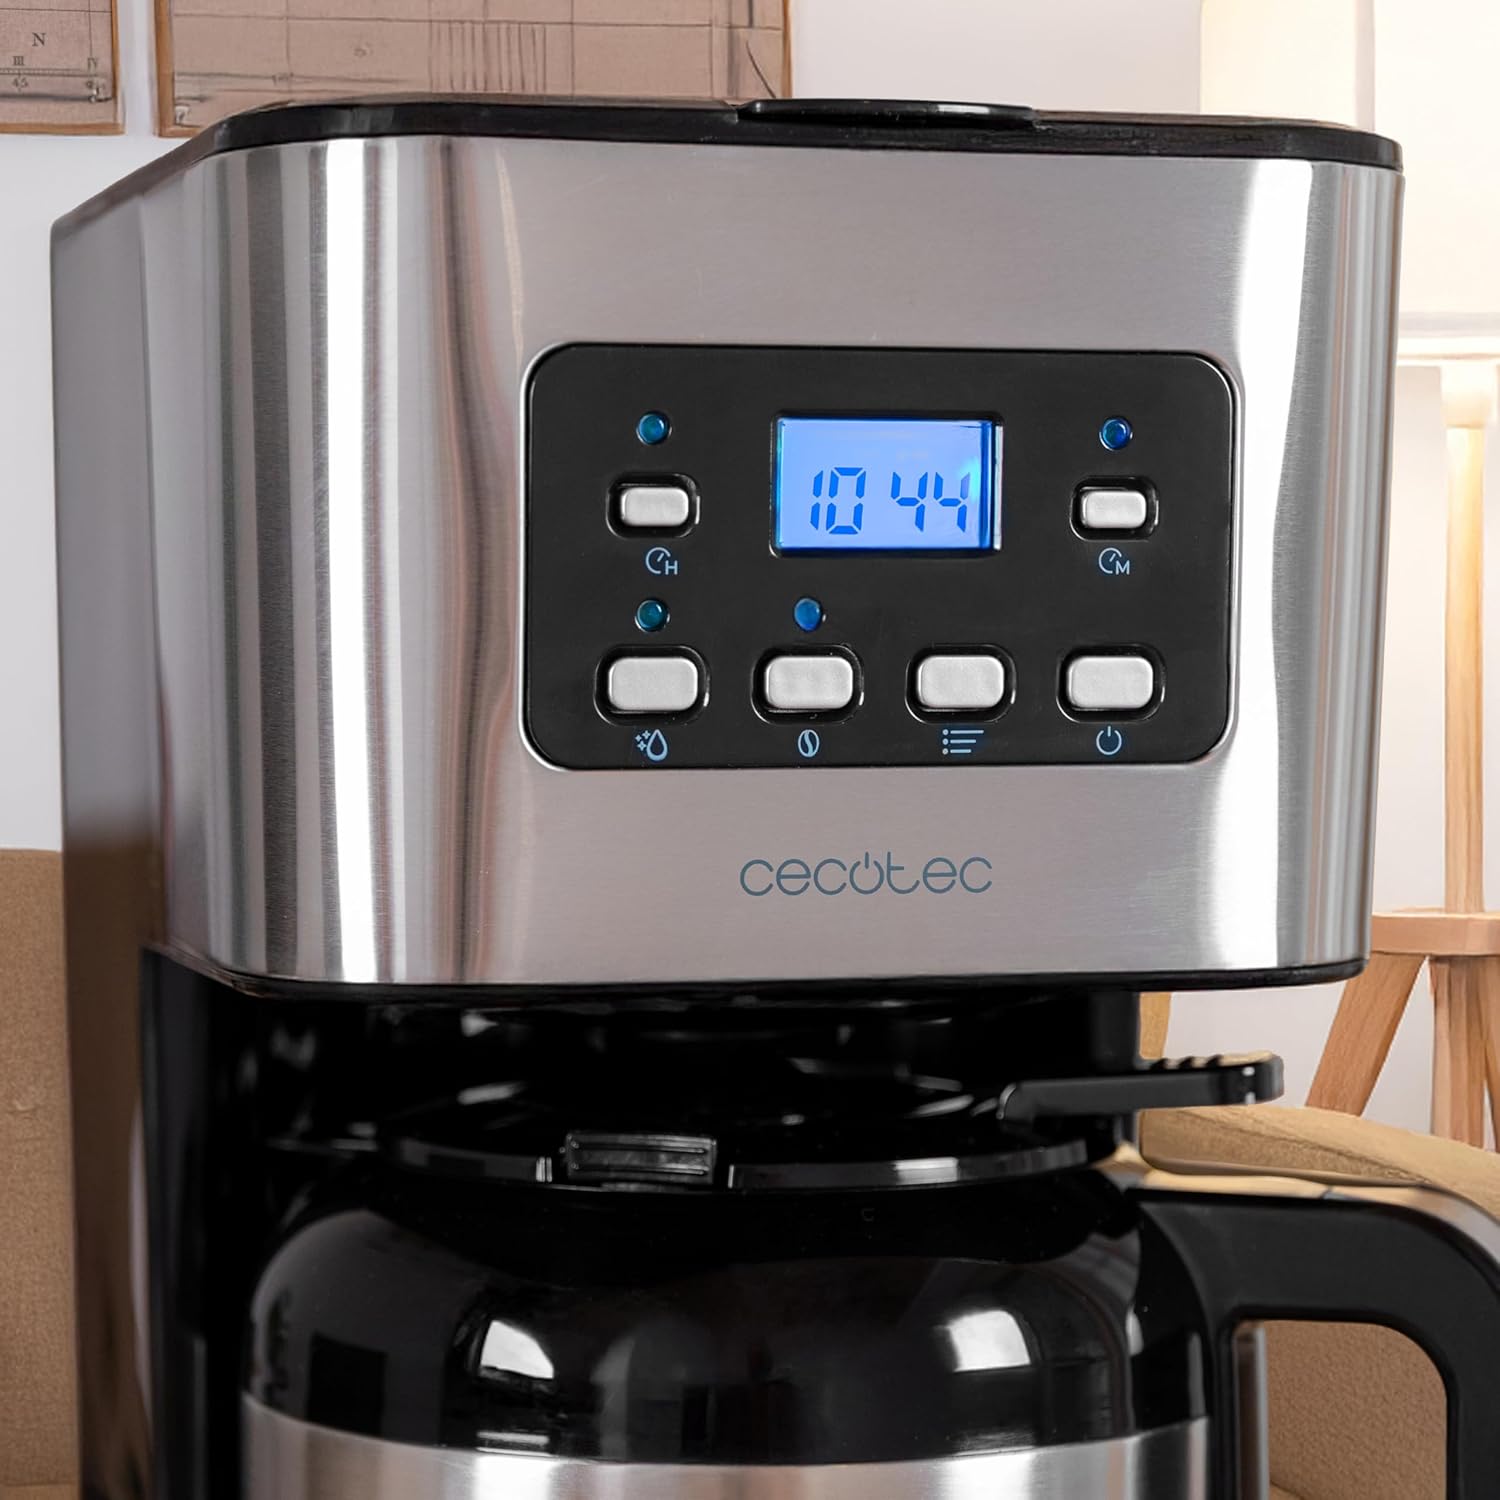
Figure 2.2: Close-up view of the control panel. The LCD display shows the time, and various buttons for power, intensity, timer, and programming are visible.
3. Setup and First Use
3.1 Unpacking and Initial Cleaning
- Carefully remove all packaging materials and promotional labels.
- Wash the thermal carafe, lid, and reusable mesh filter in warm, soapy water. Rinse thoroughly and dry.
- Wipe the exterior of the coffee maker with a damp cloth.
- Before first use, run a brewing cycle with only water (no coffee grounds) to clean the internal components. Fill the water tank to the MAX level, place the empty filter basket and carafe, and start a cycle. Discard the water.
3.2 Setting the Clock
- Plug the coffee maker into a power outlet. The LCD display will show '12:00' or flash.
- Press the 'TIME' button. The hour digits will flash.
- Use the 'MIN' and 'PROG' buttons to adjust the hour.
- Press 'TIME' again. The minute digits will flash.
- Use the 'MIN' and 'PROG' buttons to adjust the minutes.
- Press 'TIME' a third time or wait a few seconds for the setting to be saved.
4. Operating Instructions
4.1 Brewing Coffee
- Open the lid of the coffee maker.
- Fill the water tank with fresh, cold water up to the desired level, indicated by the water level gauge. Do not exceed the 'MAX' line.
- Place the reusable mesh filter into the filter basket. If using a paper filter, place it inside the mesh filter.
- Add the desired amount of ground coffee into the filter. A general guideline is one level measuring spoon (approximately 7g) per cup. Adjust to your taste.
- Close the lid securely.
- Ensure the thermal carafe is correctly placed on the warming plate.
- Press the 'ON/OFF' button to start brewing. The indicator light will illuminate.
- The brewing process will begin. Once complete, the coffee maker will automatically turn off.
- Carefully remove the carafe and pour your coffee.

Figure 4.1: A person pouring freshly brewed coffee from the thermal carafe into a mug. The carafe's handle and spout are visible.
4.2 Using the Intensity Function (Aroma)
To adjust the coffee strength:
- After adding water and coffee grounds, but before pressing 'ON/OFF', press the 'INTENSITY' (aroma) button.
- The display will indicate the selected intensity level.
- Press 'ON/OFF' to start brewing with the chosen intensity.
4.3 Programming the Delay Brew Timer
You can set the coffee maker to start brewing at a specific time:
- Prepare the coffee maker with water and coffee grounds as described in section 4.1.
- Press the 'PROG' button. The display will show 'PROG' and the hour digits will flash.
- Use the 'MIN' and 'PROG' buttons to set the desired hour for brewing to start.
- Press 'PROG' again. The minute digits will flash.
- Use the 'MIN' and 'PROG' buttons to set the desired minutes.
- Press 'PROG' a third time or wait a few seconds. The 'PROG' indicator will light up, confirming the timer is set.
- The coffee maker will automatically start brewing at the programmed time.
5. Maintenance and Cleaning
Regular cleaning ensures optimal performance and extends the lifespan of your coffee maker.
5.1 Daily Cleaning
- Always unplug the appliance and allow it to cool completely before cleaning.
- Remove the thermal carafe, lid, and reusable mesh filter. Wash them in warm, soapy water. Rinse thoroughly and dry.
- Discard used coffee grounds.
- Wipe the exterior surfaces of the coffee maker with a soft, damp cloth. Do not use abrasive cleaners or scouring pads.
- The thermal carafe is not dishwasher safe.
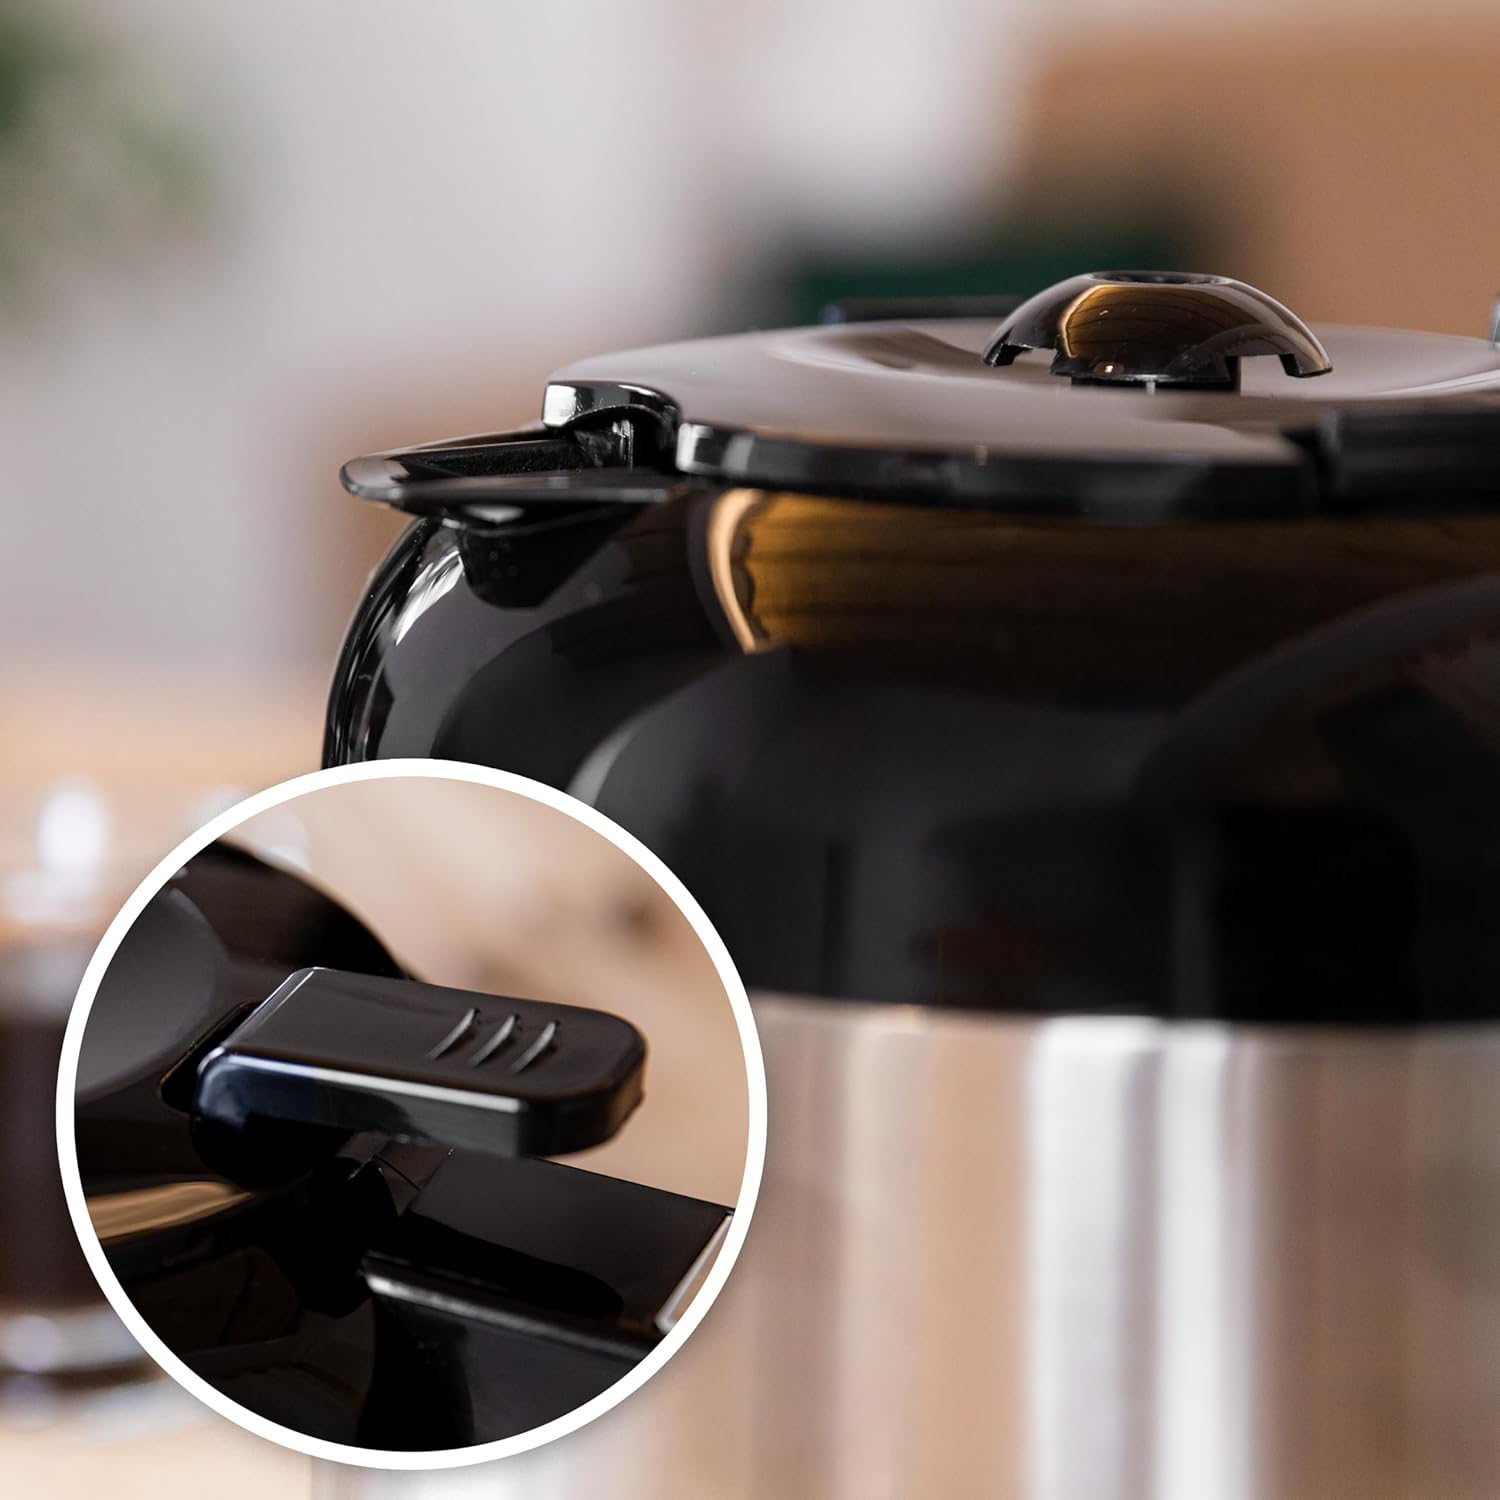
Figure 5.1: Close-up of the thermal carafe lid, highlighting the drip-stop mechanism. This part should be cleaned regularly to prevent blockages.
5.2 Descaling
Mineral deposits (limescale) can build up in your coffee maker over time, affecting its performance. Descale your coffee maker every 2-3 months, or more frequently if you have hard water.
- Fill the water tank with a solution of white vinegar and water (1 part vinegar to 2 parts water).
- Place the empty thermal carafe on the warming plate.
- Start a brewing cycle without coffee grounds.
- After about half the solution has brewed through, turn off the coffee maker and let it sit for 15-20 minutes to allow the solution to work.
- Turn the coffee maker back on to complete the brewing cycle.
- Discard the vinegar solution from the carafe.
- Run 2-3 cycles with fresh, clean water to rinse out any remaining vinegar taste or odor.
6. Troubleshooting
If you encounter issues with your coffee maker, refer to the following table:
| Problem | Possible Cause | Solution |
|---|---|---|
| Coffee does not brew. | No power; water tank empty; carafe not in place; timer set. | Check power connection; fill water tank; ensure carafe is correctly positioned; check timer settings. |
| Coffee is too weak. | Not enough coffee grounds; coarse grind; intensity setting too low. | Add more coffee grounds; use a finer grind; select a higher intensity setting. |
| Coffee overflows from filter. | Too many coffee grounds; filter clogged; carafe not in place. | Reduce coffee grounds; clean filter thoroughly; ensure carafe is fully inserted. |
| Unusual noise during brewing. | Limescale buildup. | Perform a descaling cycle (see Section 5.2). |
7. Specifications
| Feature | Detail |
|---|---|
| Brand | Cecotec |
| Model Name | Coffee 66 Drop & Thermo Time |
| Item Model Number | 00274 |
| Type | Drip Coffee Machine |
| Capacity | 1.2 Litres (up to 10 cups) |
| Carafe Material | Stainless Steel (Thermal) |
| Power | 950 W |
| Special Features | Removable Tank, Thermal Carafe, Water Filter, Programmable Timer (24 hours), Intensity Function, Drip-free feature, Overheating protection |
| Product Dimensions | 25D x 17W x 32.5H Centimeters |
| Item Weight | 2 kg 100 g |
| Included Components | Filter coffee maker, instruction manual, Measuring spoon |
8. Warranty and Support
This Cecotec appliance is covered by a manufacturer's warranty. Please refer to the warranty card included with your product for specific terms and conditions, including the warranty period and coverage details.
For technical support, spare parts, or warranty claims, please contact Cecotec customer service through their official website or the contact information provided in your product packaging. Ensure you have your model number (00274) and proof of purchase available when contacting support.


