1. Introduction
This manual provides essential instructions for the safe and efficient operation, maintenance, and troubleshooting of your Cecotec Cumbia Power Matic-ccino 9000 S automatic coffee machine. Please read this manual thoroughly before first use and keep it for future reference.
The Cecotec Cumbia Power Matic-ccino 9000 S is a mega-automatic coffee machine featuring a Plug&Play system, designed to prepare a wide variety of coffees with a single touch. It offers 20 types of hot beverages, including espresso, ristretto, lungo, doppio, americano, latte, flat white, latte macchiato, cortado, hot milk, and cappuccino.
Key features include a Custom Coffee System for personalizing intensity, temperature, pressure, coffee quantity, milk, cream, and foam, as well as the pouring order. The machine can memorize your favorite coffee settings for quick access. It incorporates a rapid Thermoblock heating system for optimal temperature and a powerful 19-bar ForceAroma pressure pump for maximum cream and aroma. The All Cappuccino System automatically adds milk or foam for perfect lattes and cappuccinos.
The machine is equipped with a high-quality, interactive touch control panel, a 250g bean reservoir with an airtight lid, an integrated conical grinder with 5 grinding levels, and a removable 1.7L water tank. It also includes a 500ml Full Latte milk tank accessory and features an adjustable coffee spout (10.5 cm to 15 cm) and a cup warmer tray.

Image 1.1: Overview of the Cecotec Cumbia Power Matic-ccino 9000 S coffee machine, showing two cups of coffee being dispensed and the milk tank.
2. Safety Instructions
Always follow basic safety precautions when using electrical appliances to reduce the risk of fire, electric shock, and injury.
- Read all instructions before use.
- Do not immerse the appliance, power cord, or plug in water or other liquids.
- Ensure the voltage indicated on the appliance matches your local mains voltage.
- Keep the appliance out of reach of children.
- Unplug the appliance from the power outlet when not in use and before cleaning.
- Do not operate the appliance with a damaged cord or plug.
- Do not use accessories not recommended by the manufacturer.
- Use the appliance only for its intended household purpose.
- Avoid contact with hot surfaces.
3. Product Components
Familiarize yourself with the main parts of your coffee machine:
- Control Panel / Touch Screen
- Coffee Bean Hopper with Airtight Lid
- Water Tank (Removable, 1.7L capacity)
- Coffee Spout (Adjustable height)
- Drip Tray and Grids
- Ground Coffee Container
- Milk Tank (Full Latte, 500ml capacity)
- Cup Warmer Tray
- Power Cord

Image 3.1: Close-up of the interactive touch control panel, showing beverage selection options.
4. Setup
4.1 Unpacking and Initial Placement
- Carefully remove all packaging materials.
- Place the machine on a stable, flat, heat-resistant surface, away from water sources and direct heat.
- Ensure adequate ventilation around the appliance.
4.2 Initial Cleaning
- Wash the removable water tank, milk tank, drip tray, and ground coffee container with warm, soapy water. Rinse thoroughly and dry.
- Wipe the exterior of the machine with a damp cloth.
4.3 Filling the Water Tank
- Remove the 1.7L water tank from the back of the machine.
- Fill it with fresh, cold tap water up to the MAX level indicator.
- Reinsert the water tank securely into its position.
4.4 Filling the Bean Hopper
- Open the airtight lid of the coffee bean hopper located on top of the machine.
- Pour fresh coffee beans into the hopper. Do not overfill.
- Close the lid firmly to preserve aroma.
4.5 Connecting the Milk Tank (Optional)
- If preparing milk-based beverages, fill the 500ml Full Latte milk tank with fresh milk.
- Connect the milk tank to the designated port on the coffee machine as per the diagram in the quick start guide.
4.6 First Use / Priming
- Plug the machine into a grounded power outlet.
- Follow the on-screen instructions for the initial priming cycle. This typically involves dispensing hot water to rinse the internal circuits.
5. Operating Instructions
5.1 Power On/Off
- Press the power button on the touch screen to turn the machine on. It will perform a brief self-cleaning cycle.
- To turn off, press the power button again. The machine will perform a final rinse before shutting down.
5.2 Selecting a Beverage
- On the touch screen, browse through the 20 available beverage options.
- Tap on your desired drink (e.g., Espresso, Latte, Cappuccino).
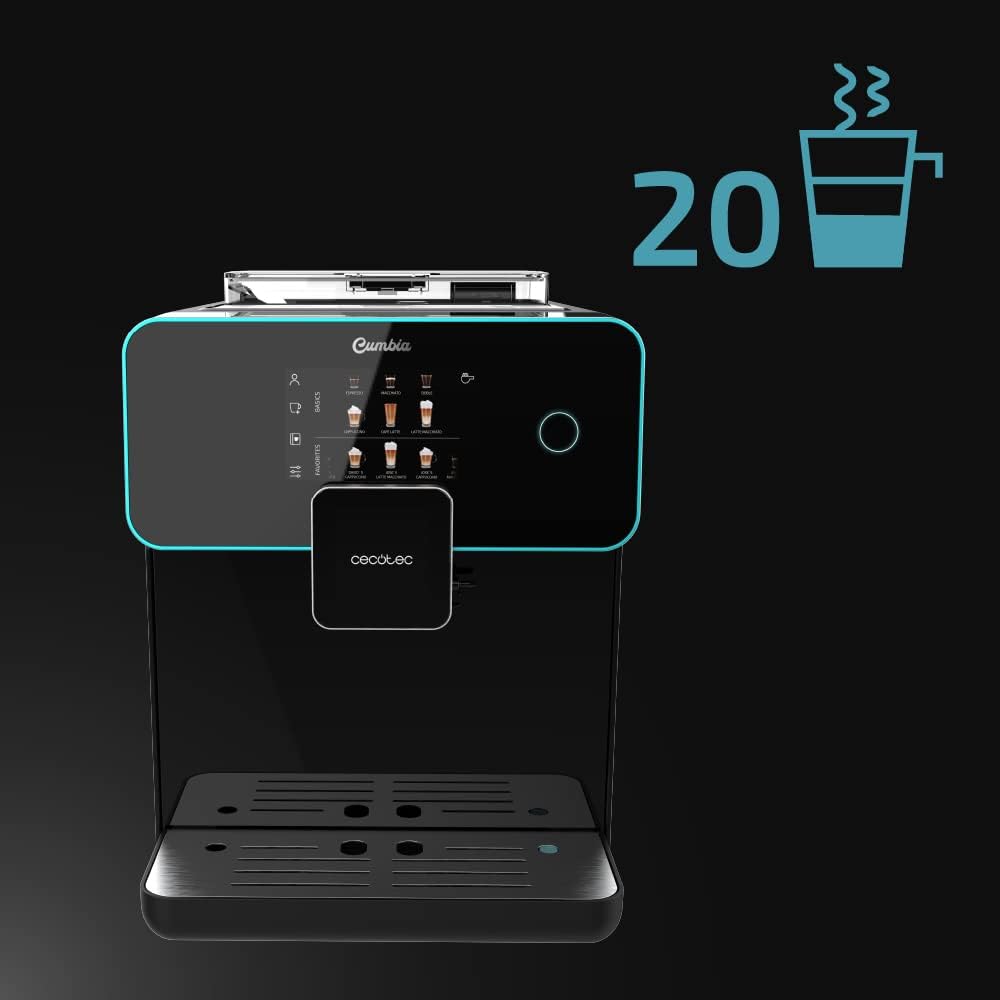
Image 5.1: The touch screen displaying the wide selection of 20 hot beverages available.
5.3 Customizing Beverages (Custom Coffee System)
- After selecting a drink, the Custom Coffee System interface will appear.
- Adjust parameters such as coffee intensity, temperature, pressure, coffee quantity, milk quantity, and foam level using the on-screen sliders.
- You can also customize the pouring order (e.g., milk first or coffee first).
- Confirm your selections to start brewing.

Image 5.2: The 'Custom Coffee' interface, allowing users to personalize various aspects of their drink.
5.4 Saving Favorite Coffees
- After customizing a beverage, you can save it as a favorite for quick access.
- Follow the on-screen prompt to name and save your personalized drink. It will appear on the main screen under your profile.

Image 5.3: Icon indicating the ability to save up to 10 user profiles or favorite drink settings.
5.5 Adjusting Spout Height
- The coffee spout can be adjusted vertically from 10.5 cm to 15 cm.
- Manually slide the spout up or down to fit your cup size, from small espresso cups to tall breakfast mugs.
5.6 Using the Cup Warmer Tray
- Place cups on the designated cup warmer tray on top of the machine.
- This feature helps maintain coffee temperature and enhances aroma and cream.
6. Maintenance
Regular cleaning and maintenance ensure optimal performance and longevity of your coffee machine.
6.1 Daily Cleaning
- Drip Tray: Empty and rinse the drip tray and grid daily.
- Ground Coffee Container: Empty the ground coffee container when prompted or daily to prevent mold growth.
- Milk System: After each milk-based beverage, perform a quick rinse cycle for the milk system as prompted by the machine. For thorough cleaning, disassemble and wash the milk tank and frothing components with warm, soapy water.
6.2 Water Tank Cleaning
- Clean the water tank weekly with warm, soapy water. Rinse thoroughly to remove any soap residue.
6.3 Bean Hopper and Grinder Maintenance
- Periodically empty the bean hopper and wipe it clean with a dry cloth. Ensure no coffee residue accumulates.
- The integrated conical grinder has 5 grinding levels. Adjust as needed for your preferred coffee strength. Refer to the on-screen menu for grinder adjustment options.
6.4 Descaling
- The machine will indicate when descaling is required.
- Use a descaling solution recommended by Cecotec and follow the on-screen instructions for the descaling process.
- Regular descaling is crucial for maintaining machine performance and coffee quality, especially in areas with hard water.

Image 6.1: Icon representing the machine's 'Always Clean' feature, highlighting its automatic cleaning cycles.
7. Troubleshooting
This section addresses common issues you might encounter. For problems not listed here, please contact customer support.
| Problem | Possible Cause | Solution |
|---|---|---|
| No coffee dispensed | Water tank empty; coffee beans empty; brewing unit clogged. | Refill water tank; refill bean hopper; clean the brewing unit as per maintenance instructions. |
| Coffee is too weak | Grind setting too coarse; insufficient coffee quantity; old coffee beans. | Adjust grinder to a finer setting; increase coffee intensity in Custom Coffee settings; use fresh coffee beans. |
| Milk not frothing correctly | Milk tank or frothing components dirty; milk type unsuitable; milk temperature too high/low. | Clean milk tank and frothing system thoroughly; use cold, fresh milk (preferably semi-skimmed or full-fat); ensure milk is cold. |
| Error message on screen | Specific machine fault; component not correctly inserted. | Refer to the specific error code in the full manual (if available) or contact customer support. Ensure all removable parts are correctly seated. |
8. Specifications
| Feature | Detail |
|---|---|
| Brand | Cecotec |
| Model Number | 01644 |
| Color | Serie Nera |
| Product Dimensions (L x W x H) | 51.5 x 35.5 x 44 cm |
| Item Weight | 11.1 Kilograms |
| Water Tank Capacity | 1.7 Liters |
| Milk Tank Capacity | 500 ml (Full Latte accessory) |
| Power | 1500 Watts |
| Pressure Pump | 19 Bars (ForceAroma Technology) |
| Coffee Bean Hopper Capacity | 250g |
| Grinder Type | Integrated Conical Grinder (5 levels) |
| Coffee Spout Height Adjustment | 10.5 cm to 15 cm |
| Special Features | Milk Frother, Touch Control Panel, Thermoblock System, Custom Coffee System, Auto-off |
| Material | Plastic |
| Spare Parts Availability | 10 Years |
9. Warranty and Support
9.1 Warranty Information
Your Cecotec Cumbia Power Matic-ccino 9000 S coffee machine is covered by a manufacturer's warranty. Please refer to the warranty card included with your product or visit the official Cecotec website for detailed terms and conditions. Keep your proof of purchase for warranty claims.
9.2 Customer Support
For technical assistance, spare parts, or any questions regarding your product, please contact Cecotec customer support. Contact details can typically be found on the official Cecotec website or in the product packaging.


