1. Important Safety Instructions
Please read all instructions carefully before using the Cecotec Crusher 1400 Electric Meat Grinder. Retain this manual for future reference. Incorrect operation may cause damage to the appliance or injury to the user.
- Always ensure the appliance is unplugged before assembly, disassembly, or cleaning.
- Keep hands and utensils away from moving parts during operation to prevent injury.
- Do not immerse the motor unit in water or any other liquid.
- This appliance is not intended for use by persons with reduced physical, sensory, or mental capabilities, or lack of experience and knowledge, unless they have been given supervision or instruction concerning use of the appliance by a person responsible for their safety.
- Children should be supervised to ensure that they do not play with the appliance.
- Do not operate the appliance with a damaged cord or plug, or after the appliance malfunctions or has been damaged in any manner.
- Use only manufacturer-recommended attachments.
- Ensure the appliance is placed on a stable, flat, and dry surface during operation.
2. Product Overview
The Cecotec Crusher 1400 is a powerful electric meat grinder designed for efficient processing of various types of meat. It features a robust motor, multiple cutting plates, and durable stainless steel components.

Image 2.1: The Cecotec Crusher 1400 Electric Meat Grinder, showcasing its main unit, feeding tray, various cutting plates, and accessories including a food pusher and sausage attachments. Freshly ground meat is visible in a bowl.
Components:
- Motor Unit: The main body housing the motor and control knob.
- Feeding Tray: Stainless steel tray for holding meat before grinding.
- Grinding Head: Consists of the auger, cutting blade, and cutting plates.
- Auger (Feed Screw): Pushes meat through the grinding head.
- Cutting Blade: Sharp blade that cuts the meat against the cutting plate.
- Cutting Plates: Three interchangeable plates (3mm, 5mm, 7mm) for different grinding textures.
- Locking Ring: Secures the grinding head components.
- Food Pusher: Used to safely guide meat into the feeding tube.
- Control Knob: For turning the unit ON/OFF and engaging the reverse function.

Image 2.2: The meat grinder positioned on a wooden kitchen counter, surrounded by various accessories such as the food pusher, different cutting plates, and seasoning jars, illustrating its readiness for use.
3. Setup and Assembly
Follow these steps to correctly assemble your meat grinder before first use.
- Unpack: Carefully remove all components from the packaging. Wash all parts that will come into contact with food (feeding tray, auger, blade, cutting plates, locking ring, food pusher) in warm soapy water, rinse thoroughly, and dry immediately.
- Attach Grinding Head: Insert the grinding head into the motor unit opening. Rotate it counter-clockwise until it locks securely into place. Ensure the locking button on the side of the motor unit engages.
- Assemble Grinding Components:
- Insert the auger into the grinding head.
- Place the cutting blade onto the square shaft of the auger, ensuring the sharp edges face outwards towards the cutting plate.
- Select the desired cutting plate (3mm, 5mm, or 7mm) and place it over the cutting blade, aligning the notch with the pin on the grinding head.
- Screw the locking ring onto the grinding head clockwise until it is hand-tight. Do not overtighten.
- Attach Feeding Tray: Place the feeding tray onto the top of the grinding head.
- Position Appliance: Place the assembled meat grinder on a stable, flat, and dry surface, ensuring adequate ventilation around the motor unit.

Image 3.1: A hand demonstrating the correct method to attach or detach the grinding head from the main motor unit, highlighting the secure locking mechanism.
4. Operating Instructions
Before operating, ensure the appliance is correctly assembled and plugged into a suitable power outlet.
4.1 Preparing Meat
- Trim all bones, gristle, and excessive fat from the meat.
- Cut the meat into pieces that fit easily into the feeding tube (approximately 2-3 cm cubes).
- For best results, chill the meat in the refrigerator for 30 minutes before grinding. This helps maintain its texture and prevents clogging.

Image 4.1: A user carefully placing pre-cut pieces of meat onto the stainless steel feeding tray, preparing for the grinding process.
4.2 Grinding Meat
- Place a bowl or container under the outlet of the grinding head to collect the ground meat.
- Turn the control knob to the 'ON' position. The motor will start.
- Feed the prepared meat pieces into the feeding tube. Use the food pusher to gently guide the meat down. Never use your fingers or other utensils to push meat.
- Continue feeding meat until all desired quantity is ground. The grinder can process up to 1.5 kg of meat per minute.
- After grinding, turn the control knob to the 'OFF' position and unplug the appliance.

Image 4.2: A detailed view of the control knob, showing the 'OFF', 'ON', and 'Reverse' settings, indicating the operational controls of the appliance.

Image 4.3: A user safely guiding meat into the grinder's feeding tube using the provided food pusher, demonstrating proper and safe operation.
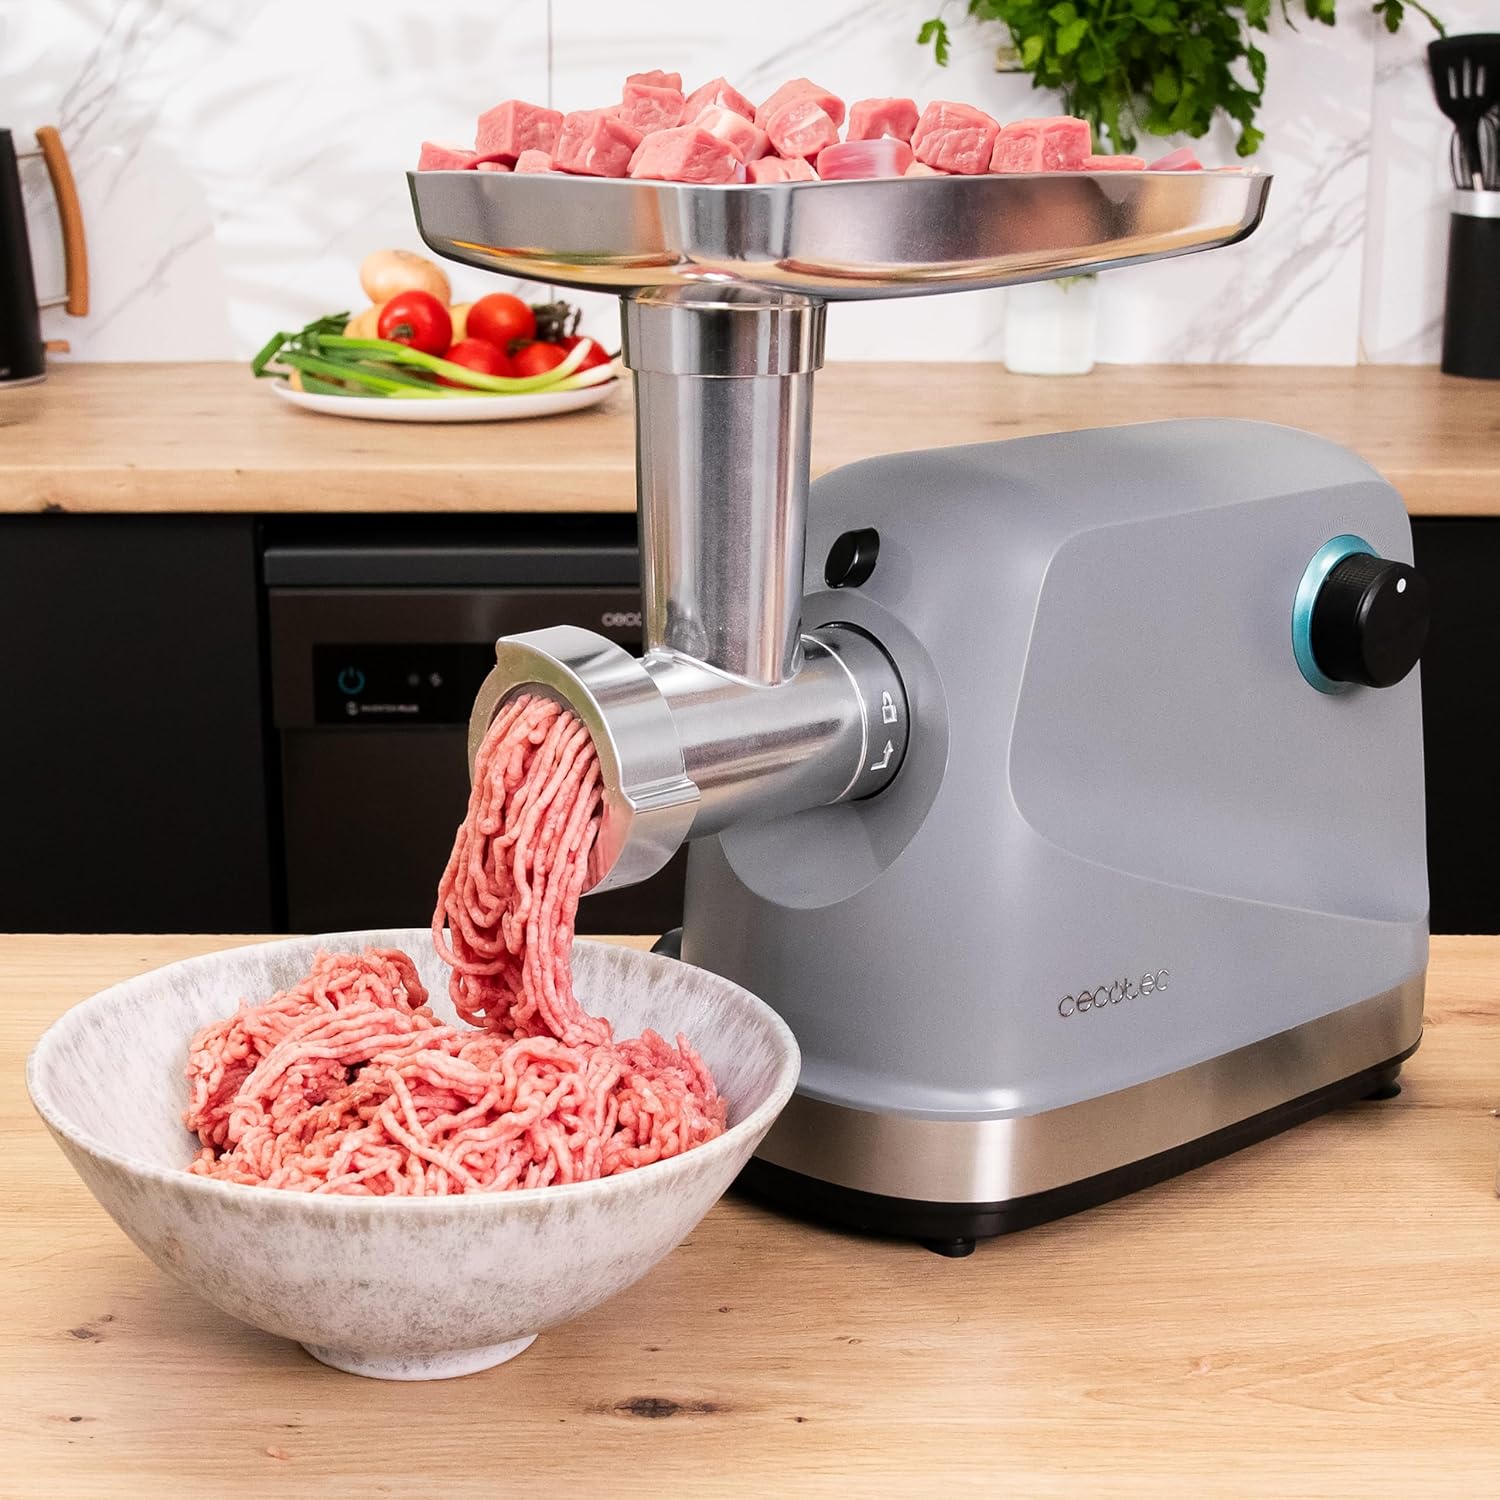
Image 4.4: The meat grinder in full operation, with finely ground meat exiting the grinding head and collecting in a bowl, illustrating its efficiency.
4.3 Reverse Function
If the grinding head becomes clogged during operation, turn the appliance OFF immediately. Then, turn the control knob to the 'Reverse' position. This will rotate the auger in the opposite direction to clear any blockages. Once cleared, turn the appliance OFF, then back to 'ON' to resume grinding.
5. Maintenance and Cleaning
Regular cleaning and maintenance will ensure the longevity and optimal performance of your meat grinder.
- Unplug: Always unplug the appliance from the power outlet before cleaning.
- Disassemble: Turn the grinding head clockwise to unlock and remove it from the motor unit. Disassemble all components of the grinding head: locking ring, cutting plate, cutting blade, and auger.
- Clean Components: Wash all removable parts (feeding tray, auger, blade, cutting plates, locking ring, food pusher) immediately after use in warm soapy water. Use a brush to remove any meat residue.
- Rinse and Dry: Rinse all parts thoroughly with clean water. It is crucial to dry all metal parts immediately and completely to prevent rust.
- Clean Motor Unit: Wipe the motor unit with a damp cloth. Never immerse the motor unit in water or place it under running water.
- Storage: Once all parts are clean and dry, reassemble the grinding head loosely or store components separately. Store the appliance in a dry, cool place, away from direct sunlight.
6. Troubleshooting
If you encounter issues with your Cecotec Crusher 1400, refer to the following table for common problems and solutions.
| Problem | Possible Cause | Solution |
|---|---|---|
| Motor does not start. | Appliance not plugged in; power outage; control knob not in 'ON' position. | Check power connection; verify power supply; turn knob to 'ON'. |
| Meat is not grinding or grinds slowly. | Grinding head clogged; meat pieces too large or tough; components incorrectly assembled. | Use reverse function to clear clog; cut meat into smaller pieces; ensure blade and plate are correctly installed. |
| Loud noise during operation. | Foreign object in grinding head; components loose. | Turn off and unplug, then inspect and remove any foreign objects. Reassemble components securely. |
| Meat comes out mushy. | Meat not cold enough; blade dull; incorrect cutting plate used. | Chill meat before grinding; ensure blade is sharp (replace if necessary); use a finer cutting plate for desired texture. |
7. Specifications
| Brand | Cecotec |
| Model Name | Crusher 1400 |
| Model Number | 04860 |
| Power | 1360 Watts |
| Voltage | 230 Volts (AC) |
| Capacity | Up to 1.5 Kilograms of meat per minute |
| Material | Stainless Steel |
| Dimensions (L x W x H) | 26 x 25.5 x 25 cm |
| Item Weight | 4.1 Kilograms |
| Cutting Plates | 3mm, 5mm, 7mm |
8. Warranty and Support
The Cecotec Crusher 1400 Electric Meat Grinder is designed for durability and performance. Spare parts availability is guaranteed for 10 years from the date of purchase.
For warranty claims, technical support, or inquiries regarding spare parts, please contact your retailer or visit the official Cecotec website for detailed support information.


