1. Introduction
Thank you for choosing the JATRHG P1 Portable EV Charger. This manual provides essential information for the safe and efficient operation of your charger. This portable charger is designed for electric vehicles equipped with a Type 2 charging port, offering adjustable current settings from 6A to 16A and a maximum power output of 3.6KW. It operates on 220V-230V AC and is built to CE and TUV standards with an IP-rated waterproof casing, ensuring compatibility and reliability for charging from any domestic outlet.
2. Safety Information
Please read all safety warnings carefully before installation and use. Failure to follow these instructions may result in electric shock, fire, or serious injury.
- Installation: This device must be installed by a qualified electrician, in accordance with local standards and regulations. Incorrect installation can cause risks of electrocution or fire.
- Intended Use: Use this equipment only for its intended purpose of charging compatible electric vehicles. Any modification or improper use can lead to damage or safety risks.
- Supervision: Do not leave the device operating unattended. In case of a problem, such as unusual smells, smoke, or excessive heat, turn it off immediately and consult a professional.
- Environment: Use the equipment under recommended conditions. Avoid exposure to excessive humidity, direct water immersion, or extreme temperatures outside the specified operating range (-30°C to +50°C).
- Maintenance: Do not attempt to repair the device yourself. Entrust all repairs to a qualified technician. Unauthorized repairs will void the warranty and may pose safety hazards.
- Child and Animal Safety: Keep the equipment out of reach of children and animals to prevent accidental damage or injury.
- Disconnection: Always unplug the device from the power source and the vehicle in case of emergency, before cleaning, or when not in use for extended periods.
3. Package Contents
Verify that all items are present in the package:
- 1. Control Box
- 2. Type 2 Connector
- 3. Charging Cable
- 4. Power Plug (Schuko type)
- 5. User Manual

Figure 3.1: Labeled components of the JATRHG P1 Portable EV Charger.
4. Product Overview
The JATRHG P1 Portable EV Charger consists of a central control box, a Type 2 vehicle connector, a power plug for the wall outlet, and a durable charging cable. The control box features an LED indicator to display charging status and buttons for adjusting current and setting charging schedules.
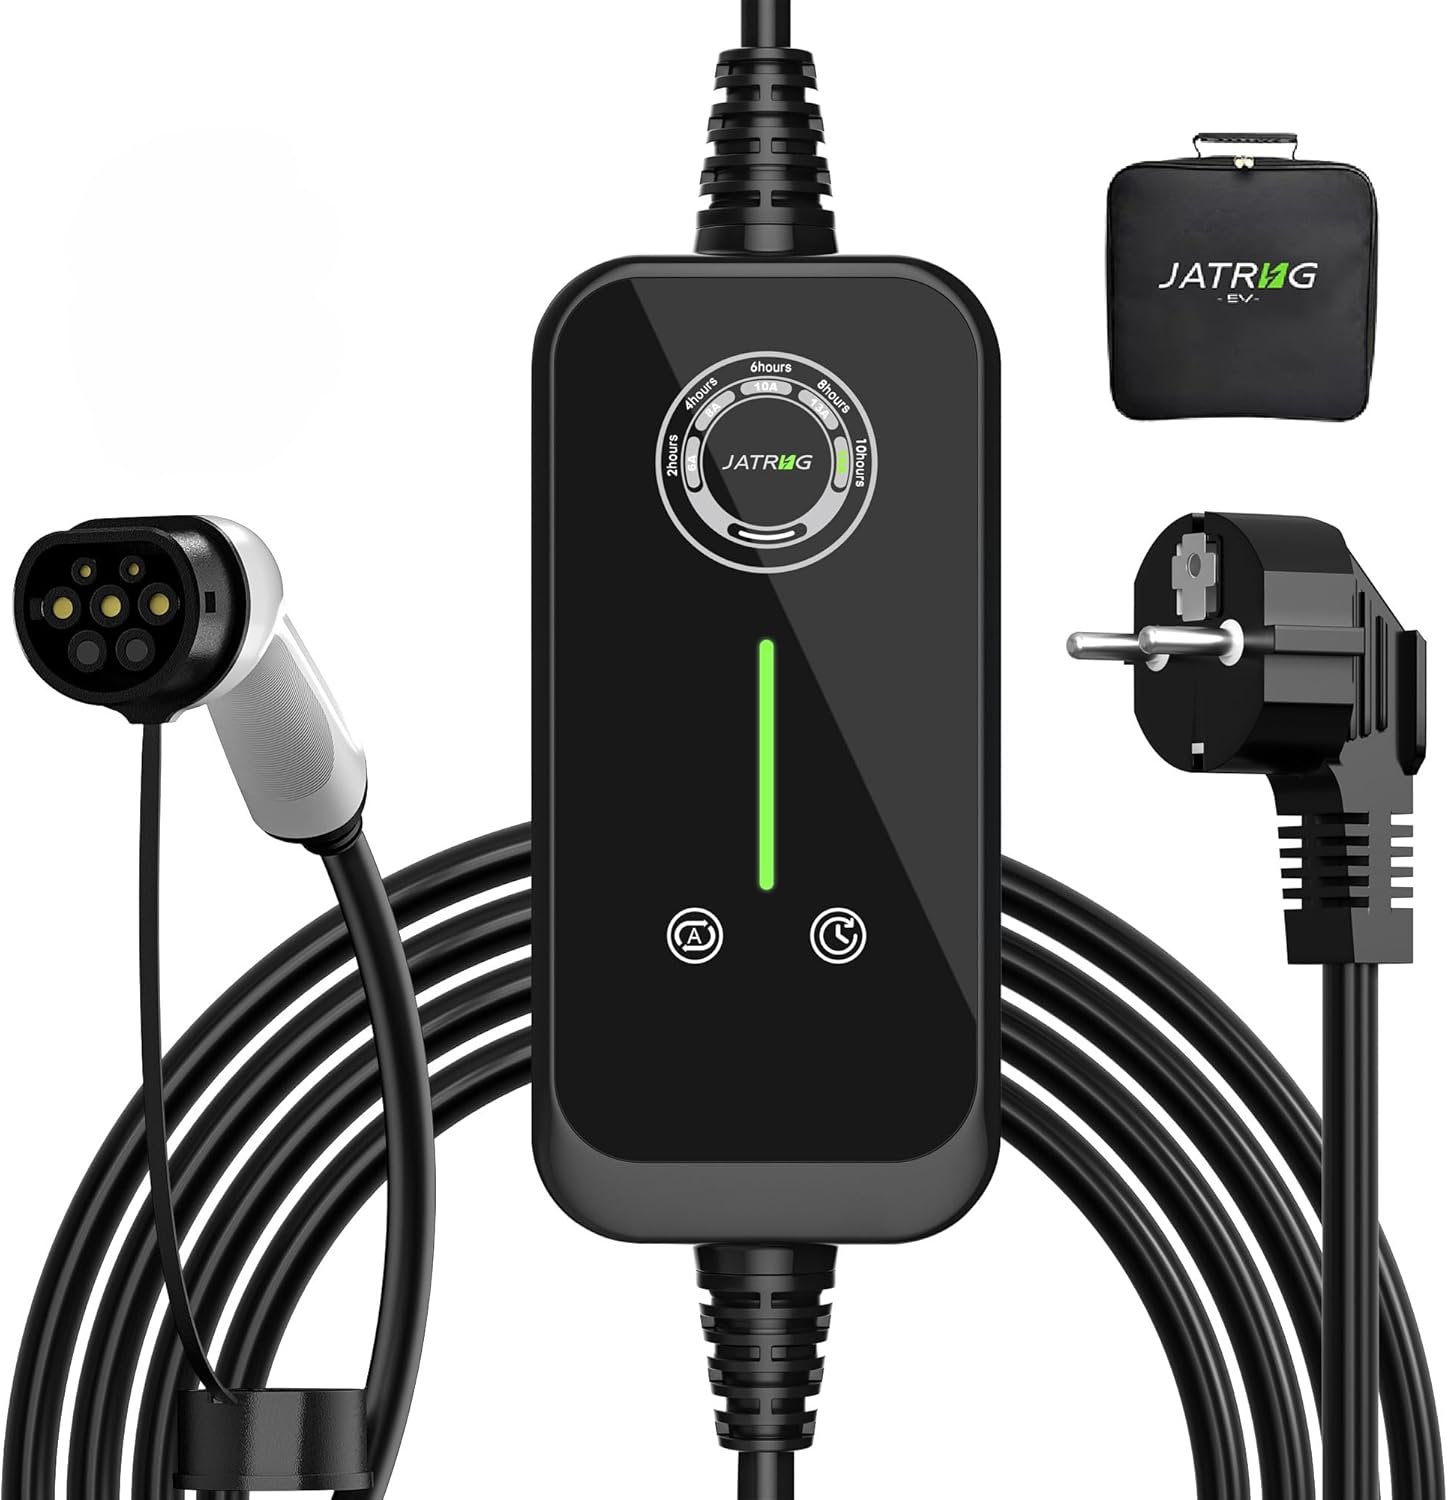
Figure 4.1: JATRHG P1 Portable EV Charger components.

Figure 4.2: Internal structure of the control box, highlighting compact design and cooling elements.
5. Setup
- Inspect the Charger: Before each use, visually inspect the charger, cable, and connectors for any signs of damage, wear, or foreign objects. Do not use if any damage is observed.
- Connect to Power Outlet: Insert the power plug (Schuko type) firmly into a standard domestic 220V-230V AC outlet. Ensure the outlet is properly grounded and capable of handling the selected charging current.
- Connect to Vehicle: Open your electric vehicle's charging port cover. Insert the Type 2 connector firmly into the vehicle's charging inlet. Ensure a secure connection.
- Verify Connection: The charger's LED indicator will illuminate, and the vehicle's dashboard should indicate that charging has begun or is ready to begin.

Figure 5.1: Charger connected to an electric vehicle.
6. Operating Instructions
The JATRHG P1 charger offers adjustable current settings and a scheduling function.
6.1. Current Settings
To adjust the charging current:
- Press the current settings button (labeled 'A' or with a current symbol) on the control box.
- Each press will cycle through the available current options: 6A, 8A, 10A, 13A, 16A.
- Select the desired current based on your vehicle's requirements and the capacity of your electrical outlet.
6.2. Schedule Settings
To set a delayed start time for charging:
- Press the schedule settings button (labeled with a clock symbol) on the control box.
- Each press will cycle through available delay options (e.g., 2 hours, 4 hours, 6 hours, 8 hours, 10 hours).
- The charger will begin charging after the selected delay period has elapsed.

Figure 6.1: Current and Schedule Setting buttons.
6.3. Power On/Off
To turn the system off or restart it:
- To Turn Off: Press and hold the current settings button for 3 seconds. The system will power down.
- To Restart: Press and hold the current settings button again for 3 seconds. The system will restart.

Figure 6.2: Power On/Off operation.

Figure 6.3: Detailed view of the control panel.
7. Maintenance
- Cleaning: Disconnect the charger from both the power outlet and the vehicle before cleaning. Use a soft, dry cloth to wipe the control box and cables. Do not use abrasive cleaners, solvents, or immerse any part of the charger in water.
- Storage: When not in use, store the charger in a dry, cool place, away from direct sunlight and extreme temperatures. Ensure the cable is neatly coiled and not kinked or strained.
- Professional Service: Do not attempt to open or repair the charger yourself. All maintenance and repair work must be performed by qualified personnel to ensure safety and maintain product integrity.
8. Troubleshooting
If you encounter issues with your JATRHG P1 EV Charger, please refer to the following common problems and solutions:
- Charger Not Starting:
- Ensure both the power plug and the Type 2 connector are securely inserted.
- Check the power outlet for functionality by plugging in another device.
- Verify that the charger is powered on (refer to Section 6.3).
- Check for any error codes or indicator lights on the control box and consult the vehicle's manual.
- Slow Charging:
- Confirm the current setting is at the desired level (e.g., 16A for fastest charging, if supported by your outlet and vehicle). Refer to Section 6.1.
- Ensure no schedule delay is active (refer to Section 6.2).
- The vehicle's battery management system may limit charging speed based on battery state or temperature.
- Overheating:
- If the control box or plug feels excessively hot, immediately disconnect the charger from the power source and the vehicle.
- Ensure the charger is used in a well-ventilated area and not covered.
- Contact customer support if overheating persists after ensuring proper ventilation and current settings.
- Error Indicator:
- If an error light or code appears, disconnect the charger, wait a few minutes, and reconnect.
- If the error persists, contact customer support with details of the error indication.
If the problem cannot be resolved using these steps, please contact JATRHG customer support for assistance.
9. Specifications
| Feature | Specification |
|---|---|
| Brand | JATRHG |
| Model Number | EV-IEC-AC16-PV |
| Nominal Current | 6A, 8A, 10A, 13A, 16A (Adjustable) |
| Input Voltage | 220V-230V AC |
| Max Power Output | 3.6KW |
| Connector Type | Type 2 |
| Cable Length | 5 Meters |
| Operating Temperature | -30°C to +50°C |
| Safety Standards | CE, TUV |
| Waterproof Rating | IP (as per description, suitable for outdoor use) |
| Item Weight | 2.85 Kilograms |
10. Warranty and Support
JATRHG products are designed for reliability and performance. For specific warranty terms and conditions, please refer to the documentation provided with your purchase or visit the official JATRHG website. If you require technical assistance, have questions about your product, or need to report an issue, please contact JATRHG customer support through the retailer where you purchased the product or via the manufacturer's contact information.


