
1. Introduction
Thank you for purchasing the Driini Digital House-Shaped Alarm Clock. This manual provides detailed instructions for the proper setup, operation, and maintenance of your new clock. Please read this manual thoroughly before use and retain it for future reference.
2. Product Overview
The Driini Digital House-Shaped Alarm Clock combines modern aesthetics with practical functionality. It features a digital LED display, temperature display, adjustable brightness, and an alarm function, all housed in a unique house-shaped design.
Key Features:
- Digital LED time display
- Temperature display (switchable)
- Dimmable LED display with multiple brightness levels
- Illuminating window light (toggle on/off)
- Alarm function
- USB powered with backup battery for settings memory
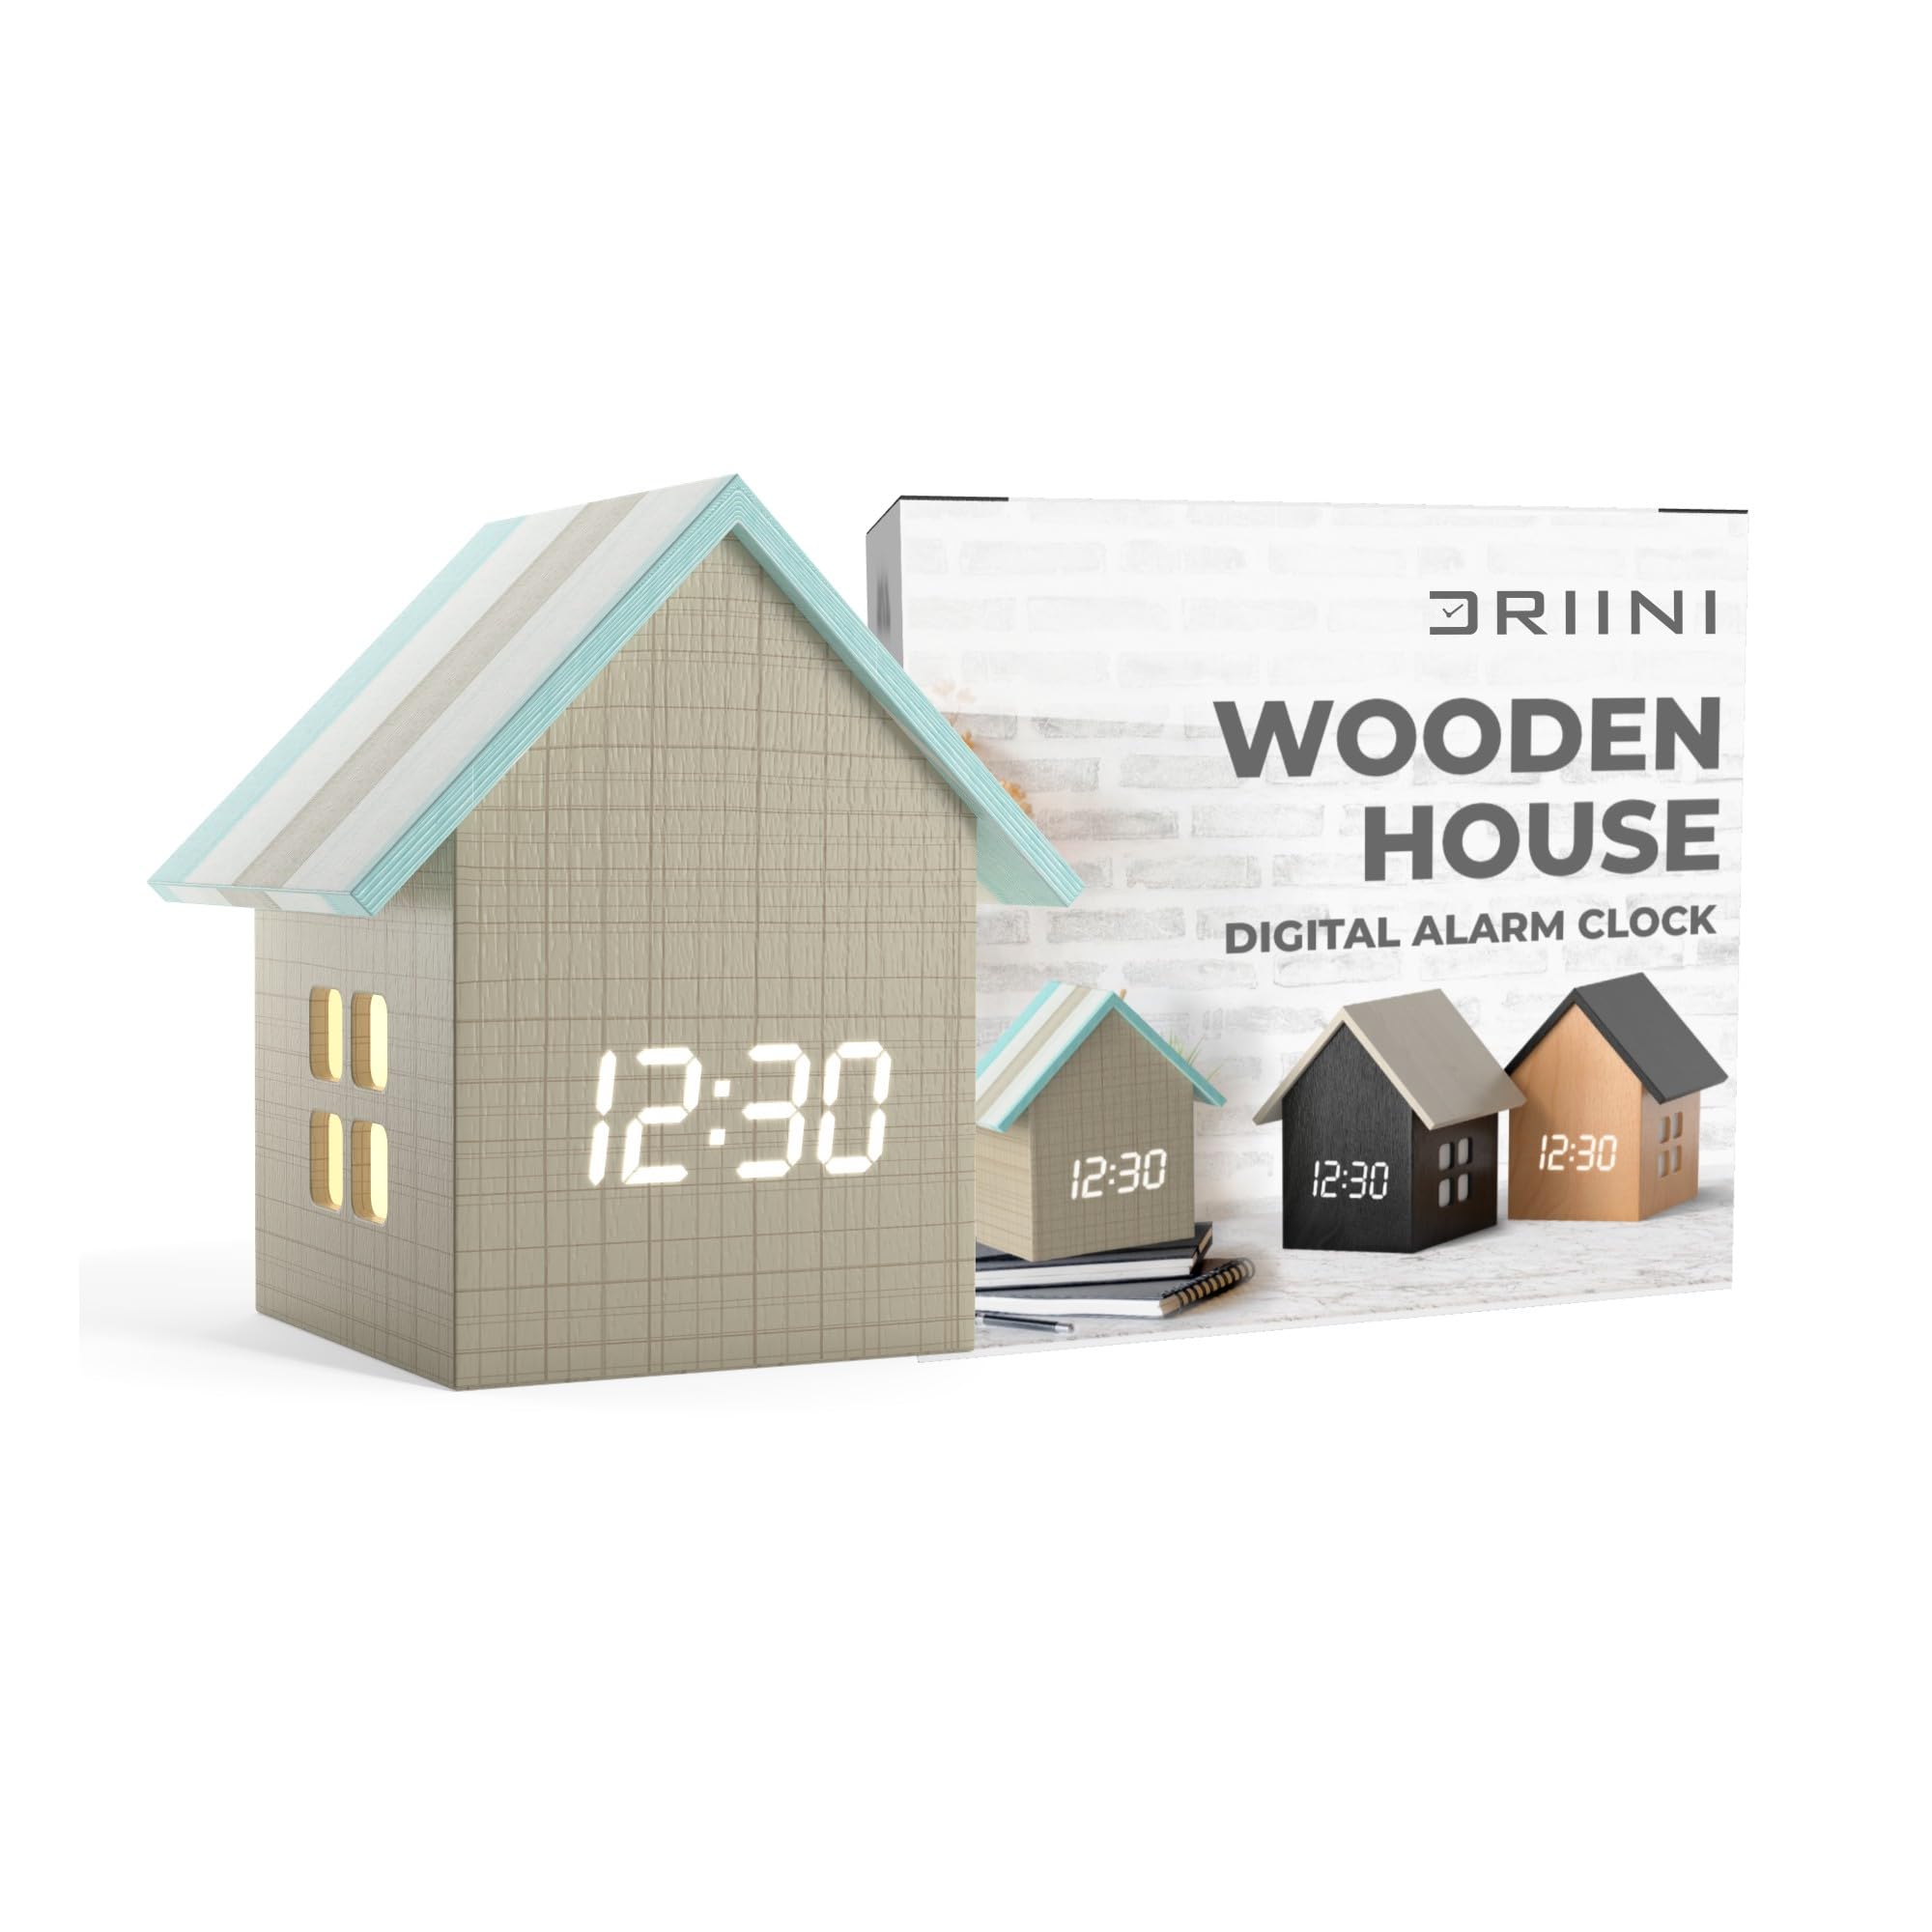
Image: Front view of the Driini Digital House-Shaped Alarm Clock, displaying the time.
3. Package Contents
Please check the package for the following items:
- Driini Digital House-Shaped Alarm Clock unit
- USB power cable
- USB wall adapter
4. Setup
4.1 Power Connection
- Connect the USB power cable to the clock's power input port.
- Plug the USB wall adapter into a standard electrical outlet.
- Connect the USB power cable to the USB wall adapter.
The clock requires a continuous power source to operate. It is not battery operated for primary function, but includes a backup battery for memory settings during power outages.

Image: The clock unit, USB power cable, and USB wall adapter, illustrating the power connection components.
4.2 Initial Time Setting
Upon first power-up or after a prolonged power outage without backup battery, the clock may display a default time. Refer to the 'Setting Time' section under Operation for detailed instructions.
5. Operation
5.1 Setting Time
Specific buttons for time setting are located on the back or bottom of the clock. Typically, a 'SET' button is used to enter time setting mode, and '+' / '-' buttons adjust hours and minutes. Consult the physical clock for exact button labels.
5.2 Setting Alarm
To set the alarm, locate the 'ALARM' or 'MODE' button. Press it to enter alarm setting mode. Use the '+' / '-' buttons to set the desired alarm time. Confirm the setting by pressing the 'ALARM' or 'SET' button again. An alarm icon will typically appear on the display when the alarm is active.
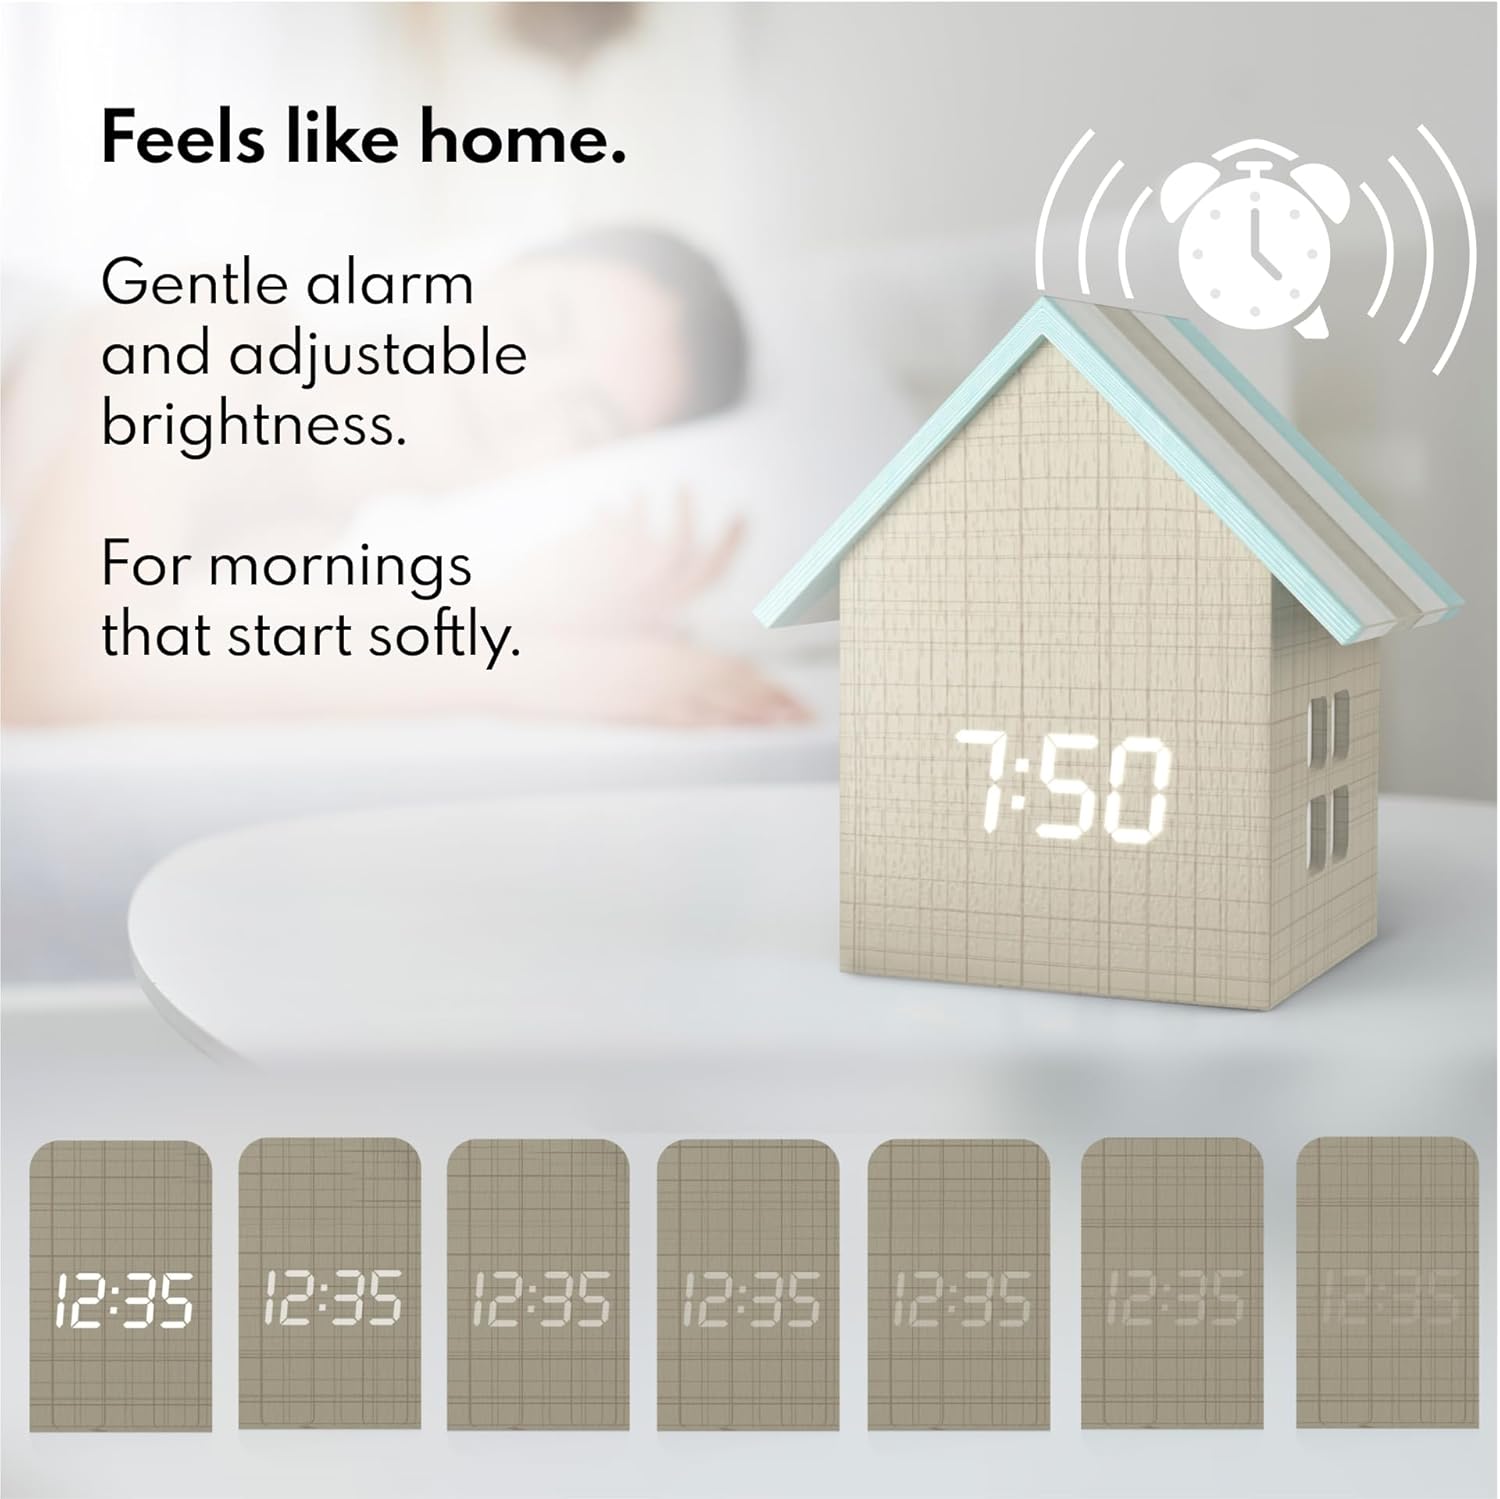
Image: The clock displaying time with an active alarm icon and illustrating various brightness levels for the LED display.
5.3 Adjusting Display Brightness
The clock features multiple brightness levels for the LED display. Locate the 'DIMMER' or 'BRIGHTNESS' button. Pressing this button cycles through the available brightness settings. Select the level that suits your preference.
5.4 Toggling Window Light
The clock includes an illuminating window light feature. A dedicated button, often labeled with a light icon, allows you to toggle this light on or off. This provides a soft ambient glow.

Image: The clock with its internal window lights illuminated, providing a soft glow.
5.5 Switching Time and Temperature Display
The clock can display either the time or the room temperature. A button, often labeled 'TEMP' or 'MODE', allows you to switch between these two display modes. Press the button to alternate between time and temperature readings.

Image: Two clocks side-by-side, one displaying the current time and the other displaying the room temperature.
6. Maintenance
6.1 Cleaning
To clean the clock, gently wipe the surface with a soft, dry cloth. Do not use abrasive cleaners, solvents, or chemical sprays, as these may damage the finish or electronic components. Ensure the clock is unplugged before cleaning.
6.2 Storage
If storing the clock for an extended period, unplug it from the power source and keep it in a cool, dry place away from direct sunlight and extreme temperatures.
7. Troubleshooting
| Problem | Possible Cause | Solution |
|---|---|---|
| Clock display is off | No power connection | Ensure the USB cable is securely connected to the clock and the wall adapter, and the adapter is plugged into a working outlet. |
| Display is too bright/dim | Brightness setting needs adjustment | Press the 'DIMMER' or 'BRIGHTNESS' button to cycle through brightness levels. |
| Time/settings lost after power outage | Backup battery depleted or not present | The clock has a backup battery for memory settings. If settings are lost, the backup battery may need replacement or was not included. Reset the time manually. |
| Alarm does not sound | Alarm not set or volume too low | Verify the alarm is set and active (check for alarm icon). Ensure alarm volume is audible (if adjustable). |
8. Specifications
| Feature | Detail |
|---|---|
| Brand | Driini |
| Model Number | 001 |
| Display Type | Digital LED |
| Power Source | Corded Electric (USB) |
| Backup Battery | Yes (for memory settings) |
| Dimensions (Small) | 9.5W x 10.8H Centimetres (approx. 4.25''x3.75''x2.7'') |
| Material | Crafted from premium natural wood |
| Features | Alarm Clock, Temperature Display, Dimmable LED, Window Light |
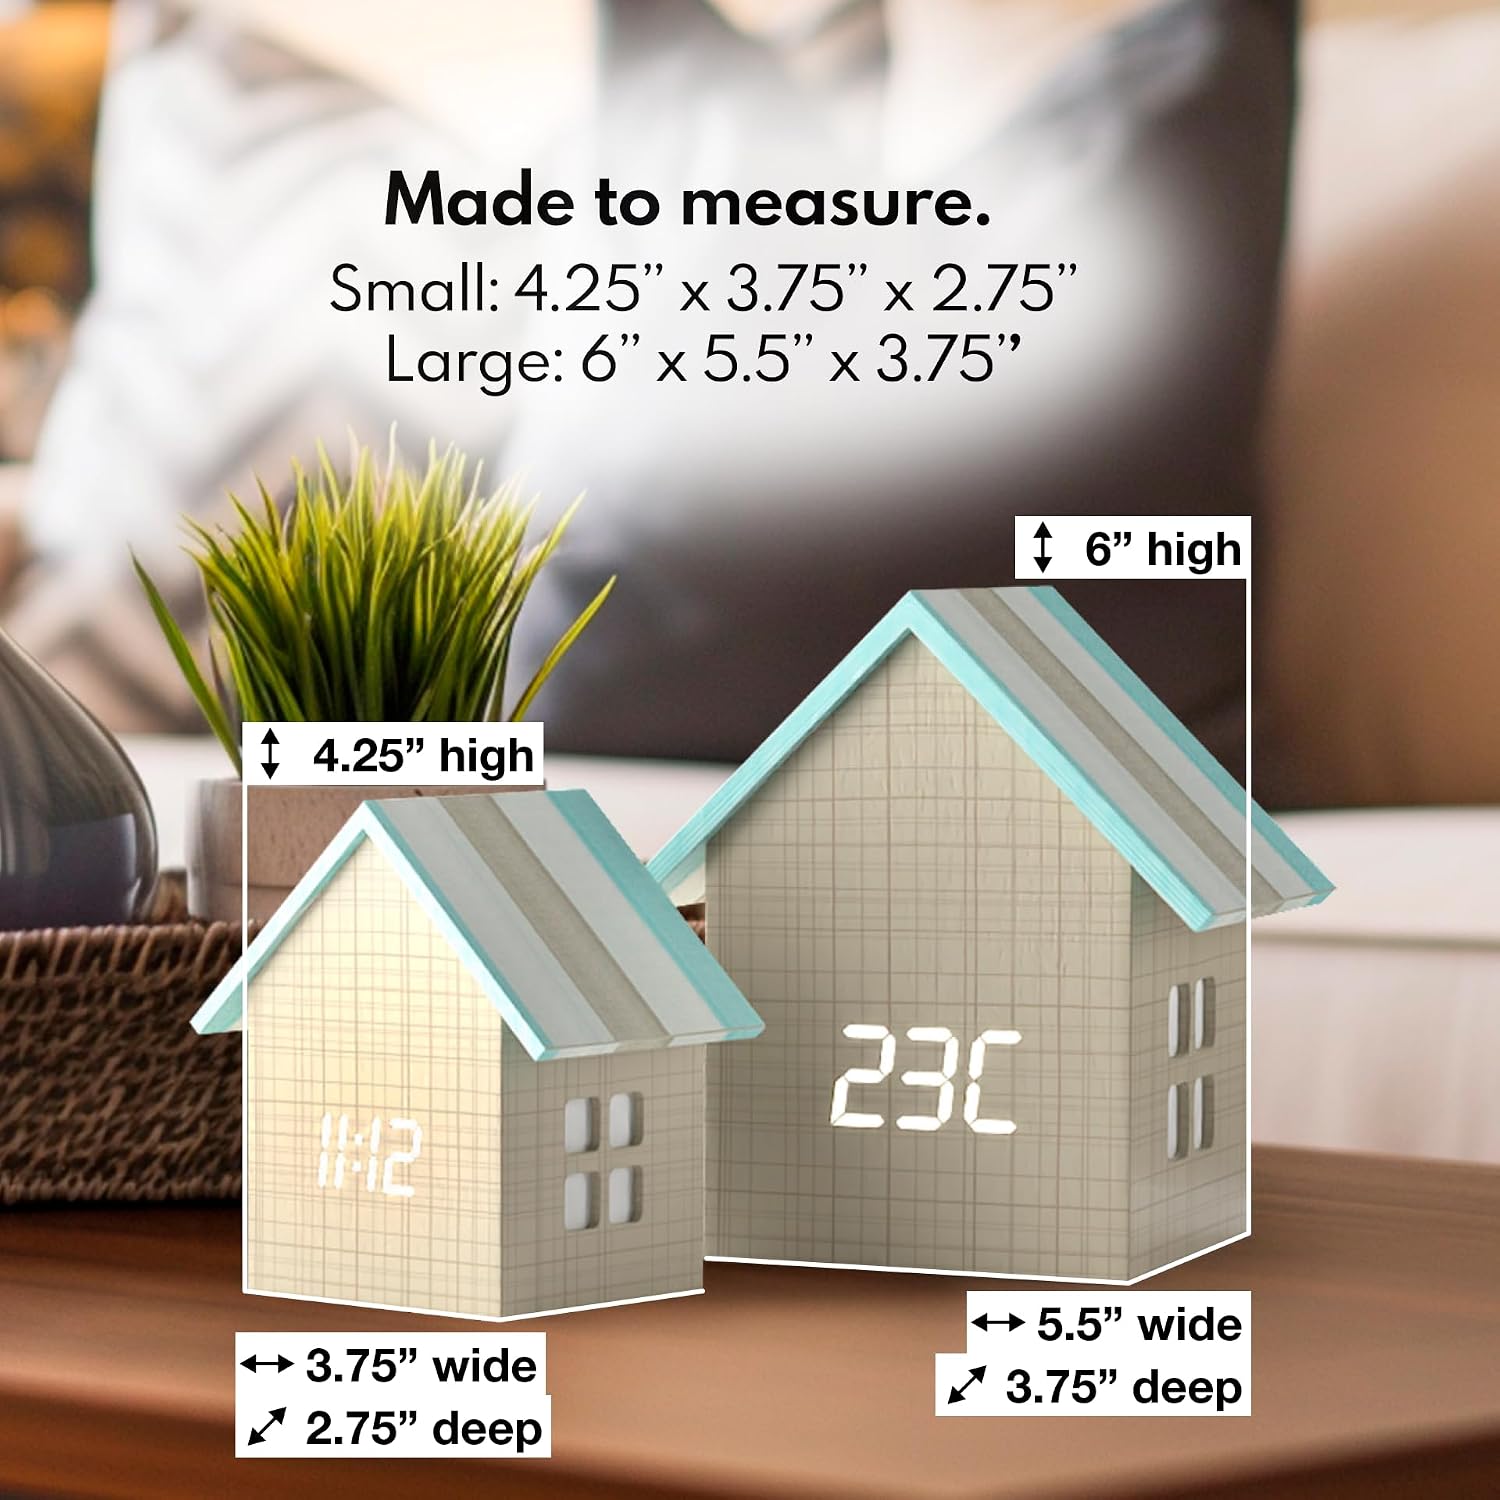
Image: Comparison of small and large clock sizes with their respective dimensions.
9. Warranty & Support
9.1 Warranty Information
Your Driini Digital House-Shaped Alarm Clock comes with a standard manufacturer's warranty. An extended 2-year warranty may be available upon product registration. Please refer to any included registration cards or the official Driini website for specific warranty terms and registration details.
9.2 Customer Support
For technical assistance, troubleshooting, or warranty claims, please contact Driini customer support. You can find contact information on the official Driini website or through your purchase platform.
Manufacturer Contact Information:
Driini Imports.
9524 146 st.
Edmonton, AB. T5N2Z1