
1. Product Overview
The GGM Gastro AGG203ND is a premium refrigerated display case designed for commercial use, specifically for presenting food items in GN 1/4 containers. This unit features a high-quality stainless steel body, a glass cover, and precise electronic temperature control to maintain optimal freshness. It is built for durability and ease of cleaning, adhering to hygiene and safety directives.
Key Features:
- High-end finish with AISI 304 stainless steel body.
- Digital display and electronic temperature control (2°C to 8°C).
- Static cooling with manual defrosting.
- Capacity for 10 GN 1/4 containers.
- Low energy consumption and CFC-free refrigerant (R600a).
- Dimensions: 2000 mm (L) x 335 mm (D) x 420 mm (H).
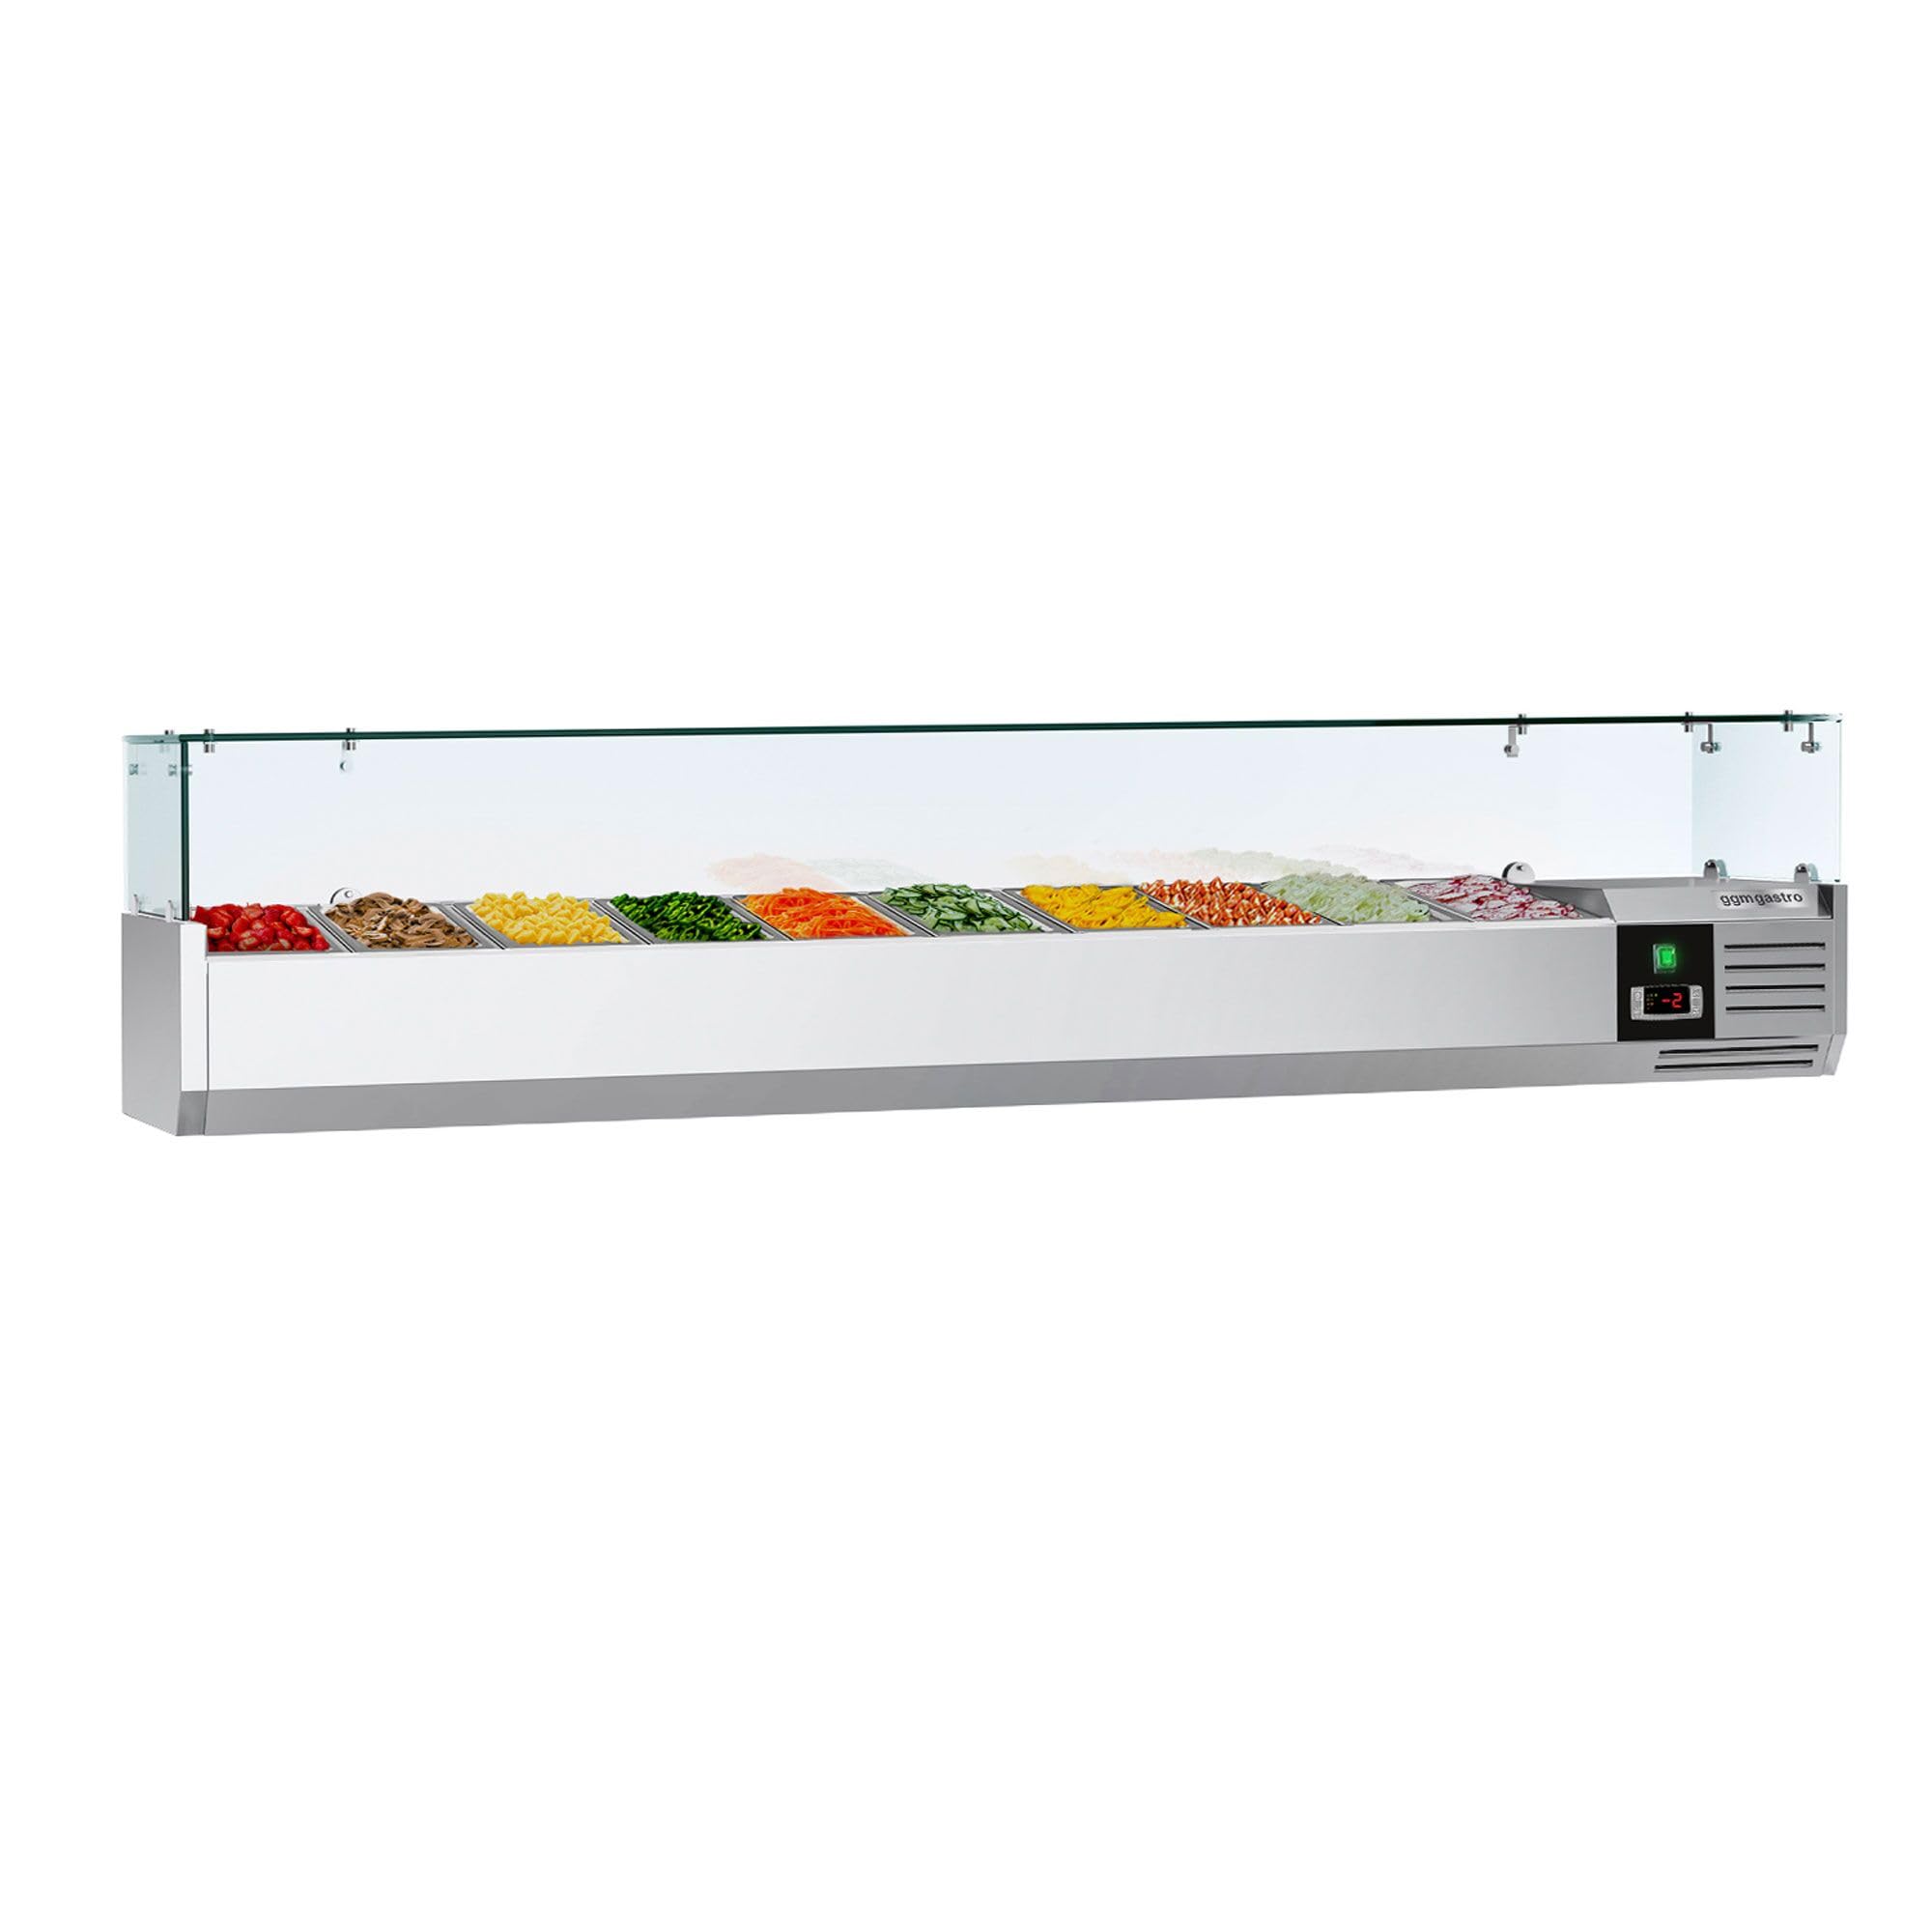
Figure 1: Front view of the GGM Gastro AGG203ND refrigerated display case, showing its overall dimensions (2000mm length, 335mm depth, 460mm height including glass cover) and the arrangement of GN containers.
2. Setup and Installation
2.1 Unpacking
Carefully remove the unit from its packaging. Inspect for any shipping damage. Retain packaging materials for future transport if necessary.
2.2 Placement
- Place the display case on a stable, level surface capable of supporting its weight (approximately 52.5 kg when empty).
- Ensure adequate ventilation around the unit, especially at the rear where the compressor is located. Avoid placing it directly against a wall or in an enclosed space without airflow.
- Keep the unit away from direct sunlight, heat sources (ovens, stoves), and areas with high humidity.
- Allow at least 10 cm of space around the sides and rear for proper air circulation.
2.3 Initial Cleaning
Before first use, clean all interior and exterior surfaces with a mild detergent and warm water. Rinse thoroughly and dry completely. Do not use abrasive cleaners or sharp objects.
2.4 Power Connection
- Ensure the power supply matches the unit's requirements: 1N/PE 220-240 V / 50 Hz.
- Plug the unit into a grounded electrical outlet. Do not use extension cords or adapters.
- After plugging in, allow the unit to stand for at least 2-4 hours before turning it on. This allows the refrigerant to settle.

Figure 2: The refrigerated display case shown empty, highlighting the stainless steel interior and the slots for GN 1/4 containers.
3. Operation
3.1 Powering On/Off
Locate the main power switch, typically a green rocker switch, on the control panel. Press to turn the unit ON (indicated by a light) or OFF.

Figure 3: Close-up of the digital control panel (Dixell) and the green power switch, showing a temperature reading of 2°C.
3.2 Temperature Control
The unit features a digital thermostat for electronic temperature regulation. The factory-set temperature range is 2°C to 8°C.
- Viewing Current Temperature: The digital display continuously shows the current internal temperature.
- Setting Temperature:
- Press the "SET" button once. The display will show the current set point.
- Use the "Up" (▲) or "Down" (▼) arrow buttons to adjust the desired temperature.
- Press "SET" again to confirm the new setting, or wait a few seconds for the display to revert to the current temperature, saving the change automatically.
3.3 Loading GN Containers
The display case is designed to hold 10 GN 1/4 containers. Ensure containers are properly seated for efficient cooling. Avoid overfilling containers, as this can impede air circulation and cooling performance.
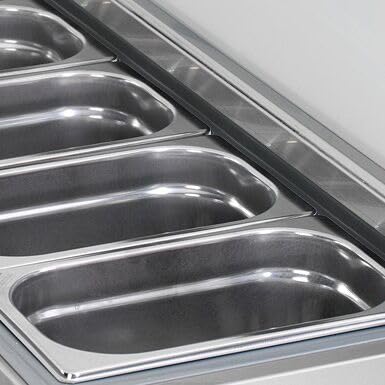
Figure 4: View of the empty stainless steel compartments designed to hold GN 1/4 containers.

Figure 5: The display case in use, showcasing various fresh food items like salads and vegetables in GN containers, ready for serving.
4. Maintenance
Regular maintenance ensures optimal performance and longevity of your refrigerated display case.
4.1 Daily Cleaning
- Disconnect the unit from the power supply before cleaning.
- Remove all GN containers and food items.
- Clean the interior and exterior surfaces with a soft cloth, mild detergent, and warm water.
- Wipe down the glass cover and side panels.
- Rinse thoroughly with clean water and dry completely to prevent water spots and bacterial growth.
- Do not use abrasive cleaners, steel wool, or harsh chemicals, as these can damage the stainless steel and glass surfaces.
4.2 Defrosting
This unit features manual defrosting. Frost buildup can reduce cooling efficiency.
- When frost accumulation becomes noticeable (e.g., 5mm thick), disconnect the unit from power.
- Remove all food items and GN containers.
- Allow the frost to melt naturally. You can place towels to absorb water. Do not use sharp objects or heating devices to speed up defrosting, as this can damage the evaporator.
- Once defrosted, clean and dry the interior thoroughly before reconnecting power and resuming operation.
4.3 Condenser Cleaning (Periodic)
The condenser coils, located at the rear or bottom of the unit, should be cleaned periodically (e.g., every 3-6 months) to ensure efficient operation. Dust and debris can accumulate, reducing cooling capacity and increasing energy consumption.
- Disconnect power.
- Carefully access the condenser area (refer to service manual if unsure).
- Use a soft brush or vacuum cleaner to remove dust and lint from the condenser coils.
- Ensure all vents are clear.
5. Troubleshooting
Before contacting service, review the following common issues and solutions:
| Problem | Possible Cause | Solution |
|---|---|---|
| Unit does not turn on. | No power supply. Power switch is off. | Check if the unit is plugged in securely. Check the circuit breaker. Ensure the power switch is in the "ON" position. |
| Unit is not cooling sufficiently. | Temperature setting too high. Poor ventilation. Excessive frost buildup. Condenser coils are dirty. Unit overloaded with warm food. | Adjust temperature to a lower setting. Ensure adequate space around the unit. Perform manual defrosting. Clean condenser coils. Allow warm food to cool before placing in the unit. |
| Unusual noise from the unit. | Unit not level. Loose components. Compressor issue. | Adjust leveling feet. Check for any loose parts (if accessible and safe). If noise persists or is loud, contact qualified service personnel. |
| Digital display shows an error code. | Sensor fault or other system error. | Note the error code and consult the specific Dixell controller manual if available, or contact service personnel. |
6. Technical Specifications
| Feature | Detail |
|---|---|
| Model Number | AGG203ND |
| Brand | GGM Gastro |
| Dimensions (L x D x H) | 2000 mm x 335 mm x 420 mm (excluding glass height) |
| Weight | 52.5 Kilograms |
| Volume (Useful) | 63 Liters |
| Capacity | 10 x GN 1/4 containers |
| Temperature Range | 2°C to 8°C |
| Cooling Type | Static cooling |
| Defrosting | Manual |
| Refrigerant | R600a / 35 g (CFC-free) |
| Power | 0.11 kW |
| Electrical Connection | 1N/PE 220-240 V / 50 Hz |
| Noise Level | 55 dB |
| Material | AISI 304 Stainless Steel (body and interior), Glass cover |
| Certifications | CE compliant, European food standards compliant |
7. Warranty and Support
For warranty information and technical support, please refer to the documentation provided at the time of purchase or contact your GGM Gastro dealer. Ensure you have your model number (AGG203ND) and purchase date available when seeking assistance.
Important: Any repairs or servicing should only be performed by qualified and authorized personnel to ensure safety and maintain warranty validity.


