
1. Introduction
Thank you for choosing the IRONCK L Shaped Desk. This manual provides essential information for the safe assembly, operation, and maintenance of your new desk. Please read these instructions carefully before beginning assembly and retain them for future reference.
This L-shaped desk features integrated storage shelves, a monitor stand, and a built-in power outlet with two AC outlets and two USB ports, designed to enhance your workspace efficiency.

Image 1.1: Fully assembled IRONCK L Shaped Desk in a home office setting, showcasing its monitor stand, storage shelves, and overall design.
2. Safety Information
To ensure safe use and prevent damage, please observe the following safety guidelines:
- Assembly: Always assemble the desk on a soft, clean surface to prevent scratches. Ensure all screws and fasteners are securely tightened before use.
- Weight Capacity: Do not exceed the maximum weight recommendation of 500 pounds (approximately 227 kg) for the entire desk. Distribute weight evenly.
- Electrical Safety: The built-in power outlet is designed for standard household use. Do not overload the outlets. Avoid spilling liquids near the power strip. Ensure the power cord is not pinched or damaged.
- Stability: Place the desk on a level surface. Use the adjustable leveling feet to ensure stability and prevent wobbling.
- Children: Keep small parts and packaging materials away from children during assembly.
3. Product Components
Before assembly, verify that all components listed in the included assembly diagram are present and undamaged. The package includes:
- Desk Panels (Main desktop, L-shaped extension, monitor stand top)
- Metal Frame Components
- Storage Shelves
- Built-in Power Outlet with 2 AC and 2 USB ports
- Fabric Storage Pockets
- Assembly Hardware (Screws, bolts, Allen wrench)
- Adjustable Leveling Feet

Image 3.1: Diagram illustrating the key dimensions of the IRONCK L Shaped Desk, including the main desktop, L-extension, monitor stand, and storage shelves.
4. Setup and Assembly
Assembly typically requires two people and includes all necessary tools. Follow the step-by-step instructions provided in your package's assembly diagram for detailed guidance.
4.1 Pre-Assembly Checklist
- Unpack all components and lay them out on a clean, soft surface.
- Verify all parts against the component list.
- Ensure you have enough space for assembly.
4.2 Reversible Design
The storage shelves can be installed on either the left or right side of the L-shaped desk to suit your space and preference. Decide on your preferred orientation before attaching the main desktop sections.

Image 4.1: Close-up view of the desk's storage shelves, highlighting their modular design which allows for installation on either side of the L-shaped configuration.
4.3 Power Outlet Installation
The built-in power outlet is integrated into the desktop. During assembly, ensure its wiring is properly routed and connected according to the assembly instructions. Plug the desk's main power cord into a grounded wall outlet.

Image 4.2: Detailed view of the integrated power outlet on the desk surface, featuring two AC power sockets and two USB charging ports.
5. Operating Instructions
5.1 Utilizing the Monitor Stand
The elevated monitor stand is designed to raise your screen to an ergonomic height, reducing neck and back strain. Place your monitor directly on the stand. Ensure the monitor's base fits securely.

Image 5.1: Diagram illustrating proper ergonomic posture with a monitor placed on the desk's elevated stand, showing ideal monitor height, arm, chair, and leg positioning.
5.2 Storage Shelf Configuration
The side storage shelves offer versatile organization. You can use them as open shelves for books and office supplies (Mode A) or remove a shelf to accommodate a computer tower (Mode B).
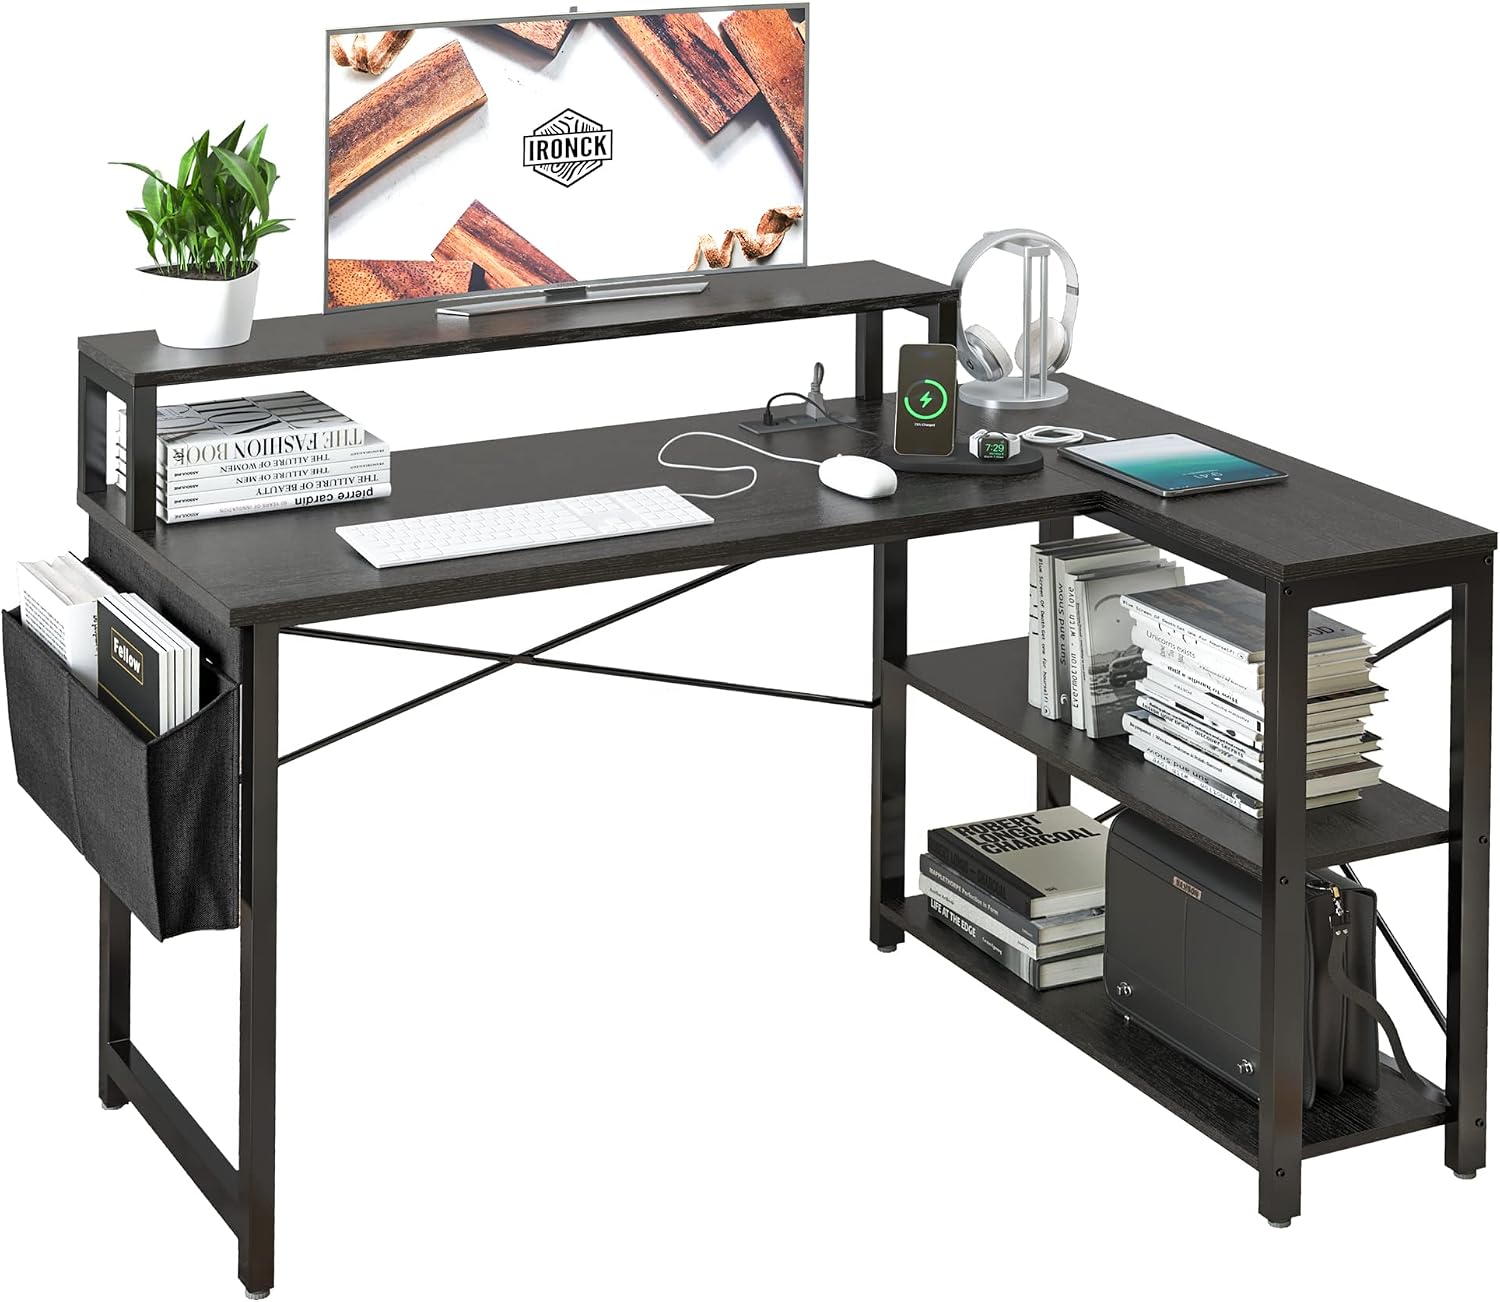
Image 5.2: Comparison of two storage modes for the desk's side shelves: Mode A shows two open shelves for general storage, while Mode B demonstrates how a shelf can be removed to create space for a computer host.
5.3 Using the Fabric Storage Pockets
Attach the fabric storage pockets to the side of the desk frame for convenient access to magazines, documents, or other small items.

Image 5.3: Close-up view of the fabric storage pockets attached to the side of the desk, holding magazines and other items for easy access.
5.4 Adjusting Leveling Feet
The desk is equipped with adjustable leveling feet at the base of the metal frame. Rotate these feet clockwise or counter-clockwise to compensate for uneven floors and ensure the desk is stable and level.
6. Maintenance
Regular maintenance will help prolong the life and appearance of your IRONCK L Shaped Desk:
- Cleaning: Wipe surfaces with a soft, damp cloth. Avoid using abrasive cleaners, harsh chemicals, or solvents, as these can damage the finish.
- Hardware: Periodically check all screws and bolts to ensure they remain tight. Re-tighten if necessary to maintain stability.
- Spills: Clean up spills immediately to prevent staining or damage to the wood and metal components.
7. Troubleshooting
If you encounter issues with your desk, refer to the following common solutions:
- Desk is Wobbly:
- Ensure all assembly screws are securely tightened.
- Adjust the leveling feet at the bottom of the desk legs to stabilize it on uneven floors.
- Power Outlet Not Working:
- Verify that the desk's main power cord is securely plugged into a functional wall outlet.
- Check if the wall outlet itself is receiving power (test with another device).
- Ensure no devices connected to the desk's outlets are drawing excessive power, potentially tripping a circuit breaker.
- Missing or Damaged Parts:
- Carefully re-check all packaging materials.
- Contact customer support for assistance (see Section 8).
8. Specifications
| Brand | IRONCK |
| Model Number | HK-DNZ-02 |
| Product Dimensions (D x W x H) | 32.5"D x 46.5"W x 29.5"H |
| Item Weight | 41.55 Pounds |
| Material | MDF board and Metal |
| Color | Black |
| Maximum Weight Recommendation | 500 Pounds |
| Special Features | Built-in charging station (2 AC outlets, 2 USB ports), Monitor stand, Open shelves, Reversible design |
| Assembly Required | Yes (Tools included) |
| Recommended Assembly People | 2 |
9. Warranty and Support
IRONCK products are manufactured with quality and durability in mind. For specific warranty details, please refer to the warranty card included with your purchase or visit the official IRONCK website.
If you have any questions, require assistance with assembly, or need to report missing/damaged parts, please contact IRONCK customer support:
- Website: Visit the IRONCK Store on Amazon (for general inquiries)
- Email: Refer to your product packaging or warranty card for direct support contact.
- Phone: Refer to your product packaging or warranty card for direct support contact.
Please have your model number (HK-DNZ-02) and purchase information ready when contacting support.