
PHALANX RP8620
PHALANX Airless Paint Sprayer
Model: RP8620
Your guide to efficient and professional painting.
Important Safety Information
Always read and understand the entire instruction manual before operating the PHALANX Airless Paint Sprayer. Failure to follow safety warnings and instructions may result in electric shock, fire, and/or serious injury.
- Wear appropriate personal protective equipment (PPE) including safety goggles, NIOSH-approved respirator, and heavy-duty work gloves during use.
- Ensure the sprayer is properly grounded.
- Do not use bleach or halogenated hydrocarbon solvents (DCM or 1,1,1 - trichloroethane).
- Only use accessories rated to at least 3,000 PSI.
- Inspect the sprayer before every use; do not use if parts are loose or damaged.
- Always check connections before use and clean after each session for peak performance and safety.
- Keep children and pets away from the work area.
What's in the Box
Your PHALANX Airless Paint Sprayer package includes the following components:

Image: Overview of the PHALANX Airless Paint Sprayer and its included accessories.
- 1x Power Paint Sprayer
- 1x User Manual
- 1x Quick Start-Up Guide
- 1x Cleaning Brush
- 1x Hex Wrench
- 2x Open-End Wrench
- 1x High-Pressure Hose (7.6M/25FT)
- 1x Spray Gun with Standard Nozzle (517 / 0.017")
Setup Instructions
Follow these steps to properly set up your PHALANX Airless Paint Sprayer before use.
Video: Step-by-step guide on how to set up and use the PHALANX Airless Paint Sprayer.
-
1. Assemble the Hose and Gun:
Thread the high-pressure hose to the outlet of the sprayer. Hand-tighten first, then use the provided wrench to fully tighten the hose to prevent leaks and damage to the sealing surface.

Image: Visual guide for assembling the sprayer components.
-
2. Pressure Relief Procedure:
- Engage the trigger lock on the spray gun.
- Power off the sprayer.
- Turn the pressure control knob to the lowest setting.
- Reverse the spray tip and disengage the gun trigger lock.
- Hold the metal part of the gun firmly over a waste pail and trigger the gun to relieve any remaining pressure.
- Engage the trigger lock again.
- Turn the prime valve to the 'Prime' position.
-
3. Flush Your New Sprayer:
Before using paint, flush the sprayer with clean water to remove any manufacturing residues.
- Ensure the trigger lock is engaged.
- Remove the tip and guard from your gun.
- Place the suction tube into clean water and the drain tube into a waste pail.
- Ensure the sprayer is in the 'Prime' position.
- Turn the pressure control to the lowest setting.
- Power on the sprayer.
- Increase the pressure control until the motor starts. Allow water to circulate smoothly out of the drain tube for 10-15 seconds.
- Lower the pressure and power off the sprayer.
-
4. Adding Paint and Priming the Hose:
After flushing, prepare your sprayer with paint.
- Engage the trigger lock.
- Remove the tip and guard from your gun.
- Place the suction tube into your paint.
- Ensure the sprayer is in the 'Prime' position.
- Turn the pressure control to the lowest setting.
- Power on the sprayer.
- Increase the pressure control until the motor starts. Allow paint to circulate smoothly out of the drain tube for 10-15 seconds.
- Lower the pressure and power off the sprayer.
- Screw the tip assembly onto the gun and tighten.
- Engage the trigger lock.
Operating Instructions
Once your sprayer is set up and primed, you are ready to begin painting.

Image: Examples of the sprayer being used for various home painting projects.
-
1. Adjust Pressure:
Turn the pressure control knob to your desired setting. Higher pressure is suitable for thicker paints and larger areas, while lower pressure is for delicate work or priming.

Image: Close-up of the pressure control knob, showing settings from 0 to 3000 PSI.
-
2. Select Spray Mode:
Ensure the prime/spray valve is in the 'Spray' position.
-
3. Begin Spraying:
Disengage the trigger lock and press the trigger to begin spraying. Maintain a consistent distance and angle from the surface for an even finish. The sprayer is designed for thinning-free application of latex, oil, and stain paints.
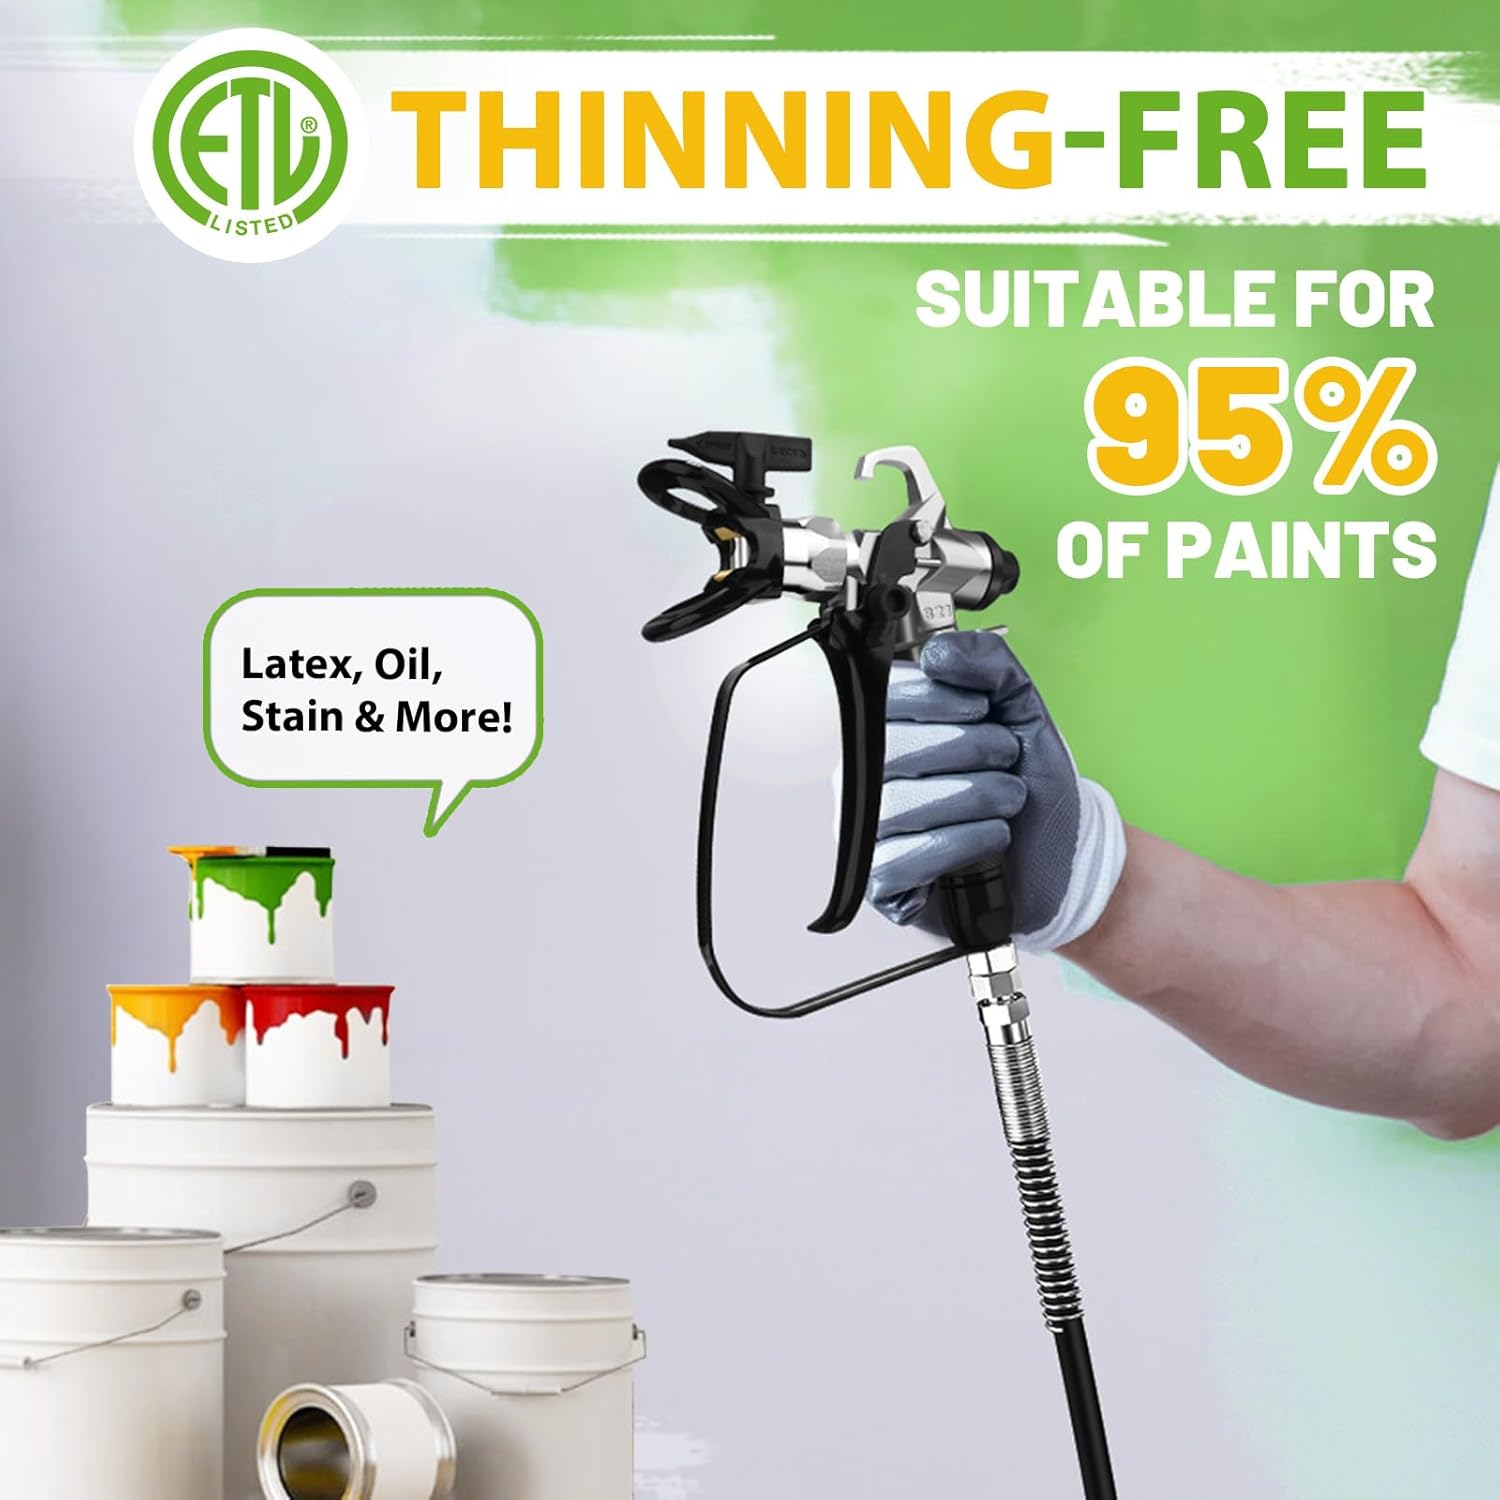
Image: Illustrates the sprayer's capability to handle different paint types without thinning.
-
4. Minimize Overspray:
The PHALANX sprayer is designed for minimal overspray. Practice on a test surface to achieve optimal control and reduce paint waste.

Image: Graphic demonstrating up to 50% less overspray with the PHALANX sprayer compared to others.
Maintenance
Proper cleaning and maintenance are crucial for the longevity and optimal performance of your airless paint sprayer.
-
1. Cleaning After Each Use:
Immediately after each use, flush the sprayer with water (for water-based paints) or appropriate solvent (for oil-based paints) until the fluid runs clear. This prevents paint from drying and clogging the system.
Image: The final step in the visual guide shows the cleaning process.
-
2. Disassemble and Clean Components:
Disassemble the spray gun, tip, and filter. Clean all components thoroughly with the appropriate cleaning solution and the provided cleaning brush. Ensure no paint residue remains.
-
3. Lubrication:
Apply a small amount of pump protector or lubricant to the pump and seals as recommended in the full user manual to keep parts moving freely.
-
4. Storage:
Store the sprayer in a clean, dry place, protected from extreme temperatures. Ensure all components are dry before storage to prevent corrosion.
Troubleshooting
If you encounter issues with your PHALANX Airless Paint Sprayer, refer to the common problems and solutions below. For detailed guidance, consult the troubleshooting videos.
Video: General troubleshooting steps for the PHALANX Airless Paint Sprayer.
Video: Advanced troubleshooting for common issues with the PHALANX Airless Paint Sprayer.
Common Issues and Solutions:
-
Motor Does Not Run:
- Verify the sprayer is plugged in and the ON/OFF switch is on.
- Ensure the pressure control is set above zero.
- Check if the pump is seized (paint hardened or water frozen). Place the sprayer in a warm area for several hours.
- If the motor or control is damaged, contact support.
-
Water/Paint Can't Be Sucked Into the Pipe (Clogged Pipe):
- Turn on the PRIME key and observe if the clear tube backs up liquid to troubleshoot if the tube is clogged.
- Press the red button on the bottom of the product 2-3 times to free the pump.
-
Can't Spray Paint:
- Check for a clogged pipe (refer to the solution above).
- Inspect for clogged spray tips. Make sure the spray direction arrow of the spray tip points forward for atomized paint.
- Disassemble the spray gun and observe if the cartridge is clogged and if it needs to be changed.
- Ensure paint is properly diluted if required for your specific paint type (though this sprayer is designed for thinning-free use, extremely thick paints might benefit from slight dilution).
Specifications
Technical details for the PHALANX Airless Paint Sprayer Model RP8620:
| Feature | Detail |
|---|---|
| Model Name | RP8620 |
| Power Source | AC |
| Voltage | 120V/60Hz |
| Rated Current | 6.5A |
| Power Consumption | 780W |
| Maximum Pressure | 3000 PSI |
| Maximum Flow Rate | 0.29 GPM |
| Hose Length | 7.6M / 25FT |
| Standard Nozzle | 517 (0.017") |
| Item Weight | 19.38 Pounds |
| Product Dimensions | 11.02"W x 15.74"H |
| Material | Metal, Polypropylene (PP) |
Warranty and Support
Your PHALANX Airless Paint Sprayer comes with an ETL-certified safety rating and a 1-year warranty.

Image: Diagram showing how to contact expert support and extend your product warranty.
Expert Support:
For any questions or issues, please contact our US team. You can reach us via your Amazon order page or by phone at (+1)877-219-9866. We are committed to providing a professional solution within 24 hours to help avoid complicated returns.
Extend Coverage:
Our 1-year coverage plan is easily extendable to 2 years. To extend your warranty, simply send us an email with the subject "Extend Coverage" and include your purchase order ID.
Related documentsRP8620

Ask a question about this manual
Ask about setup, troubleshooting, compatibility, parts, safety, or missing instructions. Manuals+ will review the question and use this page’s manual context to help answer it.