
1. Introduction
This manual provides essential instructions for the safe and efficient operation of your PURSHE Mini Bluetooth Projector A-9500. Please read this manual thoroughly before using the projector and retain it for future reference.
2. Safety Information
- Do not look directly into the projector lens when the lamp is on.
- Ensure proper ventilation around the projector to prevent overheating.
- Keep the projector away from water, moisture, and flammable materials.
- Use only the power adapter supplied with the projector.
- Avoid placing the projector on unstable surfaces.
- Do not attempt to disassemble or repair the projector yourself. Contact qualified service personnel.
3. Package Contents
Verify that all items are present in your package:
- PURSHE Mini Bluetooth Projector A-9500
- Remote Control
- Power Cord
- HDMI Cable
- User Manual (this document)
4. Product Overview
The PURSHE Mini Bluetooth Projector A-9500 is a compact and portable device designed for various projection needs. Below is an overview of its components and connectivity options.
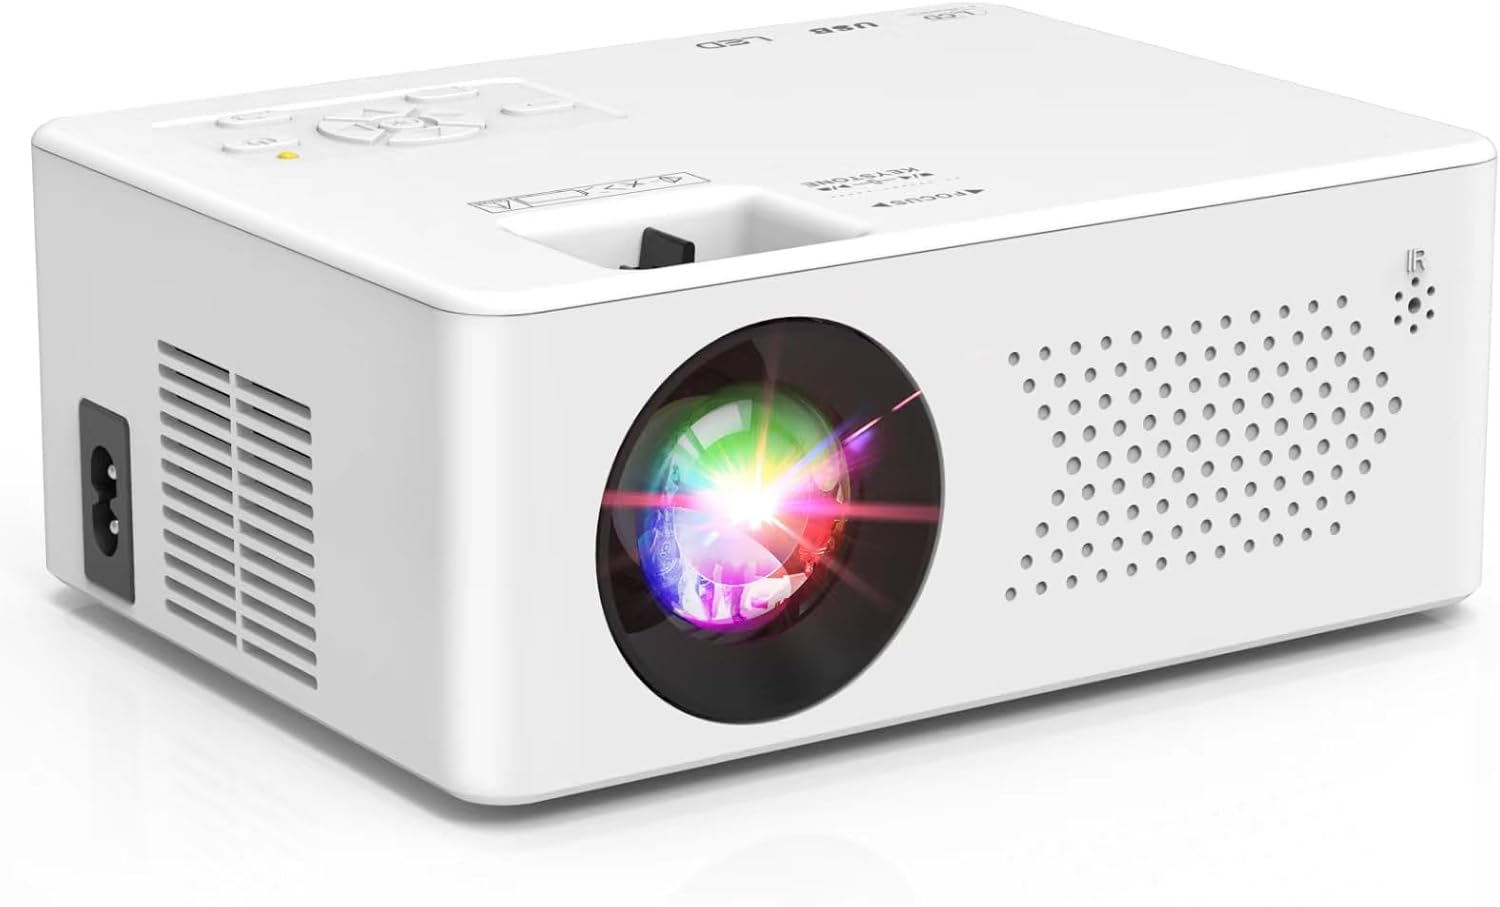
Image 4.1: Front view of the PURSHE Mini Bluetooth Projector A-9500, showcasing its compact white design and lens.
4.1. Ports and Controls

Image 4.2: Diagram illustrating the universal connectivity ports on the projector, including HDMI, USB, AUX, and TF card slot.
- HDMI Port: Connects to devices such as TV sticks, laptops, gaming consoles (PS4/PS5), and TV boxes.
- USB Port: For connecting USB drives or charging compatible devices.
- AUX (3.5mm Jack): For connecting external audio devices like headphones or speakers.
- TF Card Slot: For playing media directly from a MicroSD card.
- Focus Ring: Adjusts image clarity.
- Keystone Correction: Adjusts image shape to correct trapezoidal distortion.
5. Setup
Follow these steps to set up your projector for optimal viewing.
5.1. Placement
Position the projector on a stable, flat surface. Ensure there are no obstructions blocking the lens or ventilation vents. The projector can project an image size of up to 200 inches, allowing flexibility in placement.

Image 5.1: Illustration of the projector displaying a large image on a wall, highlighting the 200-inch screen display capability and electric zoom feature.
5.2. Power Connection
- Connect the power cord to the projector's power input.
- Plug the other end of the power cord into a power outlet.
- Press the power button on the projector or remote control to turn it on.
5.3. Focus and Keystone Adjustment
- Focus: Rotate the focus ring near the lens until the projected image is clear and sharp.
- Keystone: Use the keystone correction dial or menu option to adjust the image shape if it appears distorted (trapezoidal).
6. Operating Instructions
This section details how to connect various devices and adjust projector settings.
6.1. Connecting Devices
6.1.1. HDMI Connection
Connect your HDMI-enabled devices such as TV sticks, laptops, PS4/PS5, or TV boxes using the provided HDMI cable.

Image 6.1: The projector connected via HDMI to a TV stick, displaying a streaming service interface on a large screen.
6.1.2. USB and TF Card Playback
Insert a USB drive or TF (MicroSD) card into the respective port. The projector will typically detect the storage device and allow you to browse and play media files directly.
6.1.3. Bluetooth Connection
The projector features Bluetooth 5.1 for connecting to external Bluetooth speakers or using the projector as a standalone Bluetooth speaker.

Image 6.2: Depiction of the projector connecting wirelessly to a Bluetooth speaker, illustrating its two-way Bluetooth functionality.
6.1.4. Smartphone Compatibility
The projector is compatible with iOS, Android, and Windows devices. For direct smartphone projection, an HDMI adapter cable or Google Chromecast (not included) may be required.

Image 6.3: Visual guide showing how to connect iOS and Android devices to the projector using a Google Chromecast or HDMI adapter cable.
6.2. Adjusting Settings
Use the remote control or the buttons on the projector to navigate the menu and adjust settings.
- Picture Mode: Select from Standard, Dynamic, Soft, or User-defined modes.
- Color Temperature: Adjust for optimal color balance (Warm, Cool, Medium).
- Noise Reduction: Minimize visual noise in the image.
- Sound Mode: Choose audio presets like Standard, Music, Movie, or User-defined.
- OSD Language: Select your preferred language for the on-screen display.
- Aspect Ratio: Adjust the image aspect ratio (e.g., 16:9, 4:3, Auto).
- Projection Mode: Configure how the image is projected (Front Desktop, Rear Desktop, Front Ceiling, Rear Ceiling) based on projector orientation.
- Thoughtful Timer Mode: Set a timer for automatic shutdown, useful for sleep mode.

Image 6.4: A child sleeping while the projector displays an image, illustrating the thoughtful timer mode feature for automatic shutdown.
7. Maintenance
Regular maintenance ensures the longevity and performance of your projector.
- Cleaning the Lens: Use a soft, lint-free cloth specifically designed for optical lenses. Do not use abrasive cleaners.
- Cleaning the Vents: Periodically clean the ventilation vents with a soft brush or compressed air to prevent dust buildup and ensure proper airflow.
- Lamp Life: The projector lamp has an estimated lifespan of up to 50,000 hours.
8. Troubleshooting
If you encounter issues with your projector, refer to the following common problems and solutions:
| Problem | Possible Solution |
|---|---|
| No image displayed | Check power connection. Ensure input source is correctly selected. Verify HDMI/USB cable connection. |
| Image is blurry | Adjust the focus ring. Ensure the projection distance is within the recommended range. |
| Image is distorted (trapezoidal) | Adjust the keystone correction dial or setting. |
| No sound | Check volume settings on both the projector and the connected device. Ensure external speakers are properly connected or Bluetooth is paired. |
| Remote control not working | Replace batteries. Ensure there are no obstructions between the remote and the projector's IR receiver. |
9. Specifications
Key technical specifications for the PURSHE Mini Bluetooth Projector A-9500:
- Brand: PURSHE
- Model Number: A-9500 (HI-01)
- Item Weight: 2.46 pounds
- Product Dimensions: 6.1 x 4.5 x 2.2 inches
- Color: White
- Display Resolution: 1920 x 1080 (1080P Full HD supported)
- Connectivity Technology: 3.5mm Jack, Bluetooth, HDMI, USB
- Special Features: Built-In Speaker, Keystone Correction, Max 200'' projection size, Portable and lightweight
- Speaker Type: Soundbar
- Recommended Uses: Home Cinema
- First Available: December 2, 2022
10. Warranty and Support
For any questions, technical assistance, or support inquiries regarding your PURSHE Mini Bluetooth Projector A-9500, please refer to the contact information provided with your purchase or visit the official PURSHE website. The brand offers a lifetime after-sale service and support team to assist customers.