
1. Introduction
The ALSEYE W90 CPU Cooler (Intel Version) is a compact air cooling solution designed for small form factor PC cases. It features a built-in temperature display, a 90mm ARGB lighting fan, and a 40mm high-performance copper heat column. This cooler is compatible with Intel LGA 1700/1200/115X sockets and is recommended for Intel i3-i5 CPUs.

Image: ALSEYE W90 CPU Cooler overview, showcasing its compact design and integrated fan.
2. Safety Information
- Always disconnect power from your computer before installation or maintenance.
- Handle components with care to avoid damage.
- Keep out of reach of children.
- Do not attempt to modify the cooler.
- Ensure proper grounding to prevent electrical hazards.
3. Package Contents
- ALSEYE W90 CPU Cooler
- Mounting Brackets for Intel LGA 1700/1200/115X
- Thermal Paste (pre-applied or included)
- User Manual (this document)
4. Setup and Installation
Follow these steps for proper installation of your ALSEYE W90 CPU Cooler:
- Prepare Motherboard: Ensure your motherboard is compatible with Intel LGA 1700, 1200, or 115X sockets. Clean the CPU surface of any old thermal paste.
- Install Backplate: Place the appropriate Intel backplate on the rear of the motherboard, aligning the holes.
- Attach Mounting Screws: Insert the mounting screws through the motherboard from the front, securing them to the backplate.
- Apply Thermal Paste: If not pre-applied, apply a small, pea-sized amount of thermal paste to the center of the CPU's integrated heat spreader (IHS).
- Position Cooler: Carefully place the ALSEYE W90 CPU Cooler onto the CPU, ensuring the mounting holes on the cooler align with the screws.
- Secure Cooler: Tighten the mounting screws in a diagonal pattern until the cooler is firmly seated. Do not overtighten.
- Connect Cables: Connect the 4-pin PWM fan cable to the CPU_FAN header, the 3-pin ARGB cable to a compatible 5V ARGB header, and the temperature display cable to a USB 2.0 header on your motherboard.
- Verify Orientation: Ensure the temperature display is oriented correctly for optimal viewing within your PC case.

Image: Diagram illustrating the easy installation process of the W90 CPU cooler, including the 40mm heat column.

Image: Visual representation of the ALSEYE W90 CPU Cooler and its compatibility with Intel LGA1700/1200/115X sockets.
Installation Video
Video: Official ALSEYE video demonstrating the W90 CPU Cooler's ARGB lighting and installation in a PC case.
5. Operating Instructions
Temperature Display
The integrated display on the cooler shows the real-time CPU temperature. For precise temperature readings and control, install the ALSEYE "BEM" software, which reads the CPU temperature directly.
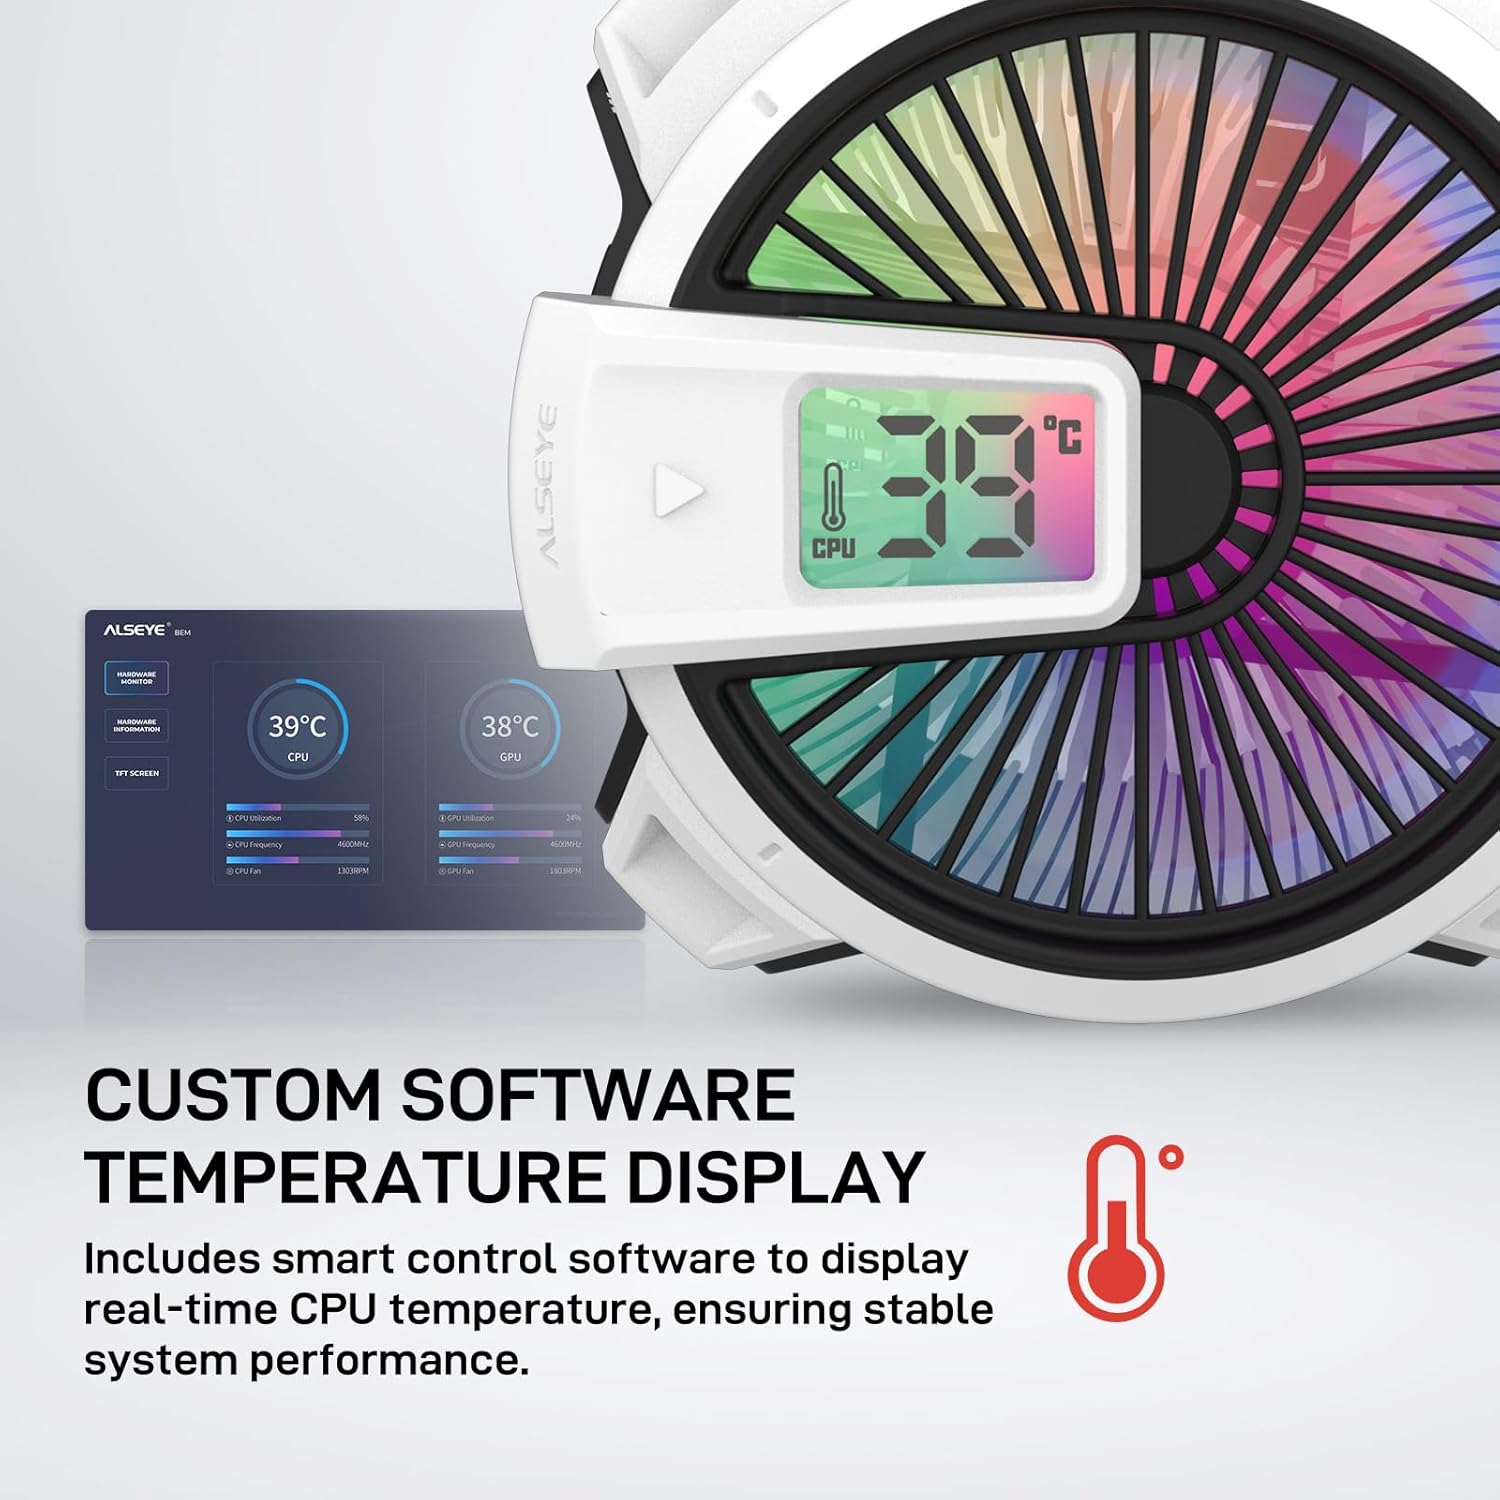
Image: The W90 CPU Cooler's custom software temperature display, showing real-time CPU temperature.
ARGB Lighting Control
The ARGB lighting can be controlled via your motherboard's ARGB software (if connected to a 5V ARGB header) or through the ALSEYE "BEM" software. This allows for various lighting effects and synchronization with other ARGB components.

Image: The W90 CPU Cooler installed in a PC case, showcasing its vibrant ARGB lighting effects.
Fan Speed Control (PWM)
The fan speed is automatically controlled by the motherboard's PWM function based on CPU temperature. You can adjust fan curves through your motherboard's BIOS/UEFI settings or dedicated software to optimize for performance or quiet operation.

Image: Details on the W90 CPU cooler fan, highlighting its ARGB and PWM control, noise level, and speed range.
6. Maintenance
- Dust Removal: Periodically clean the fan blades and heatsink fins with compressed air or a soft brush to prevent dust buildup, which can impede cooling performance. Ensure the system is powered off before cleaning.
- Thermal Paste: Reapply thermal paste every 1-2 years or if the cooler is removed and reinstalled.
- Cable Management: Ensure all cables are neatly routed and do not obstruct airflow.
7. Troubleshooting
- High CPU Temperatures:
- Verify proper installation and contact between the cooler base and CPU.
- Check if thermal paste was applied correctly.
- Ensure fan is spinning and not obstructed.
- Confirm fan speed settings in BIOS/software.
- Note: This cooler has a TDP of approximately 135W and is not recommended for overclocking or high-end i7/i9 CPUs (above 10th generation).
- ARGB Lighting Not Working:
- Check if the 3-pin ARGB cable is securely connected to a 5V ARGB header.
- Ensure your motherboard's ARGB software is installed and configured correctly.
- Verify power supply to the ARGB components.
- Temperature Display Not Working:
- Check if the USB 2.0 header cable is securely connected.
- Ensure the ALSEYE "BEM" software is installed and running.
- Verify the cooler's orientation; incorrect orientation might affect display visibility.
- Fan Noise:
- Check for dust buildup on fan blades.
- Ensure no cables are touching the fan.
- Adjust fan speed curves in BIOS/software if noise is excessive at idle.
8. Specifications

Image: Detailed product dimensions and a table of technical specifications for the ALSEYE W90 CPU Cooler.
| Feature | Specification |
|---|---|
| Product Dimensions | 4.02"L x 3.23"W x 4.02"H (102mm x 82mm x 102mm) |
| Brand | ALSEYE |
| Power Connector Type | 5V3pin/12V/4pin |
| Voltage | 12 Volts |
| Wattage (TDP) | 135 watts |
| Cooling Method | Air |
| Compatible Devices | Desktop |
| Noise Level | 35 Decibels |
| Material | Copper |
| Maximum Rotational Speed | 2200 RPM |
| UPC | 761312515681 |
| Item Weight | 1.1 pounds |
| Item Model Number | W90 |
| Supported Sockets | Intel LGA 1700/1200/115X |
9. Warranty and Support
The ALSEYE W90 CPU Cooler comes with a manufacturer's warranty. For warranty claims, technical support, or further assistance, please refer to the official ALSEYE website or contact their customer service. Keep your proof of purchase for warranty validation.


