
XREXS W0088B
XREXS Large Digital Wall Clock User Manual
Model: W0088B
1. Introduction
The XREXS Large Digital Wall Clock (Model W0088B) is a versatile timepiece designed for both home and office environments. Featuring a large 16.5-inch LED display, it offers clear visibility of time, date, day, and temperature. This clock is equipped with WiFi synchronization for automatic time adjustment, including Daylight Saving Time, and comes with a remote control for convenient operation. Its auto-dimming feature ensures optimal brightness day and night, providing a comfortable viewing experience without disturbing sleep.
2. Package Contents
Please verify that all items are present in your package:
- XREXS Large Digital Wall Clock (Model W0088B)
- Remote Control
- Power Adapter
- Mounting Hole Template
- User Manual
- 1 x AAA Battery (for remote control)

Image: The XREXS Large Digital Wall Clock, its remote control, and an icon representing WiFi connectivity.
3. Product Features
- Extra Large LED Display: 16.5-inch screen with high-contrast, clear jumbo digits for easy viewing from a distance.
- WiFi Sync: Automatically adjusts time via WiFi connection, eliminating the need for manual time setting.
- Auto-Dimming: Features 171 LED lights with an automatic dimmer that adjusts brightness according to ambient light, ensuring comfortable viewing day and night.
- Multi-functional Display: Shows time (12/24 hour format), date, day of the week, and temperature (℉/℃).
- Daylight Saving Time (DST) Auto-Adjustment: Automatically adjusts for DST changes.
- Alarm Clock: Includes multiple alarm modes (Everyday, Mon-Fri, Weekend).
- Timer Functions: Stopwatch and countdown timer capabilities.
- Flexible Placement: Can be wall-mounted using integrated holes or placed on a desk/nightstand using the built-in kickstand.
- Remote Control: Full control over settings and functions from a distance.

Image: Detailed view of the clock's extra-large LED screen displaying various information and its dimensions.
4. Setup
4.1 Power Connection
- Insert the included AAA battery into the remote control.
- Connect the power adapter to the clock's power input port.
- Plug the power adapter into a standard electrical outlet. The clock display will illuminate.

Image: The digital wall clock connected to a power outlet, illustrating its plug-in operation.
4.2 WiFi Time Synchronization (Recommended)
For automatic and accurate time setting, connect the clock to your WiFi network:
- On the back of the clock, simultaneously press and hold the Alarm Set button and the Timer button until the display changes.
- On your smartphone, go to your WiFi settings and connect to the network named "HQX2128" (this is the clock's temporary setup network).
- Open a web browser on your smartphone and enter the IP address: 192.168.88.1
- On the webpage, click on "Web Config".
- Enter your home WiFi network's SSID (name), password, and select your correct timezone.
- Click "Submit". The clock will attempt to connect to your WiFi.
- Once successfully connected, "Success..." will appear on your phone screen, and a WiFi signal icon will appear on the top right of the clock's display. The clock will then automatically synchronize its time.
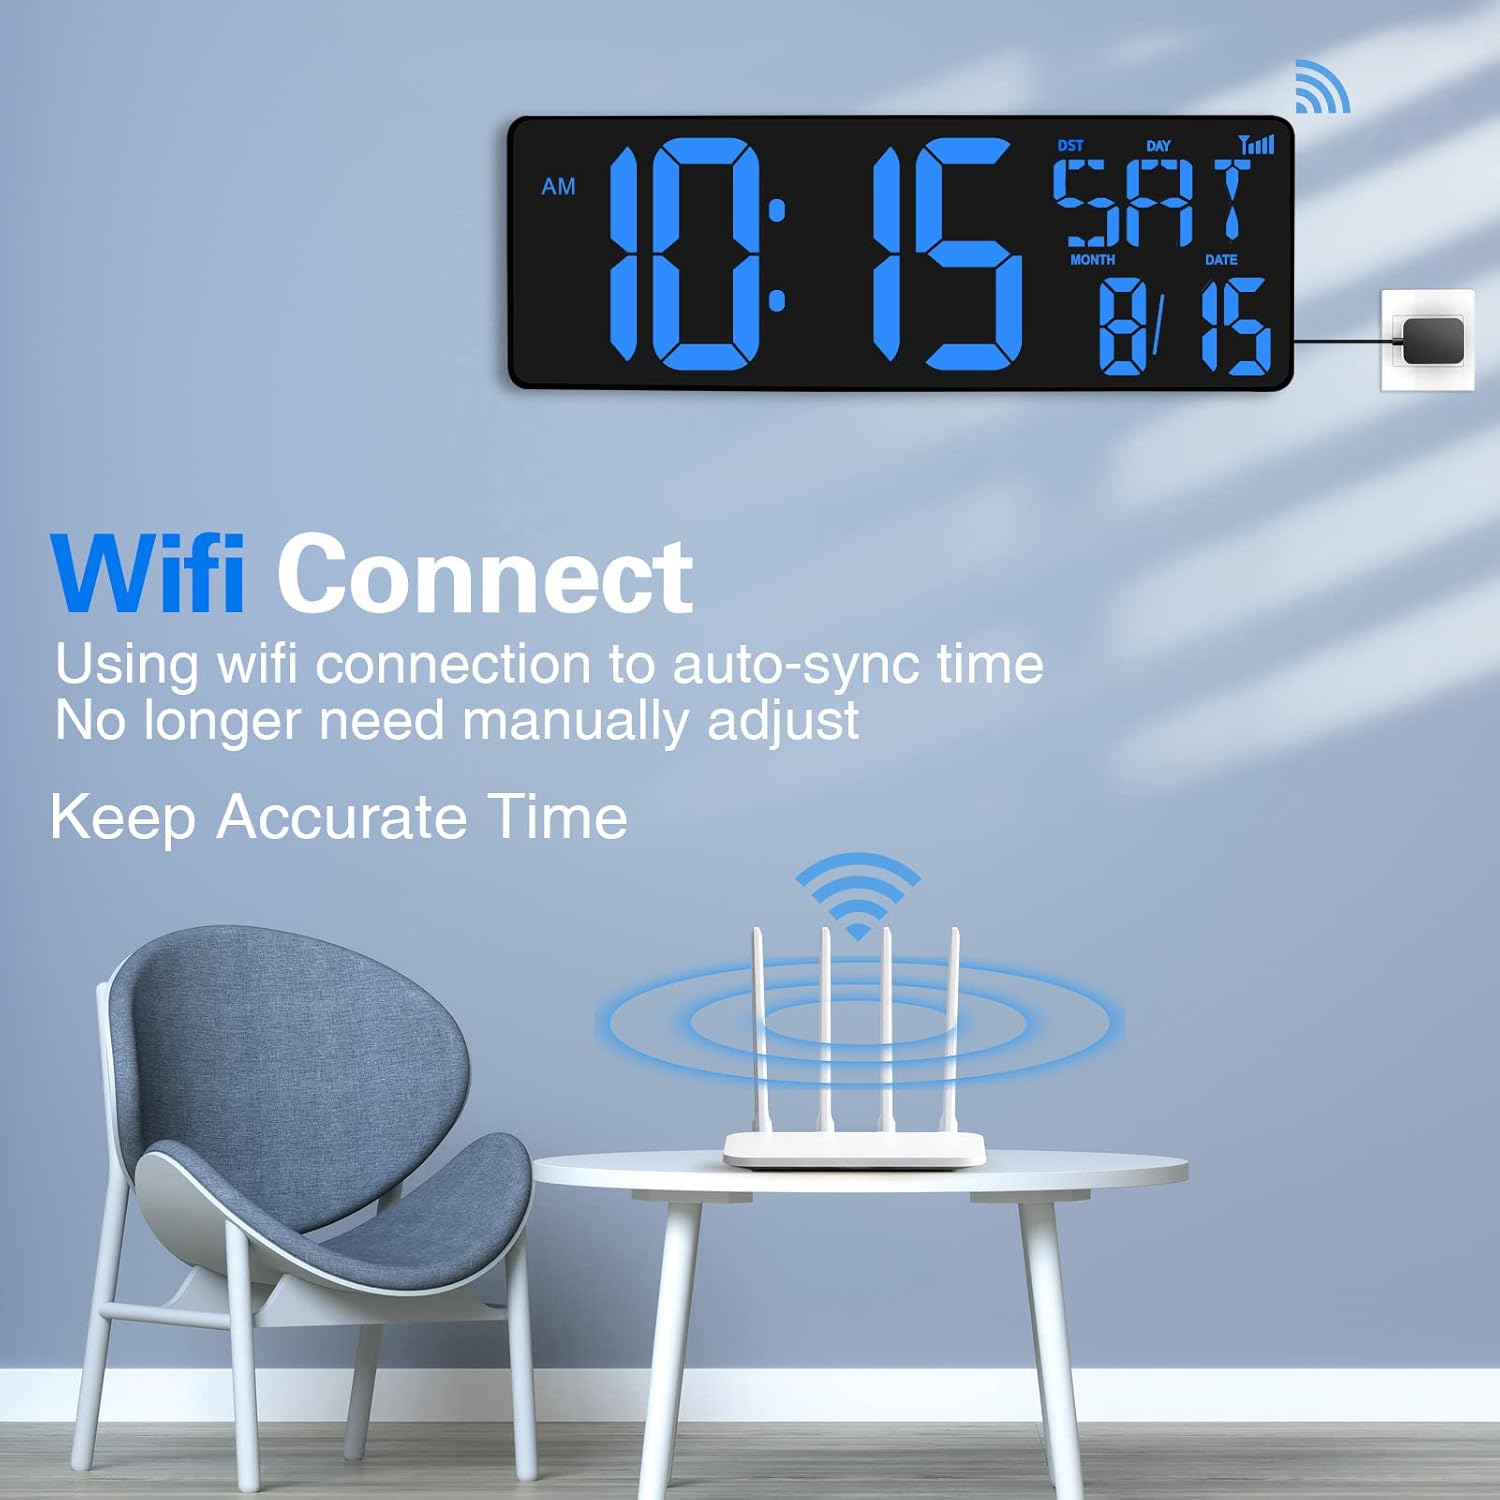
Image: The digital clock displaying time and date, with a WiFi signal icon indicating successful connection and automatic time synchronization.
4.3 Manual Time Setting (Alternative)
If WiFi is not available or preferred, you can set the time manually using the buttons on the back of the clock or the remote control.
- Refer to the "Operating Instructions" section for detailed steps on manual time, date, and alarm settings.

Image: The rear of the clock, highlighting the manual control buttons and the foldable kickstand for desk placement.
5. Operating Instructions
5.1 Display Modes
The clock cycles through different display modes automatically. You can also manually switch or configure display preferences using the remote control.
- Time Display: Shows current time in AM/PM or 24-hour format.
- Date/Day/Temperature Display: Cycles through month/date, day of the week, and temperature (℉/℃).

Image: The clock displaying time in both 12-hour (AM/PM) and 24-hour formats.
5.2 Brightness Adjustment
The clock offers automatic dimming and manual brightness control:
- Auto-Dimming: The clock automatically adjusts its brightness based on ambient light conditions. This is the default and recommended setting.
- Manual Control: Use the brightness adjustment switch on the back of the clock (High/Low) or the light bulb buttons on the remote control to set a fixed brightness level.

Image: The clock demonstrating its auto-dimming capability, showing a brighter display during the day and a softer glow at night.
5.3 Alarm Settings
Set up to three alarms with different modes:
- Press the ALARM SET button on the remote or the back of the clock.
- Use the HR and MIN buttons to set the desired alarm time.
- Press ALARM SET again to cycle through alarm modes:
- 1E: Work Everyday (Monday-Sunday)
- 2E: Work on MON to FRI
- 3E: Work on Weekend (Saturday-Sunday)
- Press SET to confirm and exit.

Image: The clock displaying its three distinct alarm modes for different schedules.
5.4 Timer Functions (Stopwatch & Countdown)
The clock supports both stopwatch and countdown timer functions:
- Press the TIMER button on the remote or the back of the clock to switch to timer mode.
- Stopwatch: In timer mode, press Timer ST/SP to start/pause the stopwatch. Press Timer Reset to clear.
- Countdown Timer: In timer mode, use HR, MIN, SEC buttons to set the countdown duration. Press Timer ST/SP to start/pause. Press Timer Reset to clear.

Image: The clock showcasing its stopwatch and countdown timer capabilities, along with its three main modes: Timer, Clock, and Alarm Clock.
6. Maintenance
- Clean the clock display and body with a soft, dry cloth. Do not use abrasive cleaners or solvents.
- Avoid exposing the clock to extreme temperatures, direct sunlight, or high humidity.
- Ensure the power adapter is securely connected and the cable is not pinched or damaged.
- Replace the remote control battery (AAA) when its functionality diminishes.
7. Troubleshooting
| Problem | Possible Cause | Solution |
|---|---|---|
| Clock not powering on. | Power adapter not connected or faulty outlet. | Ensure power adapter is securely plugged into the clock and a working electrical outlet. Try a different outlet. |
| WiFi connection fails or is unstable. | Incorrect WiFi SSID/password, weak signal, or router compatibility. |
|
| Remote control not working. | Battery depleted or incorrect orientation. | Replace the AAA battery in the remote control, ensuring correct polarity. Point the remote directly at the clock. |
| Display is too bright or too dim. | Brightness setting is not optimal. | Adjust the brightness using the switch on the back of the clock (High/Low/Auto) or the light buttons on the remote control. |
| Time is incorrect after power outage (without WiFi). | No memory function without WiFi connection. | Reconnect to WiFi or manually set the time. The clock has memory function only when successfully connected to WiFi. |
8. Specifications
| Brand | XREXS |
| Model Number | W0088B |
| Product Dimensions | 16.5"W x 4.84"H |
| Power Source | Corded Electric |
| Indoor/Outdoor Usage | Indoor |
| Frame Material | Acrylonitrile Butadiene Styrene |
| Item Weight | 15 Ounces |
| Remote Battery | 1 AAA battery required (included) |
| Mounting Type | Wall Mount |
| Watch Movement | Automatic |
9. Warranty & Support
The XREXS Large Digital Wall Clock comes with a manufacturer's warranty. For specific warranty details, claims, or technical support, please refer to the contact information provided in the product packaging or visit the official XREXS website.
For additional assistance, you may also contact Amazon customer support or visit the XREXS Store on Amazon.
Ask a question about this manual
Ask about setup, troubleshooting, compatibility, parts, safety, or missing instructions. Manuals+ will review the question and use this page’s manual context to help answer it.