
TOMLOV EU-602
TOMLOV DM602 Digital Microscope User Manual
Brand: TOMLOV
Model: EU-602
Product Overview
The TOMLOV DM602 is an advanced digital microscope designed for a wide range of applications, from intricate soldering and repair work to biological observation and coin collection. It features a high-resolution 10.1-inch IPS display, multiple interchangeable lenses for varied magnification, and versatile connectivity options.

Figure 1: TOMLOV DM602 Digital Microscope with its main components including the display, stand, base, and various lenses.
Key Features:
- 3 Lenses for Unlimited Exploration: Includes L-Lens (60X-200X) for soldering and repair, A-Lens (2X-700X) for coins, stamps, plants, stones, and more, and D-Lens (1000X-1500X) for biological slides.
- Upgraded 2K Video Microscope: Features a UHD sensor that records impressive 2K videos and captures vivid 24 MP photos, revealing subtle details and movements with crystal clarity.
- 10.1" IPS Screen: A high-quality IPS screen with a wide color gamut ensures unparalleled color accuracy, ideal for detailed component inspection and precise soldering.
- 2X-1500X Magnification: The microscope comes with 3 objectives offering magnifications from 2X to 1500X to view the finest details with optimal illumination.
- HDMI/USB Output Support: Equipped with HDMI and USB ports, it displays 2K resolution on a larger screen for detailed microscopic discoveries while providing relaxed visual comfort.
- Easy Storage and Transfer: A 64GB micro SD card is included for easy storage and sharing of numerous high-quality UHD photos and videos.
- Customizable Illumination: Enhance details with adjustable main lights and 2 flexible side lights for optimal clarity in any environment.
- Versatile Applications: Ideal for PCB testing, soldering, coins, jewelry, stamps, watch repair, quality control, biological research, entomology, and art restoration.
Package Contents
Before beginning assembly and setup, please verify that all components listed below are present in your package:

Figure 2: Complete package contents of the TOMLOV DM602 Digital Microscope.
- 1 x TOMLOV DM602 Digital Microscope Unit
- 1 x Power Cable
- 1 x USB Cable
- 1 x HDMI Cable
- 1 x L-Lens (60X-200X)
- 1 x A-Lens (2X-700X)
- 1 x D-Lens (1000X-1500X)
- 1 x Remote Control
- 1 x 64GB Micro SD Card
- Spare Screws and Clamps
- 1 x Base Plate
- 1 x 10-inch Stand
- 1 x Translucent Stage
- Prepared Slides (up to 10 pcs)
Setup Guide
1. Assembly of the Microscope Stand and Base:
- Place the base plate on a stable, flat surface.
- Attach the 10-inch stand to the base plate using the provided screws. Ensure it is securely fastened.
- Mount the microscope unit onto the stand, adjusting its height as needed.
- Connect the flexible side lights to the base plate and position them for optimal illumination.
2. Installing a Lens:
The DM602 comes with three interchangeable lenses. Follow these steps to install or change a lens:
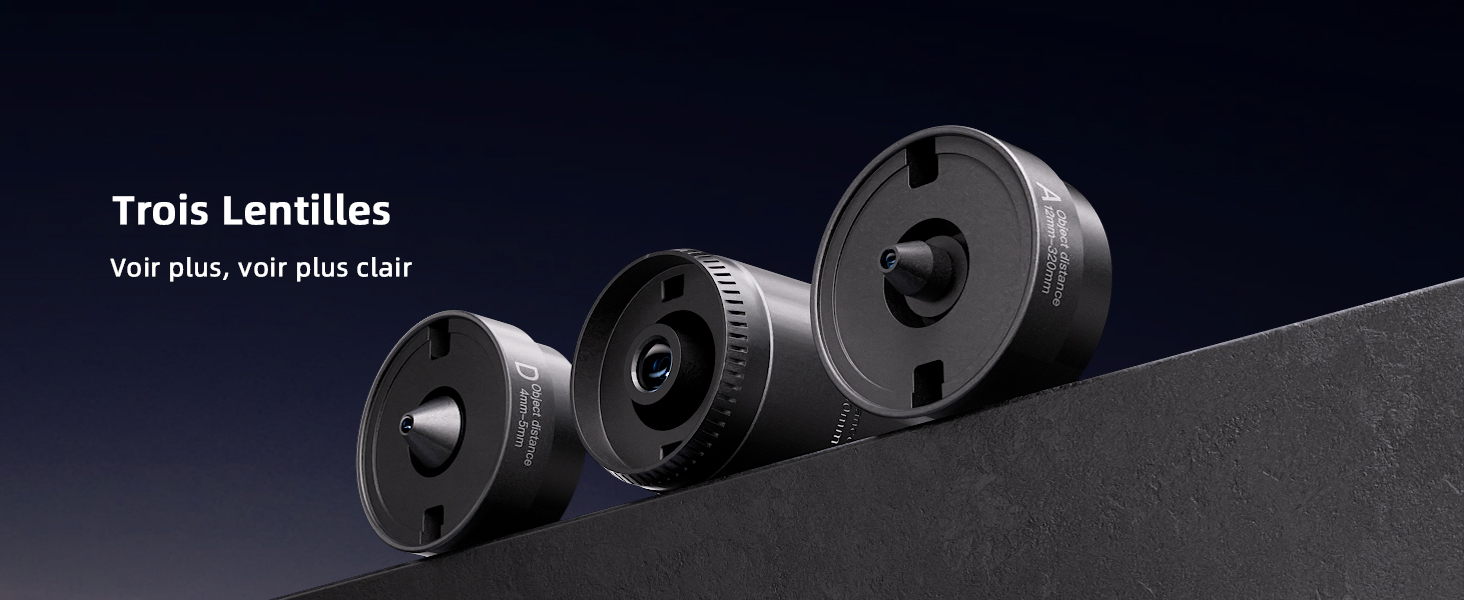
Figure 3: Lens changing procedure for the TOMLOV DM602.
- Unscrew and Disassemble: Locate the two screws on the microscope unit holding the current lens. Carefully unscrew them and remove the lens.
- Install New Lens: Select the desired lens (L, A, or D) and align it with the microscope unit. Gently push it into place.
- Re-screw: Secure the new lens by re-screwing the two screws firmly.
3. Powering On:
Connect the power cable to the microscope and a suitable power outlet. Press the power button on the unit to turn it on. The 10.1-inch IPS screen will illuminate.
4. Inserting Micro SD Card:
Insert the provided 64GB Micro SD card into the designated slot on the microscope unit. This card is essential for saving photos and videos.
Operating Instructions
1. Adjusting Magnification and Focus:
Use the focus knob on the side of the microscope unit to adjust the image clarity. For different magnification ranges, change the installed lens (L, A, or D) as described in the Setup Guide.

Figure 4: The wide magnification range of the TOMLOV DM602.
2. Using the Lenses for Specific Applications:
- L-Lens (60X-200X): Ideal for soldering, circuit board inspection, and repair work, providing ample working distance.

Figure 5: Using the L-Lens for soldering applications.
- A-Lens (2X-700X): Suitable for examining larger objects like coins, stamps, plants, and geological samples.
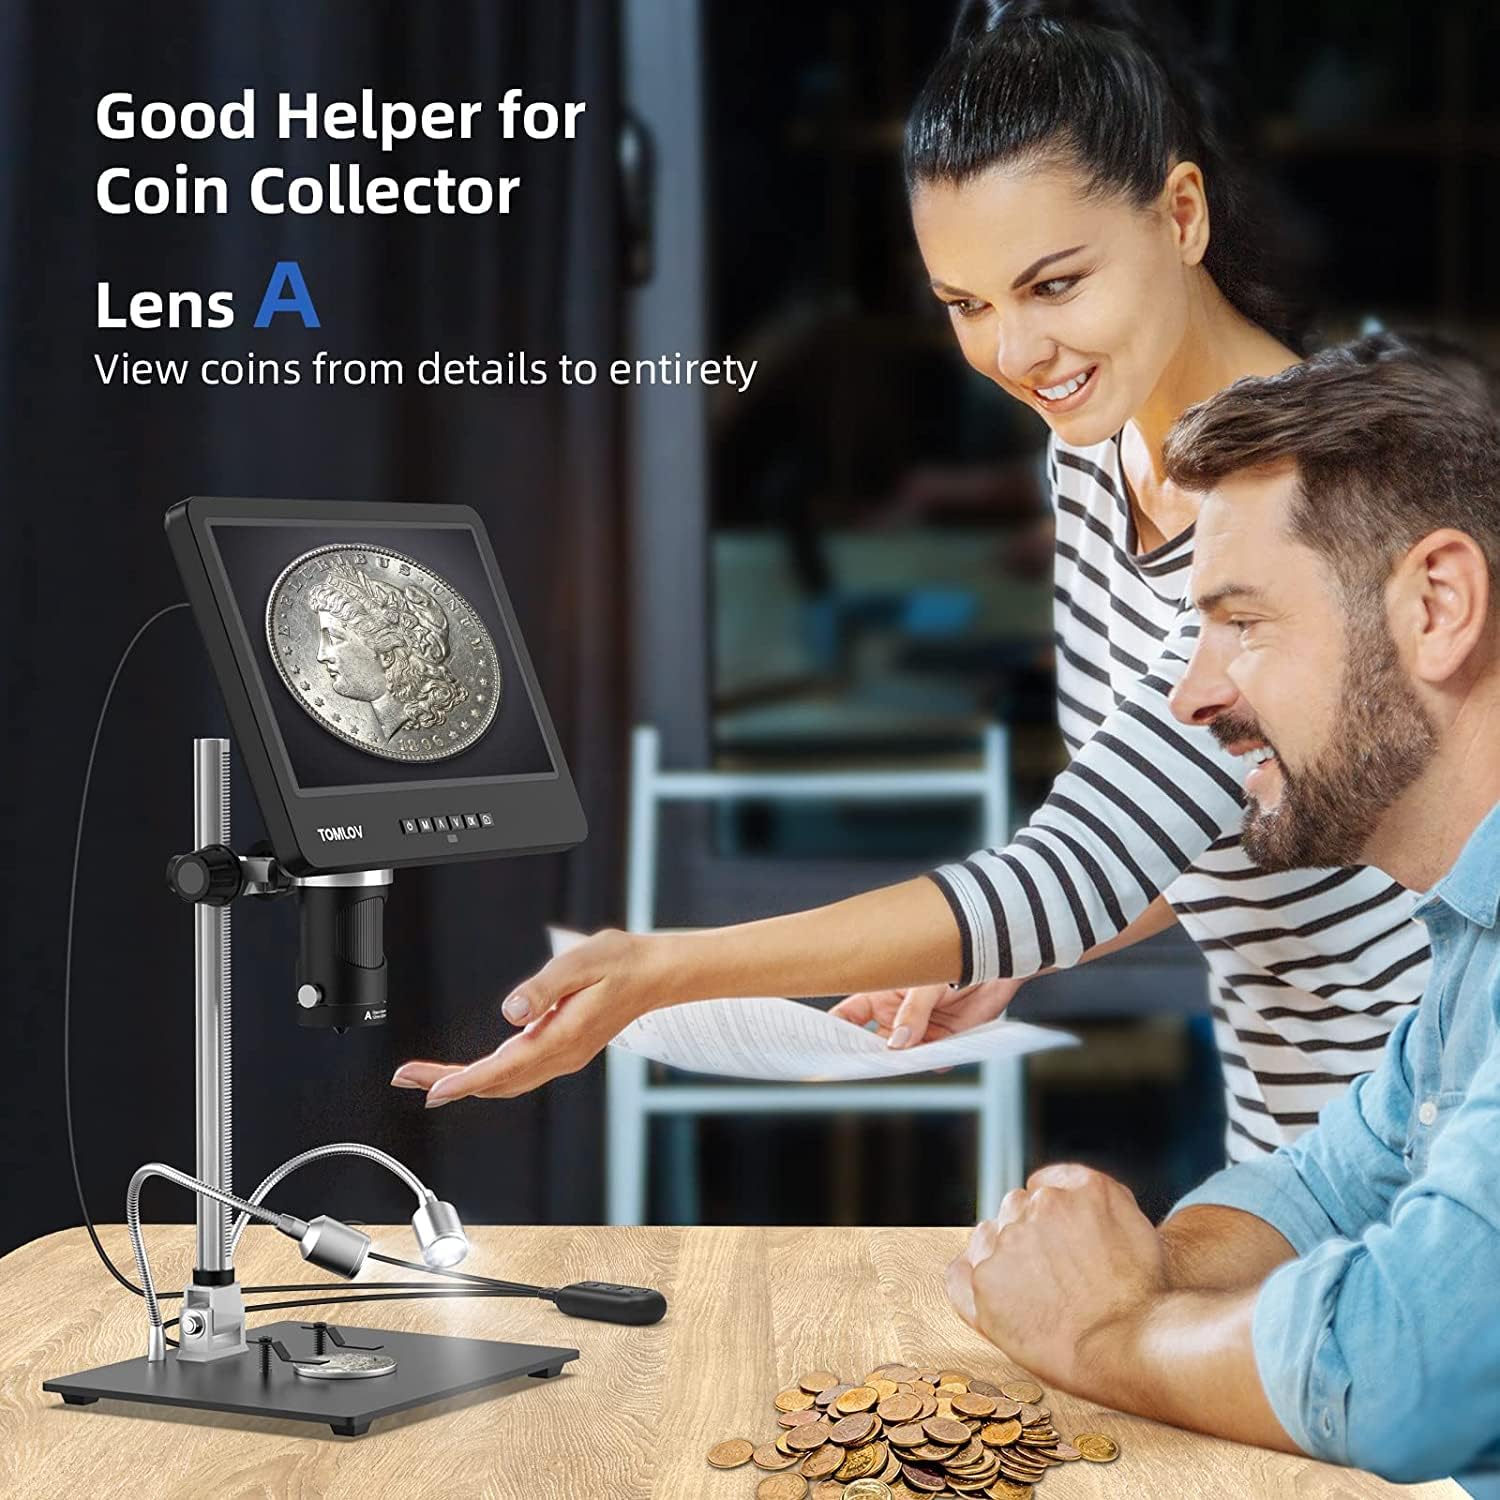
Figure 6: The A-Lens is excellent for coin collection and detailed examination of larger items.
- D-Lens (1000X-1500X): Designed for high-magnification observation of biological slides and microscopic structures.

Figure 7: The D-Lens is used for biological slide inspection.
3. Adjusting Illumination:
The microscope features adjustable main lights and two flexible side lights. Rotate the knobs on the lights to control their brightness and position the flexible arms to illuminate your specimen effectively.
4. Connecting to External Displays (HDMI/USB):
The DM602 can output its display to a larger screen for collaborative viewing or detailed analysis. Use the provided HDMI cable to connect to a TV or monitor, or the USB cable to connect to a computer (Windows/Mac compatible).

Figure 8: Simultaneous HDMI and USB output capabilities.
5. Capturing Photos and Videos:
With the 64GB Micro SD card inserted, you can capture high-resolution photos (24 MP) and 2K videos directly from the microscope. Use the dedicated buttons on the unit or the remote control to switch between photo and video modes and to initiate recording/capture.
6. Using the Remote Control:
The included remote control allows for convenient operation without touching the microscope unit, minimizing vibrations during observation or capture. Refer to the remote control's specific button functions for navigation, mode switching, and media capture.
Maintenance
1. Cleaning the Lenses and Screen:
- Use a soft, lint-free cloth specifically designed for optical surfaces to clean the lenses. Avoid abrasive materials or harsh chemicals.
- For stubborn smudges, a small amount of lens cleaning solution can be applied to the cloth, not directly to the lens.
- Clean the IPS screen with a soft, dry microfiber cloth. Do not press hard on the screen.
2. General Cleaning:
- Wipe down the microscope body and stand with a slightly damp, soft cloth. Ensure no moisture enters the electronic components.
- Do not use solvents or strong detergents.
3. Storage:
- When not in use, store the microscope in a clean, dry, and dust-free environment.
- Keep the lenses covered to prevent dust accumulation.
- Store the microscope in its original packaging or a protective case if available to prevent damage.
Troubleshooting
| Problem | Possible Cause | Solution |
|---|---|---|
| No image on screen. | Power cable not connected; microscope not powered on; lens not installed correctly. | Ensure power cable is securely connected and unit is powered on. Check if the lens is properly screwed in. |
| Image is blurry. | Focus not adjusted; lens dirty; incorrect lens for working distance. | Rotate the focus knob. Clean the lens. Ensure you are using the appropriate lens for your object's size and working distance. |
| Cannot save photos/videos. | Micro SD card not inserted; card full; card corrupted. | Insert the Micro SD card. Delete unnecessary files or replace the card. Format the card if necessary (this will erase all data). |
| External display not showing image. | HDMI/USB cable loose; incorrect input selected on external display. | Check cable connections. Select the correct HDMI or USB input source on your TV/monitor/computer. |
| Lights are not working. | Lights are off or brightness is set to minimum; power issue. | Adjust the brightness knobs. Ensure the microscope is powered on. |
Specifications
| Feature | Detail |
|---|---|
| Brand | TOMLOV |
| Model Name | DM602 |
| Item Model Number | EU-602 |
| Color | Black |
| Material | Plastic, Metal |
| Screen Size | 10.1 inches IPS |
| Maximum Magnification | 1500X |
| Video Resolution | 2K |
| Photo Resolution | 24 MP |
| Storage | 64GB Micro SD Card (included) |
| Output Ports | HDMI, USB |
| Compatible Devices | Personal Computer, Laptop, Television |
| Light Source Type | LED (Adjustable main lights, 2 flexible side lights) |
| Battery Composition | Lithium-ion (included) |
| Voltage | 5 Volts |
| Item Weight | 2.36 Kilograms |
| Product Dimensions (L x W x H) | 30 x 26.5 x 14.9 centimeters |
| Package Dimensions (L x W x H) | 30.5 x 26.9 x 15 centimeters |
Warranty and Support
TOMLOV is committed to providing high-quality products and customer satisfaction. If you encounter any issues with your DM602 Digital Microscope, such as missing accessories or a defective device, please contact our customer support team.
Providing a photo of the received product and a detailed description of the problem will help us resolve your concern quickly and efficiently.
For further assistance, please refer to the contact information provided with your product documentation or visit the official TOMLOV website.
Related documentsEU-602


Ask a question about this manual
Ask about setup, troubleshooting, compatibility, parts, safety, or missing instructions. Manuals+ will review the question and use this page’s manual context to help answer it.