
Xilence XC081
Xilence M906 CPU Cooler User Manual
Model: XC081
1. Introduction
Thank you for choosing the Xilence M906 CPU Cooler. This high-performance air cooler is designed to provide efficient cooling for potent multi-core processors, making it ideal for demanding applications such as gaming and streaming. Featuring six powerful black heat pipes and a 120 mm FDB PWM fan, the M906 ensures optimal heat dissipation and quiet operation.
The cooler's multi-socket compatibility allows it to be used with a wide range of current Intel and AMD sockets, including LGA 1700/2066/2011/1200/1151/1150/1155/1156 and AMD AM4/AM5. This manual provides detailed instructions for installation, operation, and maintenance to ensure the best performance and longevity of your Xilence M906 CPU Cooler.

Figure 1: Front view of the Xilence M906 CPU Cooler, showcasing its elegant black design and central fan.
2. Package Contents
Please verify that all components are present in the package before proceeding with installation:
- Xilence M906 CPU Cooler (Heatsink with pre-attached 120mm PWM fan)
- Mounting module for Intel LGA 1700/2066/2011/1200/1151/1150/1155/1156 sockets
- Mounting module for AMD AM4/AM5 sockets
- Tube of thermal paste
- Illustrated assembly instructions (this manual)
3. Safety Information
To prevent damage to the product or injury to yourself, please observe the following safety precautions:
- Always disconnect power from your computer before installation or maintenance.
- Handle the cooler and its components with care to avoid bending fins or damaging heat pipes.
- Keep out of reach of children.
- Do not attempt to modify the cooler or its components.
- Ensure proper ventilation around your computer case.
4. Setup and Installation
The Xilence M906 CPU Cooler supports various Intel and AMD sockets. Follow the instructions below for your specific CPU socket type.
4.1. General Preparation
- Power off your computer and unplug the power cord.
- Open your computer case to access the motherboard and CPU socket.
- If replacing an existing cooler, carefully remove it and clean any old thermal paste from the CPU IHS (Integrated Heat Spreader) and the cooler's base using isopropyl alcohol and a lint-free cloth.

Figure 2: Bottom view of the Xilence M906 CPU Cooler, revealing the direct contact heat pipes and CPU contact plate.
4.2. Applying Thermal Paste
Apply a small amount of the included thermal paste to the center of the CPU IHS. A pea-sized dot or a thin line is usually sufficient. The pressure from the cooler will spread it evenly.
4.3. Installing the Mounting Hardware
Refer to the specific mounting instructions provided with your cooler for your CPU socket type (Intel LGA or AMD AM). Generally, this involves:
- Attaching the appropriate backplate to the rear of the motherboard (for Intel sockets).
- Securing the standoffs or mounting brackets to the motherboard around the CPU socket.
4.4. Mounting the Cooler
- Carefully place the Xilence M906 heatsink onto the CPU, aligning the mounting holes on the cooler's base with the standoffs/brackets.
- Secure the cooler using the provided screws or retention clips. Tighten screws in a diagonal pattern (e.g., top-left, bottom-right, top-right, bottom-left) to ensure even pressure. Do not overtighten.

Figure 3: Angled view of the Xilence M906 CPU Cooler, showing the heatsink fin array and the 120mm fan.
4.5. Connecting the Fan
Connect the 4-pin PWM fan cable from the Xilence M906 fan to the CPU_FAN header on your motherboard. Ensure the connector is fully seated.
4.6. Final Steps
- Close your computer case.
- Reconnect the power cord and power on your computer.
- Enter your system's BIOS/UEFI to verify that the CPU fan is detected and operating correctly. Monitor CPU temperatures during initial use.
5. Operating the Cooler
The Xilence M906 CPU Cooler operates automatically once installed and connected to the CPU_FAN header. The 120mm PWM (Pulse Width Modulation) fan will adjust its speed based on the CPU temperature, as controlled by your motherboard's BIOS/UEFI settings. This ensures optimal cooling performance while minimizing noise during lighter loads.
For best performance, ensure your motherboard's fan control settings are configured to a 'Standard' or 'Performance' profile, allowing the fan to ramp up as CPU temperature increases. Avoid 'Silent' profiles if you are experiencing high temperatures under heavy loads.
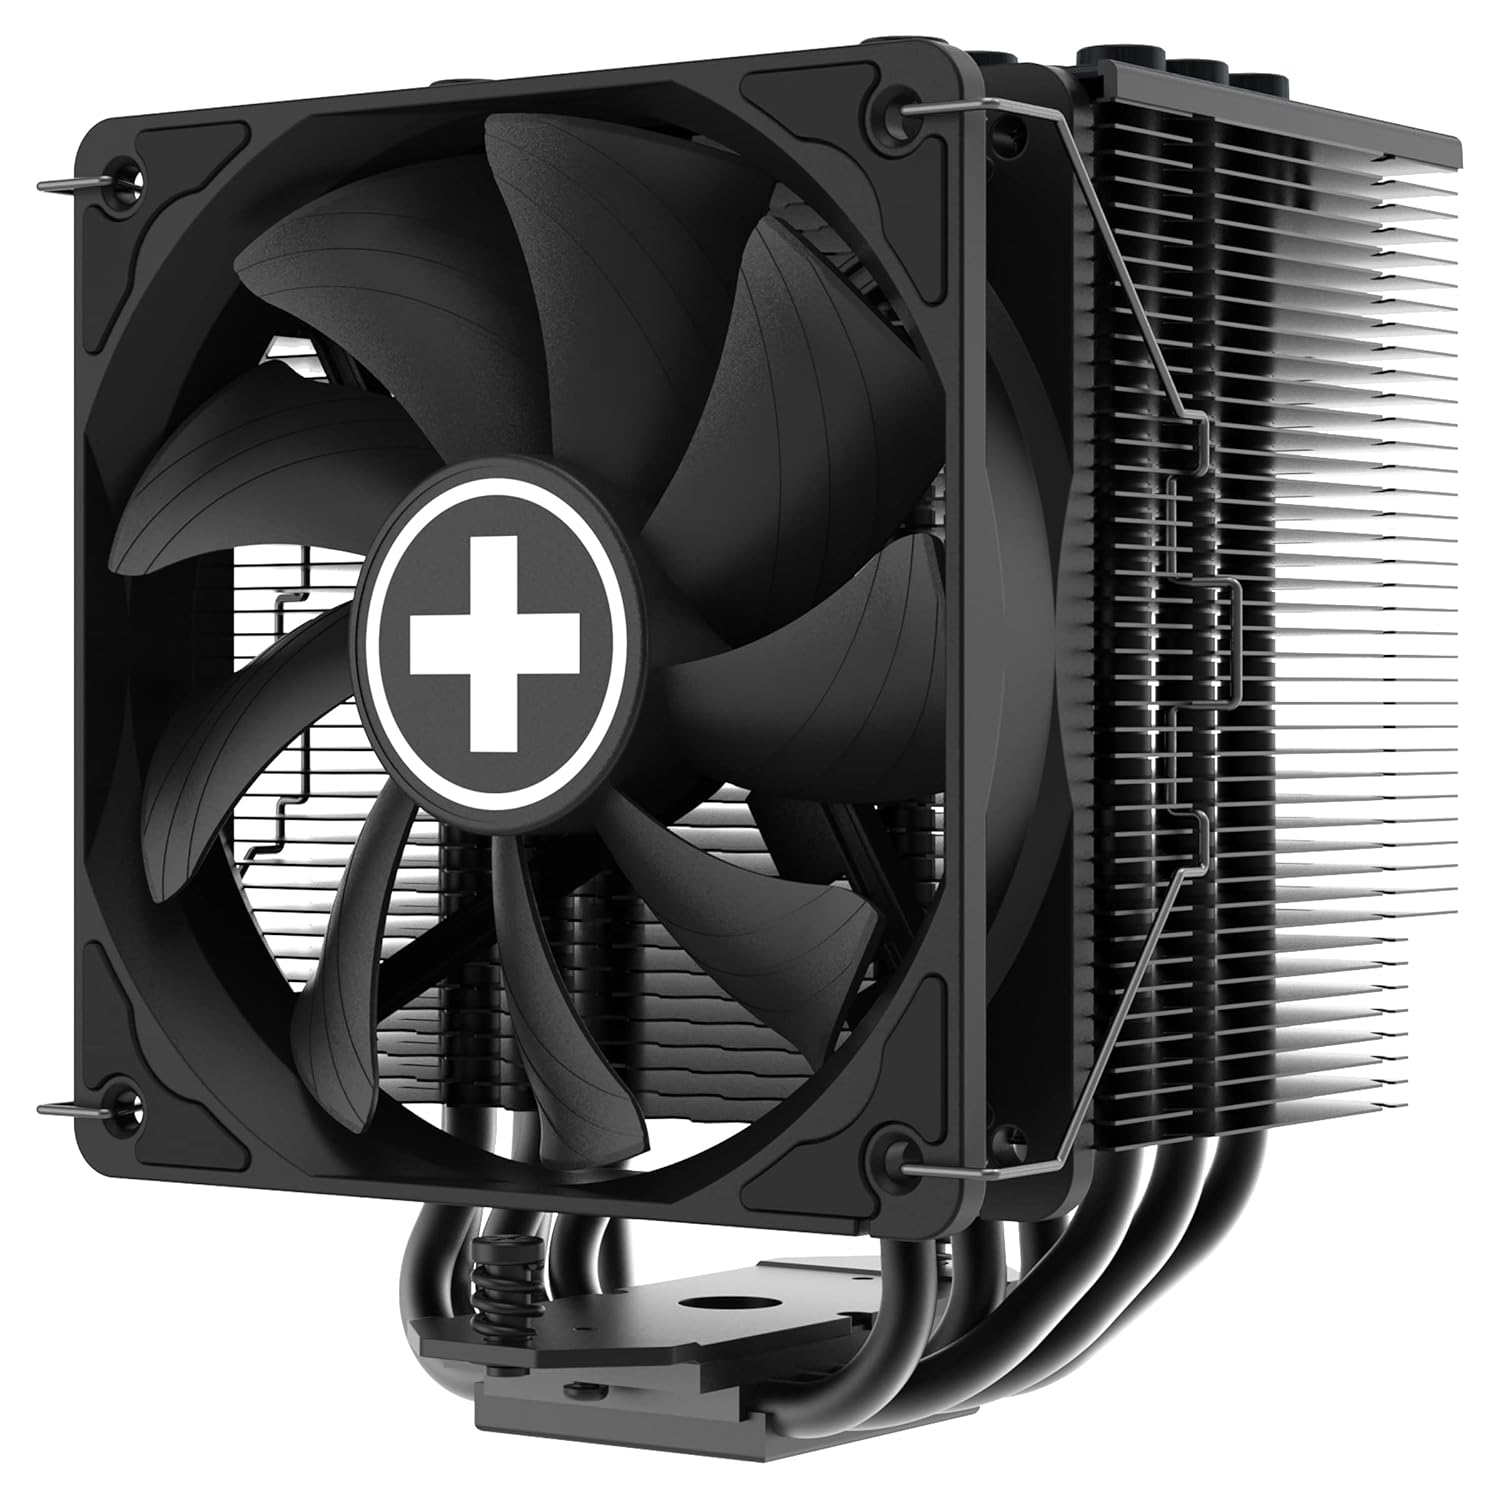
Figure 4: Side view of the Xilence M906 CPU Cooler, illustrating the six 6mm copper heat pipes for efficient heat transfer.
6. Maintenance
Regular maintenance helps ensure optimal performance and longevity of your CPU cooler:
- Dust Removal: Periodically (every 3-6 months, depending on environment) power off your computer and use compressed air to blow dust out of the heatsink fins and fan blades. Hold the fan blades gently to prevent them from spinning excessively during cleaning.
- Fan Inspection: Check the fan for any signs of wear, unusual noise, or obstructions.
- Thermal Paste: The thermal paste typically lasts for several years. If you notice a significant increase in CPU temperatures over time, reapplying fresh thermal paste may be necessary. This requires removing the cooler, cleaning old paste, and applying new paste.
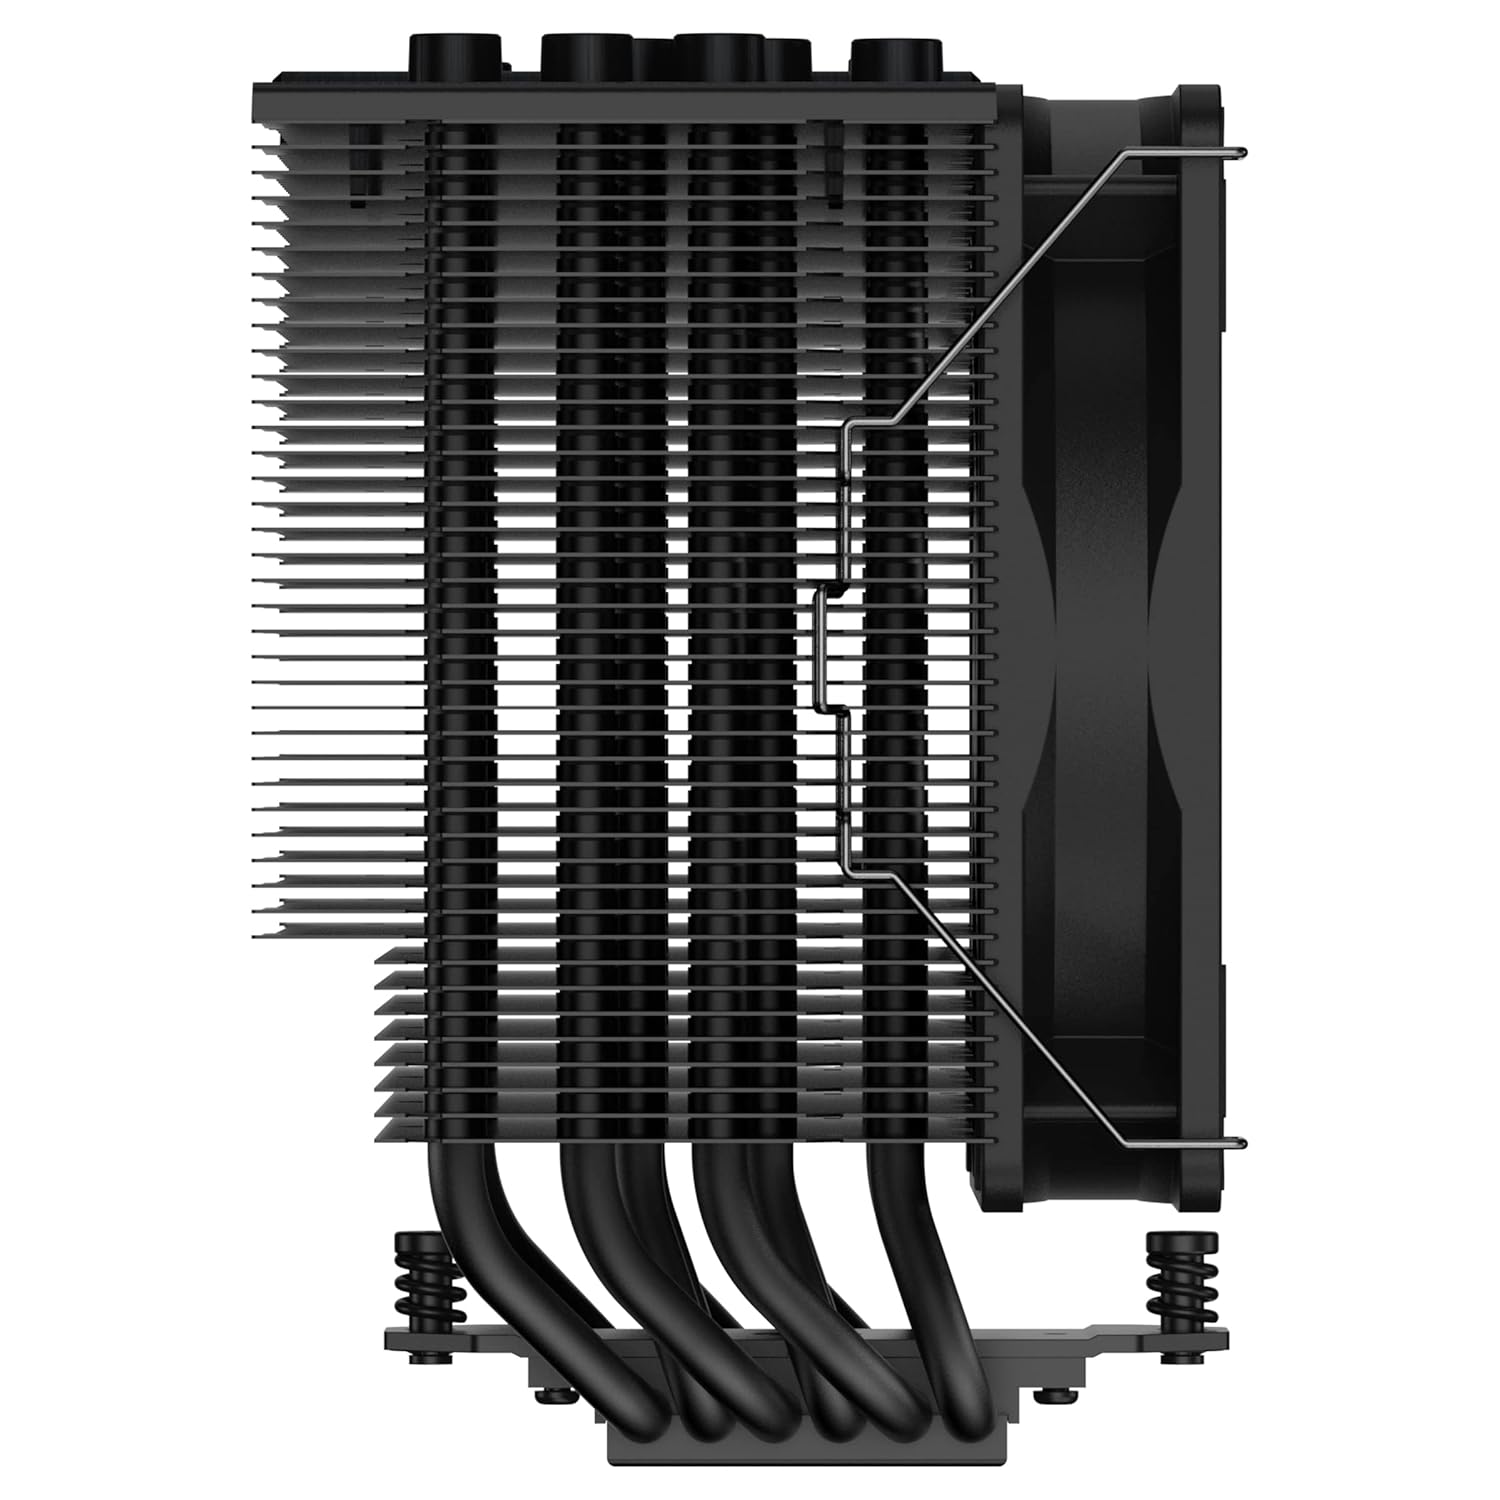
Figure 5: Top-down view of the Xilence M906 CPU Cooler, highlighting the dense fin array designed for efficient heat dissipation.
7. Troubleshooting
If you encounter issues with your Xilence M906 CPU Cooler, refer to the following common problems and solutions:
- High CPU Temperatures:
- Ensure the cooler is securely mounted and making proper contact with the CPU.
- Verify that thermal paste was applied correctly and is not dried out.
- Check that the fan is spinning and connected to the CPU_FAN header.
- Ensure adequate airflow within your computer case.
- Clean any dust accumulation from the heatsink fins and fan.
- Fan Not Spinning or Spinning Slowly:
- Check the fan cable connection to the motherboard's CPU_FAN header.
- Verify fan control settings in your motherboard's BIOS/UEFI.
- Ensure no cables or obstructions are blocking the fan blades.
- Excessive Fan Noise:
- Check for dust buildup on fan blades.
- Ensure the fan is securely attached and not vibrating against other components.
- Adjust fan speed curves in your motherboard's BIOS/UEFI to a quieter profile if temperatures allow.
8. Specifications
| Feature | Detail |
|---|---|
| Model Number | XC081 |
| TDP (Thermal Design Power) | 250W |
| Dimensions (L x W x H) | 12.9 x 10.6 x 15.4 cm |
| Weight | 905 g |
| Heat Pipes | 6 x 6mm Copper |
| Fan Size | 120 mm |
| Fan Type | PWM FDB (Fluid Dynamic Bearing) |
| Noise Level | 30.8 dB (max) |
| Voltage | 12 Volts |
| Compatible Sockets | Intel: LGA 1700/2066/2011/1200/1151/1150/1155/1156 AMD: AM4/AM5 |
9. Warranty Information
Xilence products are manufactured to the highest quality standards. This product is covered by a limited warranty against defects in materials and workmanship from the date of purchase. Please retain your proof of purchase for warranty claims. The warranty does not cover damage resulting from improper installation, accident, abuse, misuse, natural disaster, or unauthorized modification.
10. Support
For technical support, warranty inquiries, or further assistance, please visit the official Xilence website or contact your local retailer. Detailed support resources, FAQs, and contact information can typically be found on the manufacturer's support page.
Online Resources: www.xilence.net
Related documentsXC081


Ask a question about this manual
Ask about setup, troubleshooting, compatibility, parts, safety, or missing instructions. Manuals+ will review the question and use this page’s manual context to help answer it.