
Introduction
This manual provides comprehensive instructions for the safe and correct installation, operation, and maintenance of the Supco PTP25 All Plastic Refrigerator Icemaker Water Line Installation Kit. This kit is designed to supply water to your refrigerator's icemaker or water dispenser from an existing water source or a compatible drinking water system, such as Aquasure Premier Series systems.
Safety Information
- Always turn off the main water supply before beginning any installation.
- Ensure all connections are secure to prevent leaks.
- Do not overtighten plastic fittings, as this can cause damage.
- Use only potable water sources for connection.
- Keep all components out of reach of children.
Package Contents
Verify that all components listed below are present in your kit:
- 25 feet of 1/4" OD Plastic Tubing
- 1/4" ID Locking Push-in Plastic Union
- 1/4" ID Locking Push-in Plastic Tee
- 1/4" ID Locking Push-in Plastic Valve
- Brass Nut (for specific connections)
- Blue Locking Clips (for securing push-in fittings)
- White Ferrule/Sleeve (for specific connections)
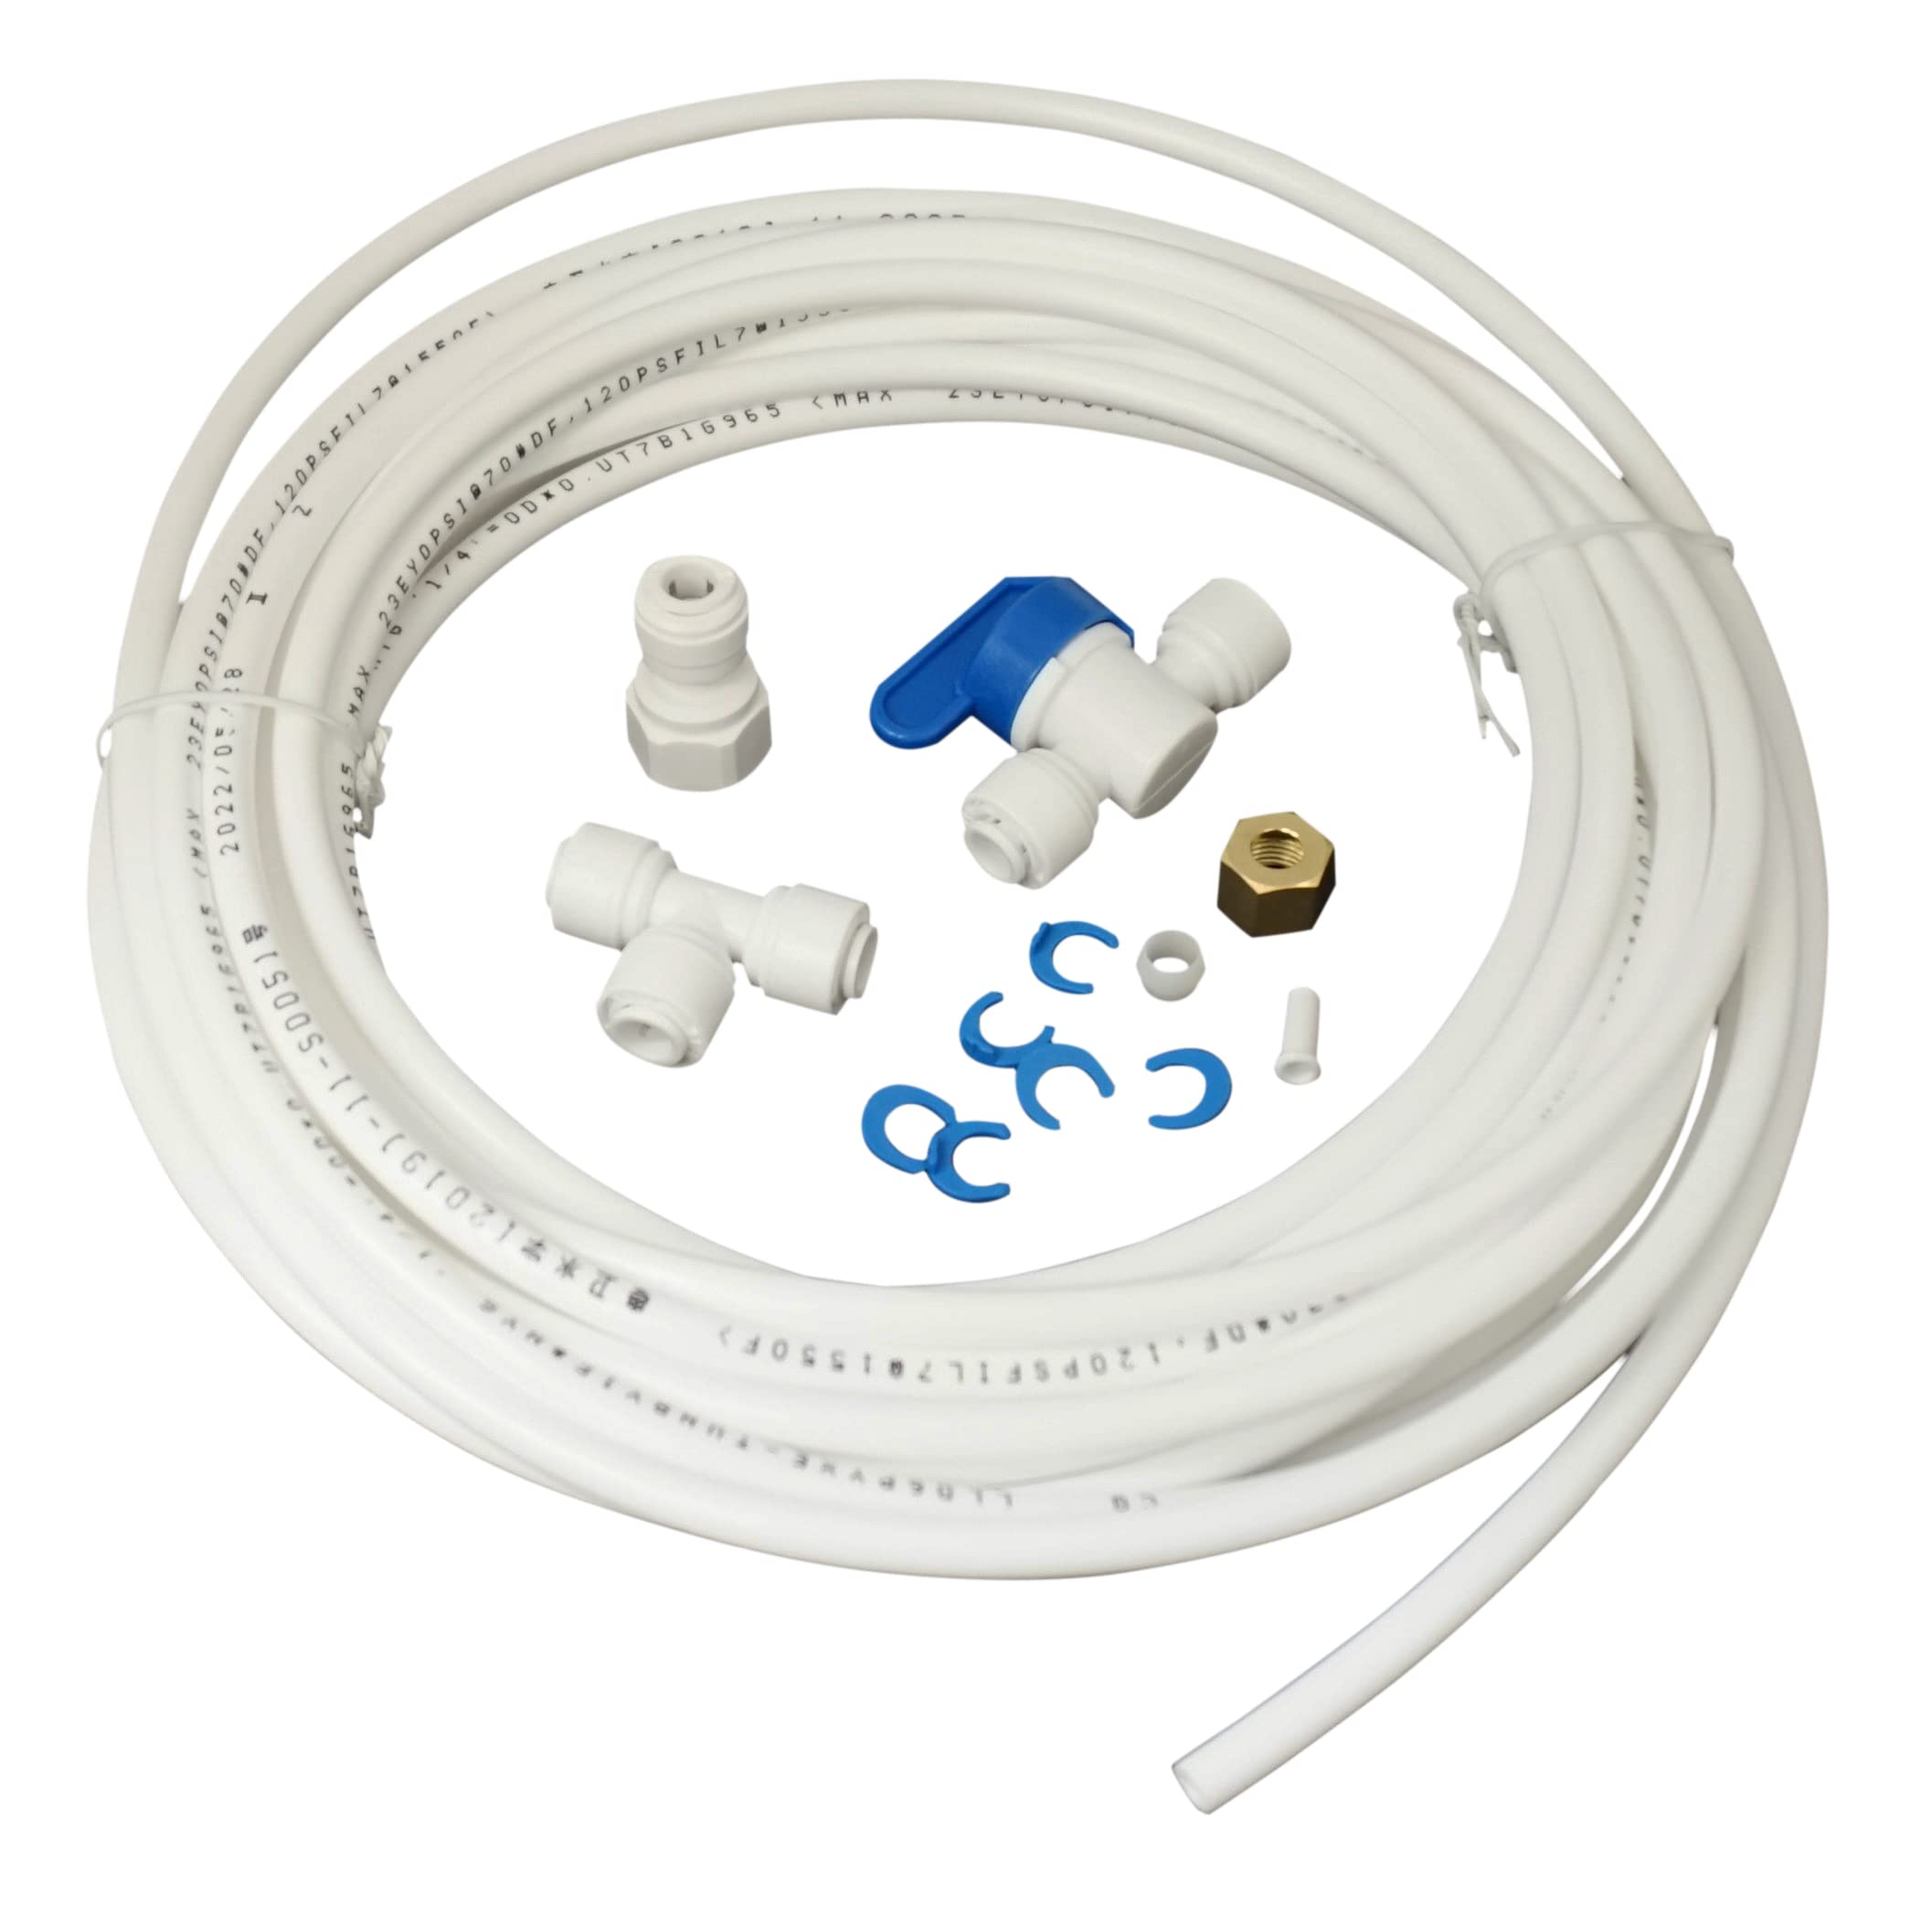
Image 1: All components of the Supco PTP25 Icemaker Water Line Installation Kit. This includes 25 feet of white plastic tubing, a plastic union, a plastic tee, a plastic valve with a blue handle, a brass nut, blue locking clips, and a white ferrule/sleeve.
Setup and Installation
This kit is designed for easy installation. Follow these steps carefully:
- Turn off Water Supply: Locate the main water shut-off valve for your home or the specific cold water line you intend to tap into. Turn it off completely.
- Prepare Connection Point: Depending on your setup, you will either connect to an existing cold water line under a sink or directly to a compatible water filtration system.
- Install Plastic Tee (if applicable): If tapping into an existing cold water line, install the plastic tee fitting. Ensure a tight, leak-free connection. Use thread sealant tape if connecting to threaded pipes.
- Connect Plastic Valve: Attach the plastic valve to the tee or directly to your water filtration system's output. The valve allows you to control the water flow to the icemaker line.
- Cut Tubing to Length: Measure the distance from your water source connection to your refrigerator's icemaker inlet. Cut the 1/4" plastic tubing to the required length using a sharp utility knife or tubing cutter, ensuring a clean, straight cut. Avoid kinks.
- Connect Tubing to Valve: Insert one end of the cut tubing firmly into the push-in fitting of the plastic valve until it seats completely. Secure with a blue locking clip if provided and applicable.
- Route Tubing: Carefully route the tubing to the back of your refrigerator. Avoid sharp bends, pinching, or placing the tubing near hot surfaces.
- Connect Tubing to Refrigerator: Connect the other end of the tubing to your refrigerator's icemaker water inlet. This connection typically involves a push-in fitting or a compression fitting (where the brass nut and white ferrule/sleeve may be used). Refer to your refrigerator's manual for specific connection details.
- Secure Connections: For push-in fittings, ensure the tubing is fully inserted. For compression fittings, tighten the brass nut securely but do not overtighten.
- Restore Water Supply: Slowly turn on the main water supply. Check all connections for leaks. Tighten any leaking connections gently.
- Flush System: Allow water to flow through the line and into the icemaker/dispenser for a few minutes to flush out any air or debris. Discard the first few batches of ice.
Connecting to Aquasure Drinking Water Systems: The PTP25 kit is compatible with Aquasure Premier Series Drinking Water Systems (e.g., AS-PR75A, ASPR75A-BN, AS-PR100P, AS-PR100E) or any existing water filtration system with a 1/4" poly tubing connection. Simply connect the plastic valve or tubing directly to the purified water output of your Aquasure system, following the steps above.
Operating Instructions
Once installed, the Supco PTP25 kit operates passively, providing a continuous water supply to your refrigerator's icemaker or water dispenser. The plastic valve allows you to manually shut off the water flow to the icemaker line if needed for maintenance or extended periods of non-use.
Maintenance
- Regular Inspection: Periodically inspect the tubing and all connections for any signs of wear, kinks, or leaks.
- Leak Check: If you notice any moisture around the connections, turn off the water supply and re-tighten or re-seat the fittings.
- Tubing Replacement: While the plastic tubing is durable, consider replacing it if it becomes discolored, brittle, or damaged over time.
Troubleshooting
| Problem | Possible Cause | Solution |
|---|---|---|
| No water flow to icemaker/dispenser | Water supply valve is off Tubing is kinked or blocked Refrigerator icemaker valve is off | Ensure all water supply valves are open Inspect tubing for kinks; clear any blockages Check refrigerator's internal water valve |
| Water leak at connections | Fittings not tightened sufficiently Tubing not fully seated in push-in fitting Damaged fitting or tubing | Turn off water, re-tighten connections gently Turn off water, re-seat tubing firmly Replace damaged components |
| Slow water flow | Partial blockage in tubing Low water pressure from source | Inspect tubing for partial kinks or debris Check household water pressure |
Specifications
- Model: PTP25
- Brand: Supco
- Material: Plastic
- Tubing Length: 25 feet (300 inches)
- Tubing Outer Diameter (OD): 1/4 inch
- Nominal Wall Thickness: 0.25 inches (for tubing)
- Included Components: Plastic Union, Plastic Tee, Plastic Valve, 25' Plastic Tubing, Brass Nut, Blue Locking Clips, White Ferrule/Sleeve
- Compatibility: Refrigerator icemakers, Aquasure Premier Series Drinking Water Systems, and other 1/4" poly tubing connections.
Warranty
The Supco PTP25 Refrigerator Icemaker Water Line Installation Kit comes with a 30-day manufacturer's warranty from the date of purchase. This warranty covers defects in materials and workmanship under normal use. Please retain your proof of purchase for warranty claims.
Support
For further assistance, technical support, or warranty inquiries, please contact Supco customer service. Refer to the product packaging or the official Supco website for current contact information.
