
1. Introduction
Welcome to the user manual for your Glisogo 5G WiFi Native 1080P Projector. This guide provides essential information for setting up, operating, maintaining, and troubleshooting your projector to ensure optimal performance and longevity. Please read this manual thoroughly before using the product.
Product Overview
The Glisogo 5G WiFi Native 1080P Projector delivers a high-definition viewing experience with its native 1920x1080 resolution and support for 4K video input. It features dual-band 5G+2.4G WiFi for seamless wireless connectivity and Bluetooth 5.1 for audio output. Enjoy a large display up to 240 inches with integrated stereo speakers for an immersive audio experience.

Figure 1.1: Key features including zoom, stereo speakers, long lamp life, and portable design.

Figure 1.2: Visual comparison highlighting the clarity of Native 1080P resolution.
2. Package Contents
What's in the Box
Please check that all the following items are included in your package:
- Glisogo 5G WiFi Native 1080P Projector
- Remote Control
- Power Cable
- HDMI Cable
- AV Cable
- User Manual
- Customized Projector Carrying Bag
3. Product Diagram
Projector Components and Ports
Familiarize yourself with the various parts and connection ports of your projector.

Figure 3.1: Projector dimensions and available multimedia connection ports.
The projector features ports for HDMI, USB, AV, and a 3.5mm Audio Out jack, allowing connection to a wide range of devices.
4. Setup
Initial Setup
- Power Connection: Connect the power cable to the projector's power input and then to a power outlet.
- Placement: Place the projector on a stable, flat surface or mount it according to your preference. Ensure there is adequate ventilation around the projector.
- Screen Positioning: Position the projector at an appropriate distance from the projection surface (wall or screen) to achieve your desired image size. The projector supports image sizes up to 240 inches.
Image Adjustment
After powering on the projector, adjust the image for clarity and shape.

Figure 4.1: Manual keystone correction and focus adjustment.
- Manual Focus: Rotate the focus ring on the projector lens until the image appears sharp and clear.
- Keystone Correction: If the projected image appears trapezoidal, use the keystone correction dial (usually located near the lens) to adjust the image shape until it is rectangular. This projector supports manual keystone correction up to 15 degrees.
5. Operating Instructions
Power On/Off
- Power On: Press the power button on the projector or the remote control.
- Power Off: Press the power button again. Confirm shutdown if prompted.
Input Source Selection
Use the 'Source' button on the remote control or projector to cycle through available input options (HDMI, USB, AV, etc.) and select your desired source.
Zoom Function
The projector includes a digital zoom function to adjust the image size without moving the projector.
Figure 5.1: Digital zoom function in action.
Navigate to the projector's menu settings, locate the 'Zoom' option, and adjust the percentage to resize the image.
Wireless Connectivity (WiFi)
Connect your projector to a WiFi network for online content and screen mirroring.
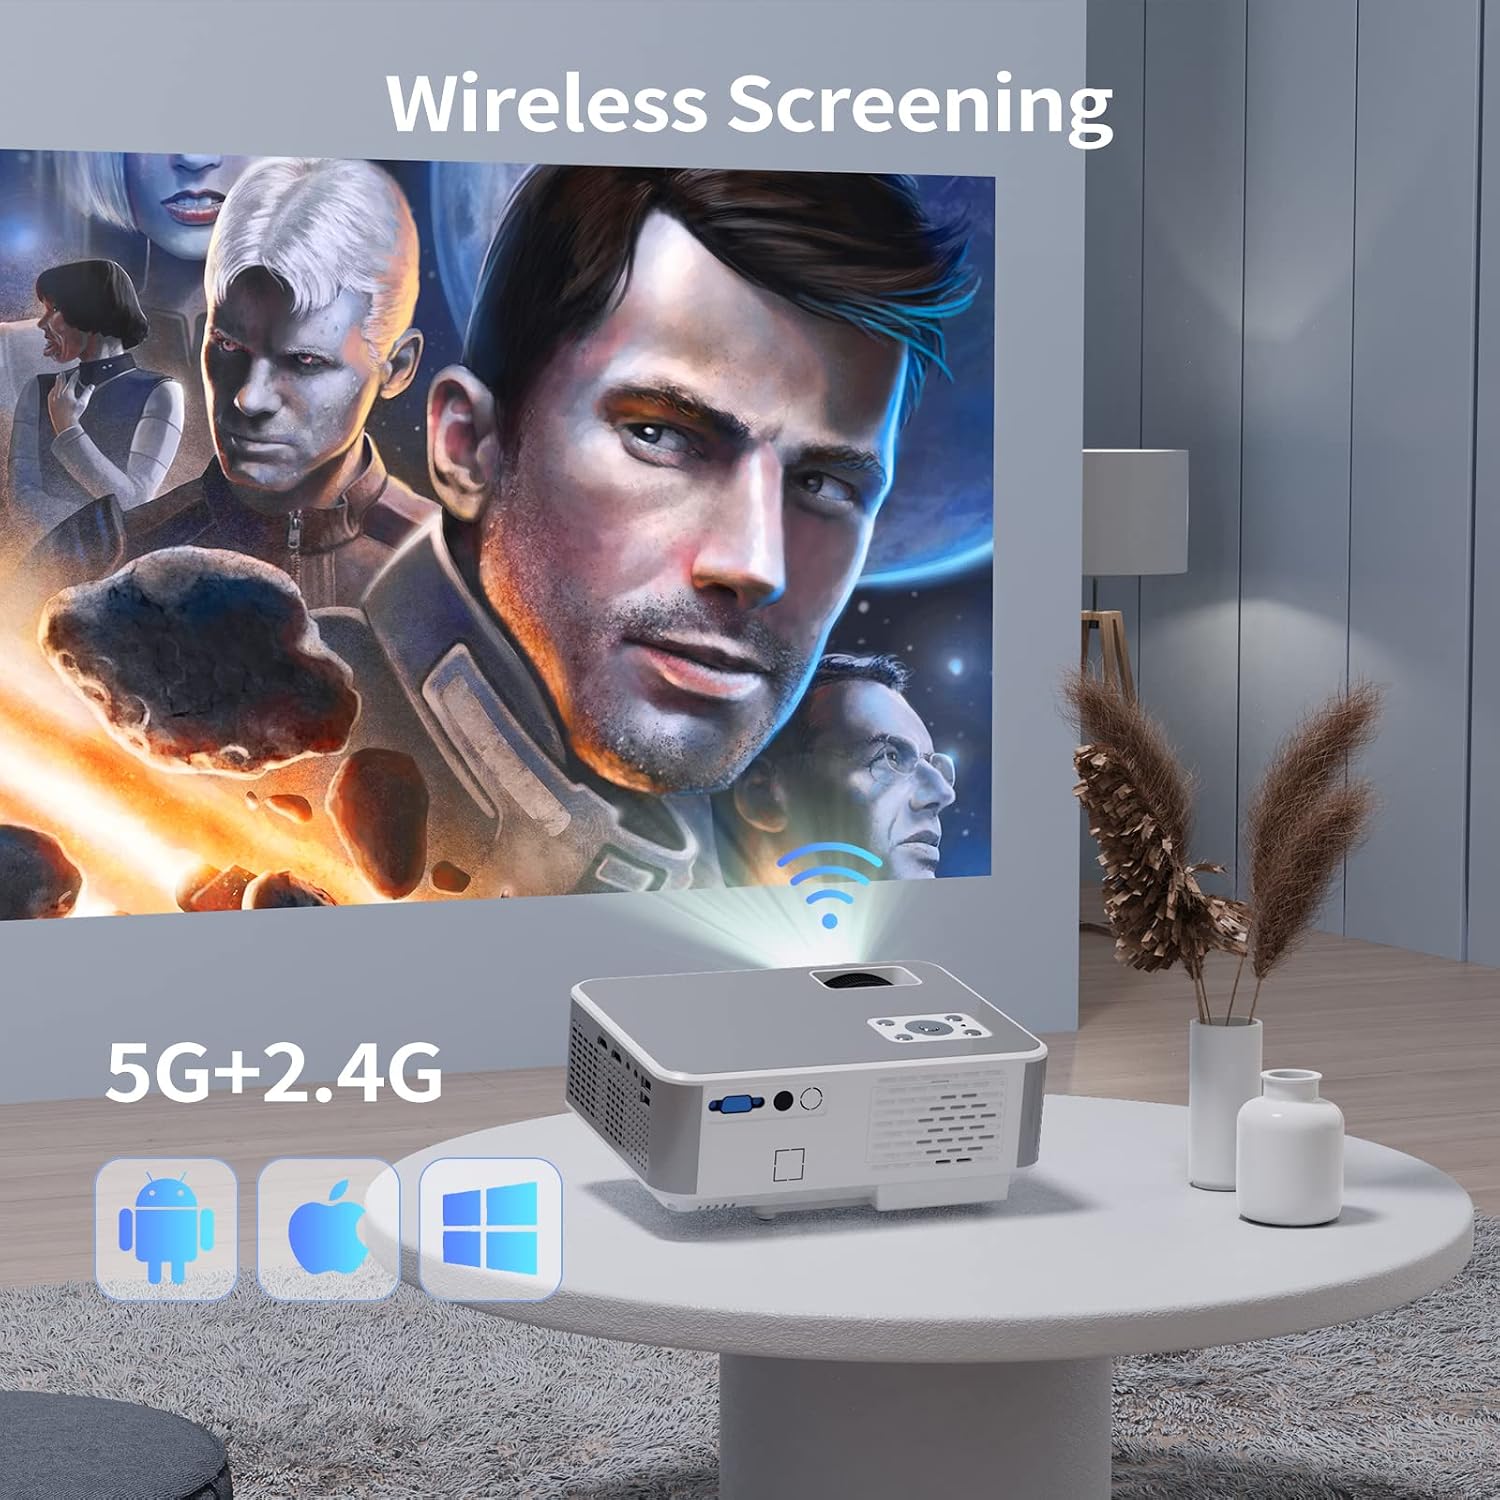
Figure 5.2: Wireless screening capabilities.
- From the main menu, select 'Settings' and then 'WiFi'.
- Turn on WiFi and select your desired network from the list.
- Enter the WiFi password using the on-screen keyboard and confirm.
Screen Mirroring (iOS/Android)
Mirror your smartphone or tablet screen to the projector wirelessly.

Figure 5.3: iOS Screen Mirroring connection steps.
- Ensure both your projector and iOS/Android device are connected to the same WiFi network.
- On the projector, select the 'Screen Mirroring' input source.
- On your iOS device, open Control Center and tap 'Screen Mirroring', then select the projector from the list. For Android, look for 'Wireless Display' or 'Cast' in your device settings.
Bluetooth Connectivity
Connect external Bluetooth speakers or headphones for enhanced audio.

Figure 5.4: Bluetooth connection steps.
- From the main menu, navigate to 'B.T. Setting' (Bluetooth Setting).
- Ensure Bluetooth is enabled on the projector and your external audio device.
- Select 'Search device' to find available Bluetooth devices.
- Choose your device from the list to pair.
6. Multimedia Connections
The projector offers various ports for connecting external devices such as laptops, gaming consoles, USB drives, and more.
HDMI Connection
Connect devices like laptops, Blu-ray players, or gaming consoles using an HDMI cable.
- Connect one end of the HDMI cable to the HDMI port on your device and the other end to the HDMI port on the projector.
- Select 'HDMI' as the input source on the projector.
USB Connection
Play media files directly from a USB flash drive.
- Insert your USB flash drive into the USB port on the projector.
- Select 'USB' as the input source and navigate through your files to play content.
AV Connection
Connect older devices using the AV cable.
- Connect the AV cable to the AV port on the projector and the corresponding ports on your device.
- Select 'AV' as the input source.
Audio Output
Connect external speakers or headphones via the 3.5mm audio jack for a private or louder audio experience.
- Plug your 3.5mm audio cable into the 'Audio Out' port on the projector.
- Connect the other end to your external audio device.
7. Maintenance
Care and Cleaning
- Lens Cleaning: Use a soft, lint-free cloth specifically designed for optical lenses to gently wipe the projector lens. Avoid abrasive materials or harsh chemicals.
- Exterior Cleaning: Wipe the projector's exterior with a soft, dry cloth. Do not use liquid cleaners directly on the projector.
- Ventilation: Ensure the projector's ventilation openings are clear of dust and obstructions to prevent overheating.
Lamp Life
The projector's LED light source has an estimated lifespan of up to 100,000 hours, providing long-term, reliable performance without frequent lamp replacement.
8. Troubleshooting
Refer to the table below for common issues and their solutions.
| Problem | Possible Cause | Solution |
|---|---|---|
| No image or signal | Incorrect input source selected; loose cable connection; device not powered on. | Select the correct input source. Check all cable connections. Ensure the source device is powered on. |
| Blurry image | Focus not adjusted; keystone not corrected; projector too close/far. | Adjust the focus ring. Use keystone correction. Adjust projector distance. |
| No sound | Volume too low; external audio device not connected/paired; mute enabled. | Increase volume. Check Bluetooth pairing or 3.5mm audio connection. Disable mute. |
| Remote control not working | Batteries low/dead; obstruction between remote and projector; remote not pointed correctly. | Replace batteries. Remove obstructions. Point remote directly at the projector's IR receiver. |
| WiFi connection issues | Incorrect password; network out of range; router issues. | Verify password. Move projector closer to router. Restart router. |
| Bluetooth pairing issues | Device not in pairing mode; too many devices connected; interference. | Ensure device is in pairing mode. Disconnect other Bluetooth devices. Reduce interference. |
9. Technical Specifications
Below are the detailed technical specifications for the Glisogo 5G WiFi Native 1080P Projector.
| Feature | Specification |
|---|---|
| Brand | Glisogo |
| Manufacturer | Glisogo |
| ASIN | B0BN7M2K3Z |
| GTIN / UPC | 797246690408, 768459328792 |
| Recommended Product Uses | Home Cinema |
| Special Feature | Dual HiFi Surround Speaker, Wi-Fi Compatible |
| Connectivity Technology | HDMI, USB, AV, Bluetooth, Wi-Fi |
| Display Resolution | Native 1920 x 1080 Pixels |
| Maximum Display Resolution | 1920 Pixels (4K Supported) |
| Display Type | LCD |
| Form Factor | Portable |
| Mounting Type | Table Mount |
| Wattage | 70 Watts |
| Compatible Devices | Smartphone, Tablet, Laptop, Television, Game Console, Media Player |
| Contrast Ratio | 10000:1 |
| Maximum Image Size | 240 Inches |
| Light Source Power | 50 Watts |
| Video Encoding | HEVC Main 10 or VP9 |
| Item Weight | 1.5 Kilograms |
| Spare Parts Availability | Information not available |
| Software Updates Guaranteed Until | Information not available |
10. Warranty and Support
Warranty Information
Specific warranty details for this product are typically provided at the point of purchase or within separate documentation included with your projector. Please retain your proof of purchase for warranty claims.
Customer Support
For technical assistance, troubleshooting beyond this manual, or warranty inquiries, please contact the seller or Glisogo customer support through the platform where you purchased the product. Provide your product model and purchase details for faster service.