
1. Introduction
This manual provides detailed instructions for the installation, operation, and maintenance of the Dahua VTH2621GW-P 7-inch IP Doorphone LCD Monitor. Please read this manual thoroughly before using the product to ensure correct and safe operation. Keep this manual for future reference.
2. Product Overview
The Dahua VTH2621GW-P is a 7-inch LCD monitor designed for IP doorphone systems. It features a clear display, intuitive interface, and Power over Ethernet (PoE) support for simplified installation. This monitor serves as an indoor station for communication with outdoor door stations, monitoring, and door release functions.
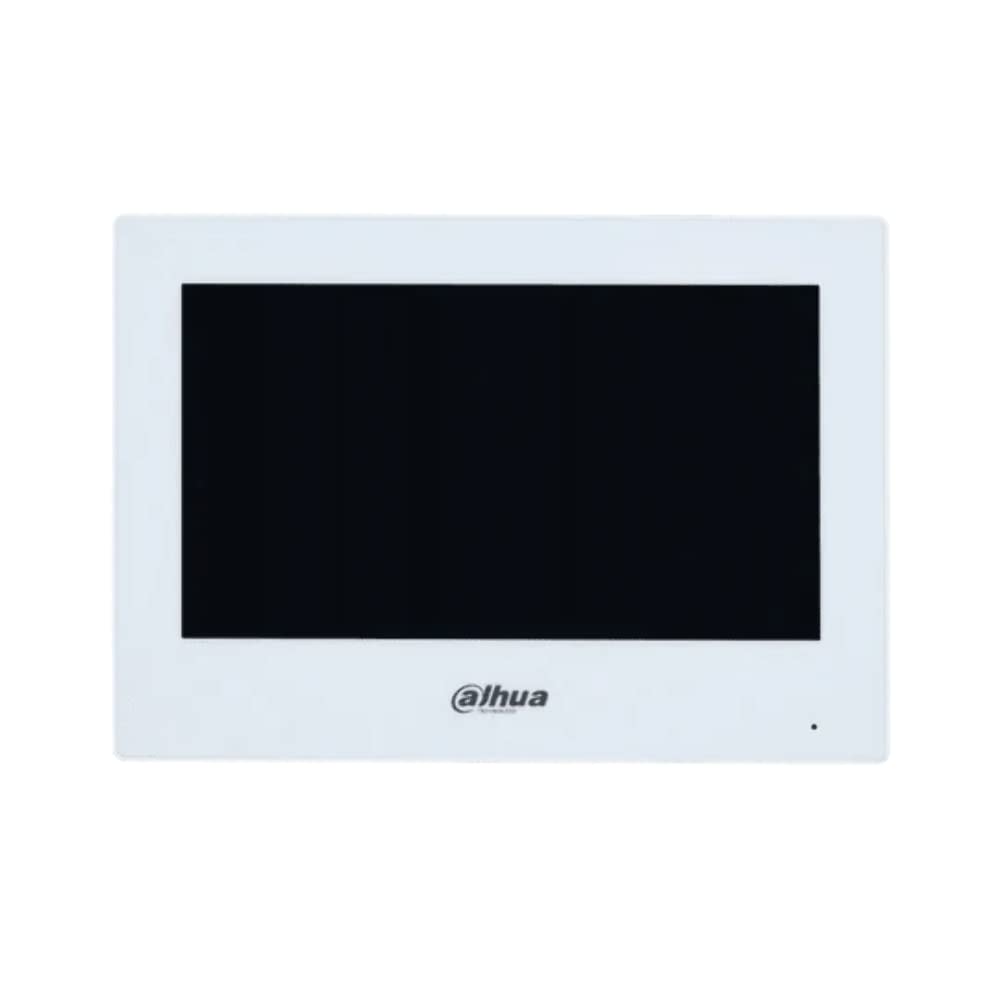
Figure 2.1: Dahua VTH2621GW-P 7-inch IP Doorphone LCD Monitor (White)
2.1 Key Features
- 7-inch LCD display for clear visuals.
- IP-based communication for seamless integration.
- Power over Ethernet (PoE) for simplified wiring.
- Supports two-way audio communication.
- Remote door unlocking capability.
- Monitoring of connected outdoor stations.
3. Package Contents
Please check the package contents upon unpacking. If any items are missing or damaged, contact your supplier immediately.
- Dahua VTH2621GW-P 7-inch IP Doorphone LCD Monitor
- Mounting Bracket
- Mounting Screws and Wall Plugs
- Quick Start Guide
- Wiring Connectors (if applicable)
4. Safety Information
To prevent injury to the user or others and property damage, the following safety instructions must be observed.
- Installation: Installation must be performed by qualified personnel in accordance with all local codes and regulations.
- Power Supply: Use only the specified power adapter or PoE source. Ensure the power voltage is stable and meets the device requirements.
- Environment: Do not expose the device to water, moisture, high temperatures, or direct sunlight. Avoid installing near heat sources.
- Cleaning: Disconnect power before cleaning. Use a soft, dry cloth. Do not use strong detergents or abrasive materials.
- Disassembly: Do not attempt to disassemble or modify the device. This will void the warranty and may cause damage or injury.
5. Setup
5.1 Physical Installation
The monitor is designed for wall mounting. Ensure the chosen location is at an appropriate height for viewing and operation, and that it has access to network cabling (with PoE) or a power outlet.
- Secure the mounting bracket to the wall using the provided screws and wall plugs.
- Connect the network cable (RJ45) to the monitor's Ethernet port. If using PoE, this will also provide power. If not using PoE, connect a 12V DC power adapter (sold separately) to the power input.
- Carefully align the monitor with the mounting bracket and slide it into place until it clicks securely.

Figure 5.1: Monitor Front View
5.2 Initial Power-On and Configuration
Once physically installed and powered, the monitor will boot up. Follow the on-screen prompts for initial setup.
- Language Selection: Choose your preferred language.
- Network Settings: The device will attempt to obtain an IP address via DHCP. If a static IP is required, configure it manually.
- Device Registration: Register the monitor with your IP doorphone system's main server or outdoor station according to your system's specific instructions. This typically involves entering IP addresses and authentication details.
- Time and Date: Set the correct time zone, date, and time.
6. Operating Instructions
6.1 Basic Interface Navigation
The monitor features a touch-sensitive screen. Tap icons to access functions and swipe to navigate menus.
6.2 Receiving Calls
When an outdoor station initiates a call, the monitor will ring and display the caller's video (if available). Tap the 'Answer' icon to establish two-way audio communication.
6.3 Monitoring
To view the live feed from a connected outdoor station or IP camera, tap the 'Monitor' icon on the main screen. Select the desired camera from the list.
6.4 Intercom Function
If multiple indoor monitors are installed, you can use the intercom function to communicate between them. Tap the 'Intercom' icon, select the desired indoor unit, and initiate a call.
6.5 Door Release
During an active call or while monitoring an outdoor station, a 'Door Release' icon will be available. Tap this icon to unlock the connected door. Confirm the action if prompted.
7. Maintenance
7.1 Cleaning
Regularly clean the monitor screen and casing with a soft, dry, lint-free cloth. For stubborn marks, slightly dampen the cloth with water. Avoid using alcohol, benzene, thinners, or other volatile solvents.
7.2 Software Updates
Periodically check the manufacturer's website for firmware updates. Updates can improve performance, add new features, or fix bugs. Follow the instructions provided with the update package carefully.
8. Troubleshooting
| Problem | Possible Cause | Solution |
|---|---|---|
| Monitor does not power on. | No power supply; faulty cable. | Check power connection (PoE or adapter). Ensure cables are securely connected. |
| No video from outdoor station. | Network issue; outdoor station offline; incorrect configuration. | Verify network connectivity. Check outdoor station status. Review device registration settings. |
| Cannot hear audio or audio is distorted. | Volume too low; microphone/speaker issue; network latency. | Adjust volume settings. Check for physical obstructions. Ensure stable network connection. |
| Door release not working. | Wiring issue; incorrect door lock configuration. | Verify wiring to the door lock. Check door release settings in the system configuration. |
9. Specifications
| Feature | Detail |
|---|---|
| Model Number | DHI-VTH2621GW-P |
| Screen Size | 7 Inches |
| Display Color | Yes |
| Aspect Ratio | 1.71:1 |
| Response Time | 14 milliseconds |
| Manufacturer | DAHUA |
10. Warranty and Support
For warranty information, please refer to the warranty card included with your product or visit the official Dahua website. For technical support, contact your local Dahua distributor or authorized service center. Please have your product model number (DHI-VTH2621GW-P) and purchase details ready when seeking support.


