
1. Introduction
Welcome to the Vivitar Kids Tech Ultimate Kids Action Camera user manual. This guide provides essential information for setting up, operating, maintaining, and troubleshooting your new action camera. Designed for young adventurers, this camera allows for capturing high-definition photos and videos, even in challenging environments, thanks to its waterproof case and durable design.
Please read this manual thoroughly before using your camera to ensure proper operation and to maximize your experience.
2. Product Overview
2.1 Key Features
- 5 Megapixel HD Photo and Video: Capture crisp, clear images and high-definition videos.
- 2-inch Color Screen: Easily frame shots and review captured content.
- Waterproof Case: Protects the camera from water, dust, and impacts, allowing use in various environments.
- Long Battery Life: Built-in battery supports over 100 minutes of continuous recording on a full charge.
- Included Mounts: Comes with bike and helmet mounts for versatile attachment options.
2.2 Camera Components
Familiarize yourself with the camera and its accessories:

Figure 1: Front view of the Vivitar Kids Tech Action Camera within its waterproof housing.

Figure 2: Front and back views of the camera inside the waterproof case, highlighting the screen and buttons.

Figure 3: Detailed view of the camera's rear, indicating the Photo, Video, Power On/Off, Select, OK, Previous, and Next buttons around the display.

Figure 4: All items included in the product package: camera, waterproof case, 5 mounts, 4 bandages, and a USB charging cable.
3. Setup
3.1 Charging the Battery
The camera includes a built-in Lithium Ion battery. Before first use, fully charge the camera using the provided USB cable. Connect the small end of the USB cable to the camera's USB port and the larger end to a standard USB power adapter (not included) or a computer's USB port. The charging indicator will show the charging status.
3.2 Inserting a MicroSD Card
Important: A MicroSD card (not included) is required to save photos and videos. The camera supports SDHC and SDXC flash memory types.
- Open the camera's MicroSD card slot cover.
- Insert a MicroSD card (Class 10 or higher recommended) with the metal contacts facing down, until it clicks into place.
- Close the MicroSD card slot cover securely.
3.3 Using the Waterproof Case
The waterproof case protects your camera from water, dust, and impacts. Ensure the camera is properly seated and the case is sealed before use in wet or dusty conditions.
- Open the latch on the waterproof case.
- Carefully place the camera inside the case, ensuring it fits snugly.
- Close the latch firmly until it clicks, creating a watertight seal.
- Before submerging the camera, perform a test by closing the empty case and submerging it in water to check for leaks.
3.4 Attaching Mounts
The camera comes with various mounts, including bike and helmet mounts, to secure it during activities.

Figure 5: The action camera securely mounted on a bicycle handlebar.
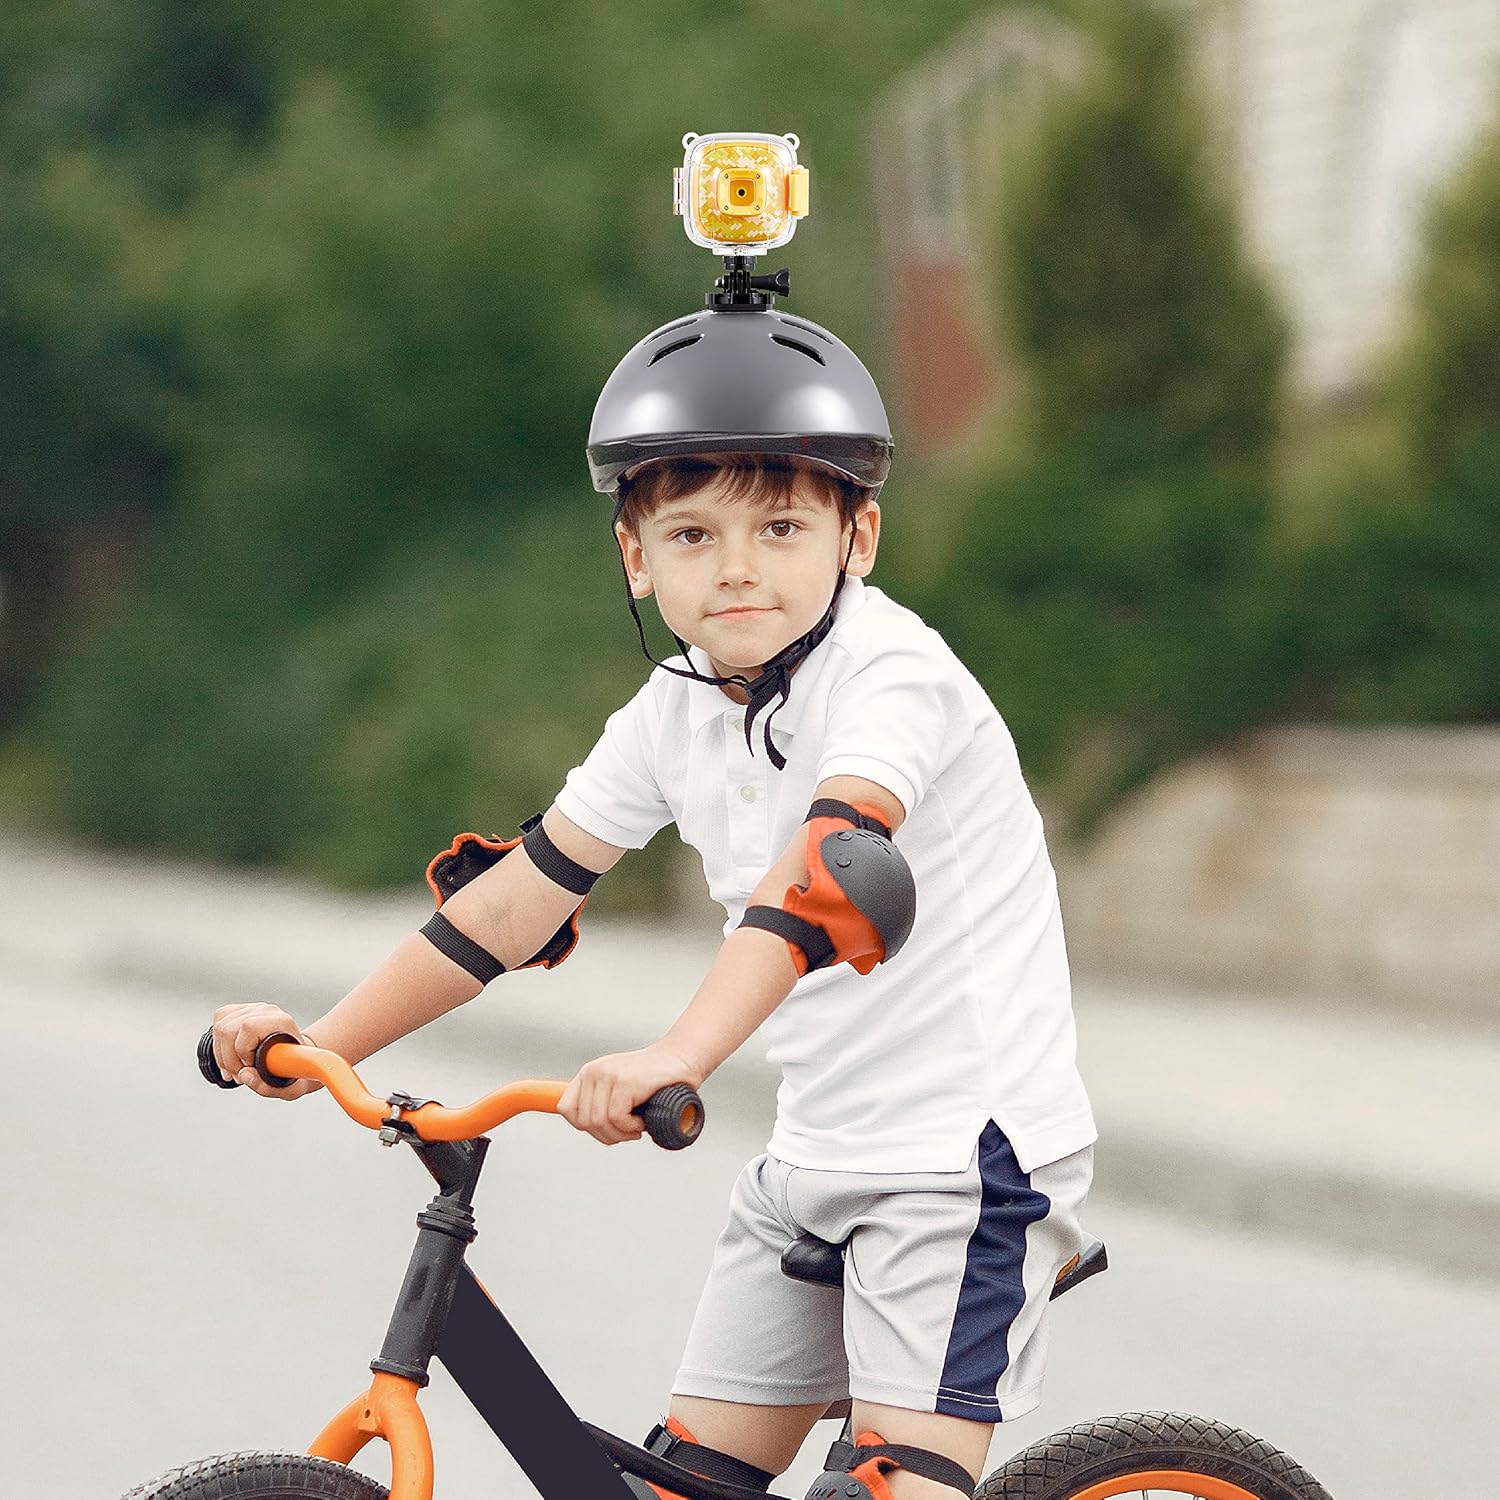
Figure 6: The action camera attached to a child's helmet, ready for recording.
- Select the appropriate mount for your activity (e.g., bike mount for cycling, helmet mount for head-mounted recording).
- Attach the camera to the chosen mount using the provided screws and adapters. Ensure all connections are tight and secure.
- Secure the mount to your desired location (e.g., bike handlebars, helmet) using the straps or clamps.
4. Operating Instructions
4.1 Power On/Off
- To Power On: Press and hold the Power On/Off button (refer to Figure 3) for a few seconds until the screen illuminates.
- To Power Off: Press and hold the Power On/Off button again until the screen turns off.
4.2 Switching Modes
The camera typically has Photo and Video modes. Use the dedicated Photo and Video buttons (refer to Figure 3) to switch between these modes.
- Press the Photo button to enter Photo mode.
- Press the Video button to enter Video recording mode.
4.3 Taking Photos
- Ensure the camera is in Photo mode.
- Frame your shot using the 2-inch screen.
- Press the OK button (refer to Figure 3) to capture a photo.
4.4 Recording Videos
- Ensure the camera is in Video mode.
- Press the OK button to start recording. A recording indicator (e.g., a red dot or timer) will appear on the screen.
- Press the OK button again to stop recording. The video file will be saved to the MicroSD card.
4.5 Playback
To review your captured photos and videos:
- Enter Playback mode (if available as a separate mode, otherwise navigate through the menu).
- Use the Previous and Next buttons (refer to Figure 3) to browse through your files.
- Press the OK button to view a photo or play a video.
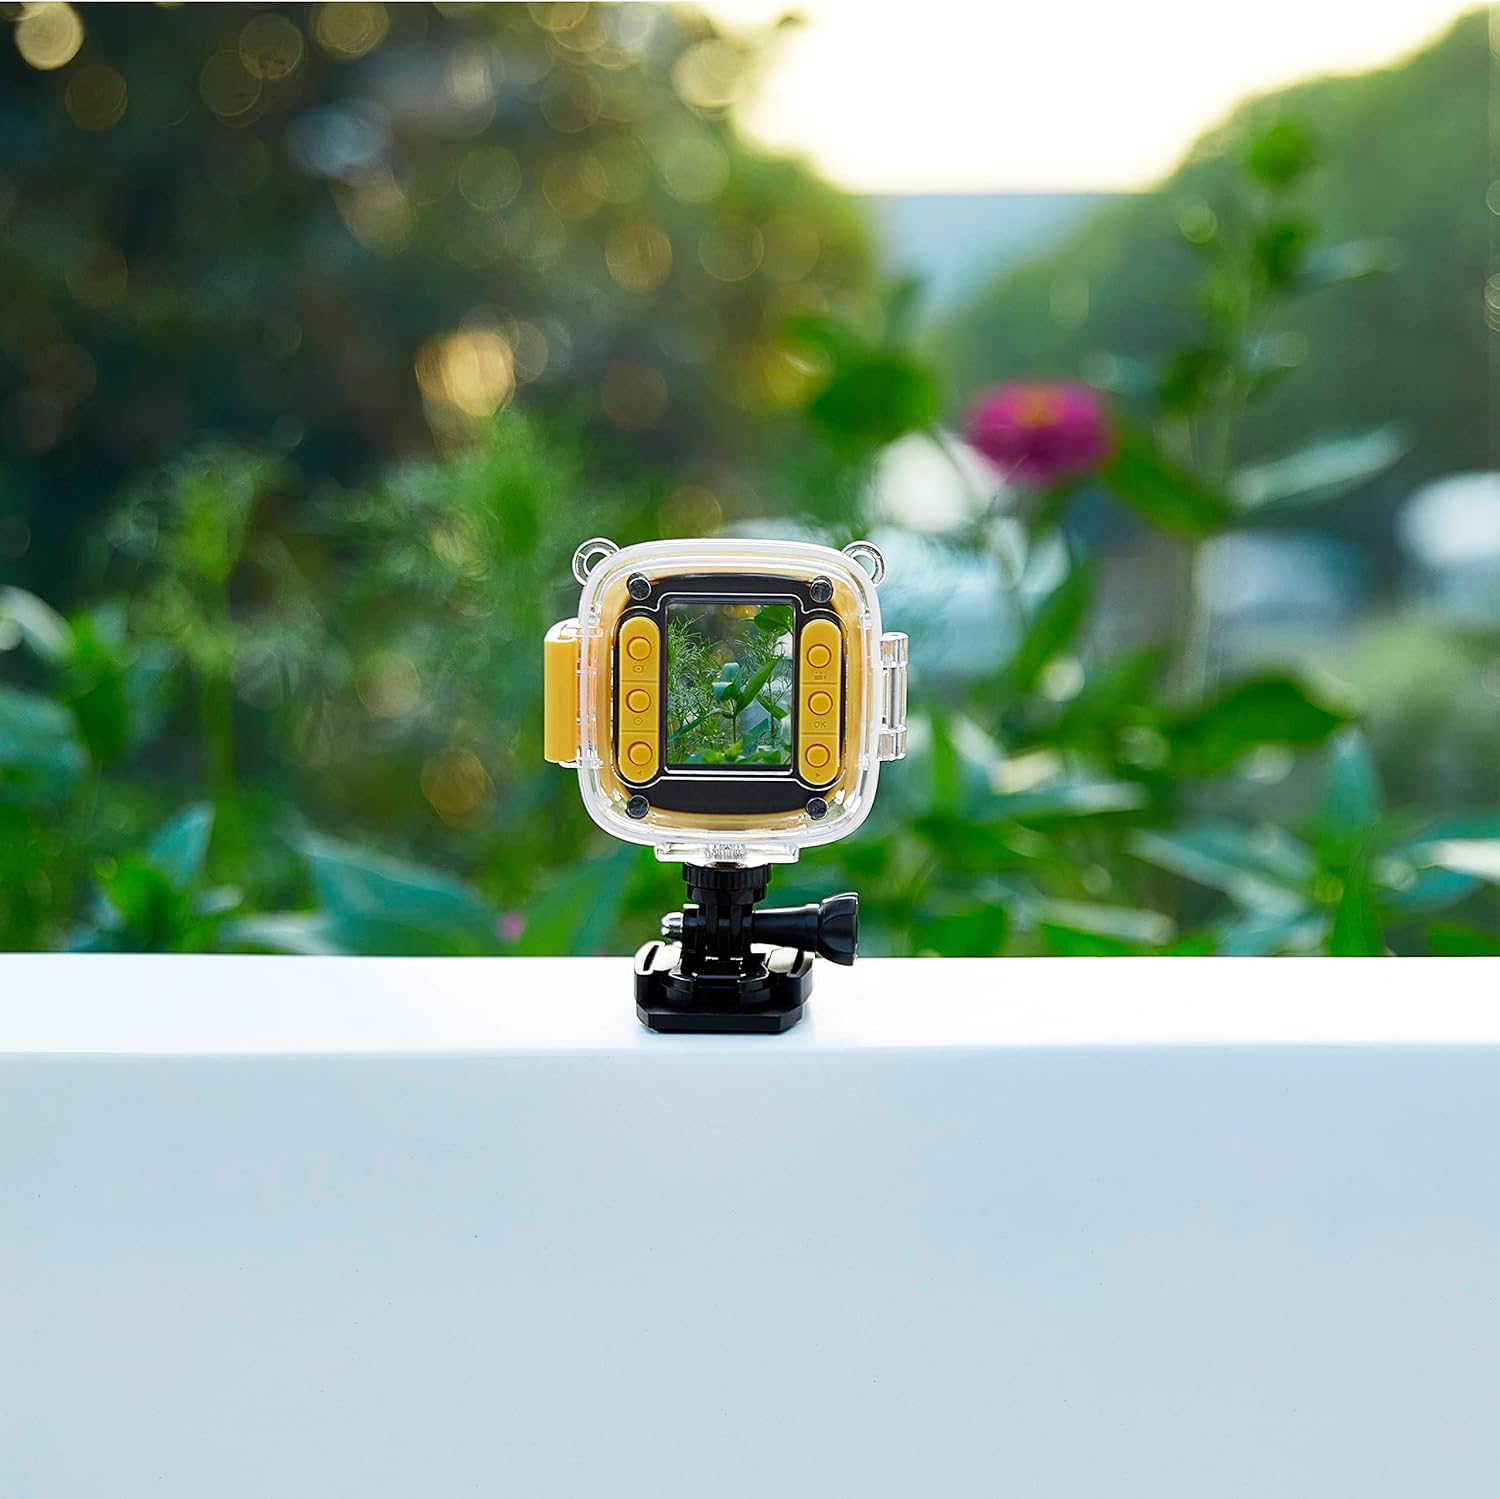
Figure 7: The camera in use, displaying an image on its screen.
5. Maintenance
5.1 Cleaning
- Camera Body: Use a soft, dry cloth to wipe the camera body. For stubborn dirt, slightly dampen the cloth with water.
- Lens: Use a lens cleaning cloth or a soft, lint-free cloth specifically designed for optics. Avoid touching the lens with your fingers.
- Waterproof Case: Rinse the case with fresh water after use in saltwater or chlorinated water. Ensure the seals are clean and free of debris.
5.2 Storage
- Store the camera in a cool, dry place away from direct sunlight and extreme temperatures.
- If storing for an extended period, ensure the battery is partially charged (around 50%) to prolong its lifespan.
- Remove the MicroSD card if not in regular use.
6. Troubleshooting
If you encounter issues with your Vivitar Kids Tech Action Camera, refer to the following common problems and solutions:
| Problem | Possible Cause | Solution |
|---|---|---|
| Camera does not turn on. | Low or depleted battery. | Charge the camera fully using the USB cable. |
| Cannot record photos/videos. | No MicroSD card inserted or card is full/corrupted. | Insert a MicroSD card. If one is inserted, check if it's full and delete files, or try formatting the card (this will erase all data). Replace with a new card if corrupted. |
| Poor image/video quality. | Dirty lens; insufficient lighting. | Clean the camera lens. Ensure adequate lighting for your shots. |
| Water inside the waterproof case. | Case not properly sealed; damaged seal. | Ensure the case latch is firmly closed. Check the rubber seal for any debris or damage. Do not use the case if the seal is compromised. |
7. Specifications
- Model Number: 99379-YEL-STK-6
- Photo Sensor Technology: CMOS
- Video Capture Resolution: HD
- Flash Memory Type: SDHC, SDXC (MicroSD card required, not included)
- Video Capture Format: MP4
- Supported Audio Format: MP3, AAC
- Screen Size: 2 Inches
- Connectivity Technology: USB
- Special Feature: Waterproof (with included case)
- Battery: 1 Lithium Ion battery (included)
- Item Weight: 12.6 ounces
- Package Dimensions: 12.44 x 7.17 x 2.44 inches
8. Warranty and Support
For warranty information or technical support, please refer to the documentation included with your purchase or visit the official Vivitar website. Keep your proof of purchase for any warranty claims.