BINBOKPLAY X02-T

BINBOKPLAY Wireless Switch Pro Controller User Manual

Model: X02-T

Introduction

Thank you for choosing the BINBOKPLAY Wireless Switch Pro Controller. This controller is designed to enhance your gaming experience on Nintendo Switch, Switch Lite, and Switch OLED consoles. It features advanced functionalities such as adjustable dead zone, ALPS joysticks, customizable RGB lighting, 6-axis motion sensing, programmable back buttons, dual vibration motors, and an adjustable turbo function. Please read this manual carefully to ensure proper use and optimal performance of your new controller.

BINBOKPLAY Wireless Switch Pro Controller with transparent casing and colorful RGB lighting

Image: The BINBOKPLAY Wireless Switch Pro Controller, showcasing its transparent design and vibrant RGB lighting.

Key Features

No-Dead Zone Mode

This controller offers an adjustable dead zone feature, allowing for more precise and responsive gameplay. This is particularly beneficial for games requiring high accuracy, such as first-person shooters.

Controller with an overlay illustrating adjustable dead zone settings

Image: Visual representation of the adjustable dead zone mode, showing how it impacts joystick sensitivity for different game types.

ALPS Joystick

Equipped with ALPS joysticks, this controller significantly reduces issues like cross-adhesion. The joysticks provide excellent rebound and high-precision pointing, ensuring sensitive and accurate in-game movements.

Close-up of the ALPS joystick mechanism inside the controller

Image: An exploded view highlighting the high-precision ALPS joystick component within the controller.

Transparent Crystal Design & RGB Lighting

The controller features a transparent crystal design complemented by a 7-color RGB lighting ring around its outer edge and joysticks. Four lighting modes are available: solid color, single-color gradient, two-color gradient, and rainbow gradient, offering a visually appealing experience.

Controller with vibrant RGB lighting effects

Image: The controller illuminated with its adjustable RGB gradient lighting, showcasing the transparent casing.

6-Axis Motion Sensor

A built-in 6-axis gyroscope motion sensor allows for precise tracking of player movements and gestures. This enhances the immersive experience in Nintendo Switch motion-controlled games, enabling quick reactions to in-game situations.

Controller with motion lines indicating 6-axis sensing in a racing game context

Image: The controller demonstrating its 6-axis motion sensing capability, depicted with motion trails in a dynamic gaming scene.

Programmable Back Buttons

The M1 and M2 programmable buttons on the back of the controller can be mapped to basic function buttons (A/B/X/Y/L/R/ZL/ZR/L3/R3/D-pad). This allows for flexible button combinations to suit various gaming needs.

Rear view of the controller highlighting programmable back buttons and mappable functions

Image: The back of the controller, showing the M1 and M2 programmable buttons and a diagram of the buttons that can be mapped to them.

Dual Vibration Motors

The controller grips incorporate vibration motors with three adjustable intensity levels (0%, 50%, 100%). This feature provides immersive haptic feedback, enhancing the gaming experience by allowing you to feel in-game impacts.

Controller illustrating different vibration intensity levels

Image: A visual representation of the controller's adjustable dual vibration feature, showing the three intensity settings.

Adjustable Turbo Function

The turbo function supports setting A/B/X/Y/L/R/ZL/ZR buttons. You can also adjust the turbo speed to three levels: 5, 12, or 20 times per second, enabling faster actions and effortless gameplay.

Setup

Pairing Instructions

  1. Ensure your Nintendo Switch console is powered on and updated to the latest system version.
  2. From the HOME Menu, select Controllers, then Change Grip/Order.
  3. On the BINBOKPLAY controller, press and hold the Home button (located in the center) for 3-5 seconds until the LED indicators start flashing rapidly.
  4. The controller will automatically pair with the console. Once paired, the corresponding player LED(s) on the controller will light up solid.
  5. If pairing fails, ensure the controller is charged and try again. You may also need to clear existing controller pairings on your Switch if you have too many connected.

Charging the Controller

  • Connect the included USB-C charging cable to the charging port on the top of the controller.
  • Connect the other end of the cable to a USB power source (e.g., Nintendo Switch dock, computer USB port, or a USB wall adapter).
  • The LED indicators on the controller will show charging status. They will typically stop flashing or turn off when fully charged.
  • A full charge usually takes approximately 2-3 hours.

Operating Instructions

Basic Controls

  • A/B/X/Y Buttons: Standard action buttons.
  • L/R Buttons: Shoulder buttons.
  • ZL/ZR Buttons: Trigger buttons.
  • Left/Right Joysticks: For movement and camera control.
  • D-pad: Directional input.
  • Home Button: Returns to the HOME Menu, powers on/off the controller (long press).
  • Screenshot Button: Captures screenshots.
  • Plus (+) / Minus (-) Buttons: Start/Select buttons.

Adjusting RGB Lighting

  • The controller features a dedicated button for RGB lighting control. Refer to the specific button on your controller (often a lightbulb icon or similar).
  • Press the RGB button repeatedly to cycle through the 4 lighting modes: solid color, single-color gradient, two-color gradient, and rainbow gradient.
  • To turn off the RGB lighting, continue pressing the RGB button until the lights are off.

Adjusting Vibration Intensity

  • The vibration intensity can be adjusted to three levels: 0% (off), 50% (medium), and 100% (strong).
  • Consult your controller's specific button combination for vibration adjustment (e.g., holding a function button and pressing a directional button).

Programming Back Buttons (M1/M2)

  1. Press and hold the Program button (often a gear icon or 'P') until the indicator light flashes.
  2. Press the M1 or M2 button you wish to program.
  3. Press the button(s) you want to map (e.g., A, B, X, Y, L, R, ZL, ZR, L3, R3, or D-pad directions). You can map a single button or a sequence.
  4. Press the Program button again to save the setting. The indicator light will stop flashing.
  5. To clear a programmed button, repeat the process but do not press any button after selecting M1/M2, then press the Program button again.

Using Turbo Function

  1. To activate Turbo for a button (A/B/X/Y/L/R/ZL/ZR), press and hold the Turbo button (often marked 'T') and then press the desired action button simultaneously. The button will now rapidly repeat its input when held down.
  2. To adjust Turbo speed, press and hold the Turbo button and move the Right Joystick Up/Down. There are three speeds: 5, 12, and 20 times per second.
  3. To deactivate Turbo for a button, press and hold the Turbo button and press the action button again.

Adjusting Dead Zone Mode

  • The controller allows adjustment of the joystick dead zone. A smaller dead zone provides higher precision, ideal for FPS games, while a larger dead zone is more forgiving for casual games.
  • Refer to the controller's specific instructions for dead zone adjustment, which typically involves a combination of button presses (e.g., holding a specific button and moving a joystick).

Maintenance

  • Keep the controller clean by wiping it with a soft, dry cloth. Avoid using harsh chemicals or abrasive materials.
  • Store the controller in a cool, dry place away from direct sunlight and extreme temperatures.
  • Avoid dropping the controller or subjecting it to strong impacts, as this can damage internal components.
  • Do not attempt to disassemble the controller, as this will void the warranty.

Troubleshooting

IssuePossible Solution
Controller won't pair with Switch.Ensure the controller is charged. Try pressing the Home button for 3-5 seconds. On the Switch, go to 'Controllers' > 'Change Grip/Order' and try pairing again. Ensure no other controllers are interfering.
Buttons or joysticks are unresponsive.Check battery level. Re-pair the controller. If the issue persists, try resetting the controller (refer to specific reset instructions if available, usually a small pinhole button).
Vibration is not working.Check vibration intensity settings on the controller. Ensure vibration is enabled in the game or Switch system settings.
RGB lights are not working or stuck.Press the RGB button to cycle through modes. Ensure the controller is powered on.
Controller disconnects frequently.Ensure the controller is within range of the Switch. Check for wireless interference from other devices. Ensure the controller is fully charged.

Specifications

FeatureDetail
Product Dimensions0.79 x 0.79 x 0.79 inches
Item Weight7.1 ounces
Model NumberX02-T
Batteries1 Lithium Ion battery (included)
Compatible DevicesNintendo Switch, Switch Lite, Switch OLED
Controller TypeGamepad, Joystick
Connectivity TechnologyWireless
ManufacturerBINBOKPLAY
First AvailableNovember 7, 2022

Warranty and Support

For warranty information and technical support, please refer to the product packaging or contact BINBOKPLAY customer service directly through their official website or the retailer where the product was purchased. Keep your proof of purchase for warranty claims.

Related Documents - X02-T

Preview AIAIAI X02 W+ Link Transmitter Quick Start Guide
Quick start guide for the AIAIAI X02 W+ Link Transmitter, covering audio connection, power on/off, and pairing instructions. Includes regulatory compliance information.
Preview T-3 Bluetooth Gamepad User Manual and Connection Guide
Comprehensive instructions for connecting and using the T-3 Bluetooth Gamepad with Android, iOS, PC, PS3, and Switch devices. Includes details on pairing modes, the ShootingPlus V3 app, turbo function, wired connections, and troubleshooting.
Preview 
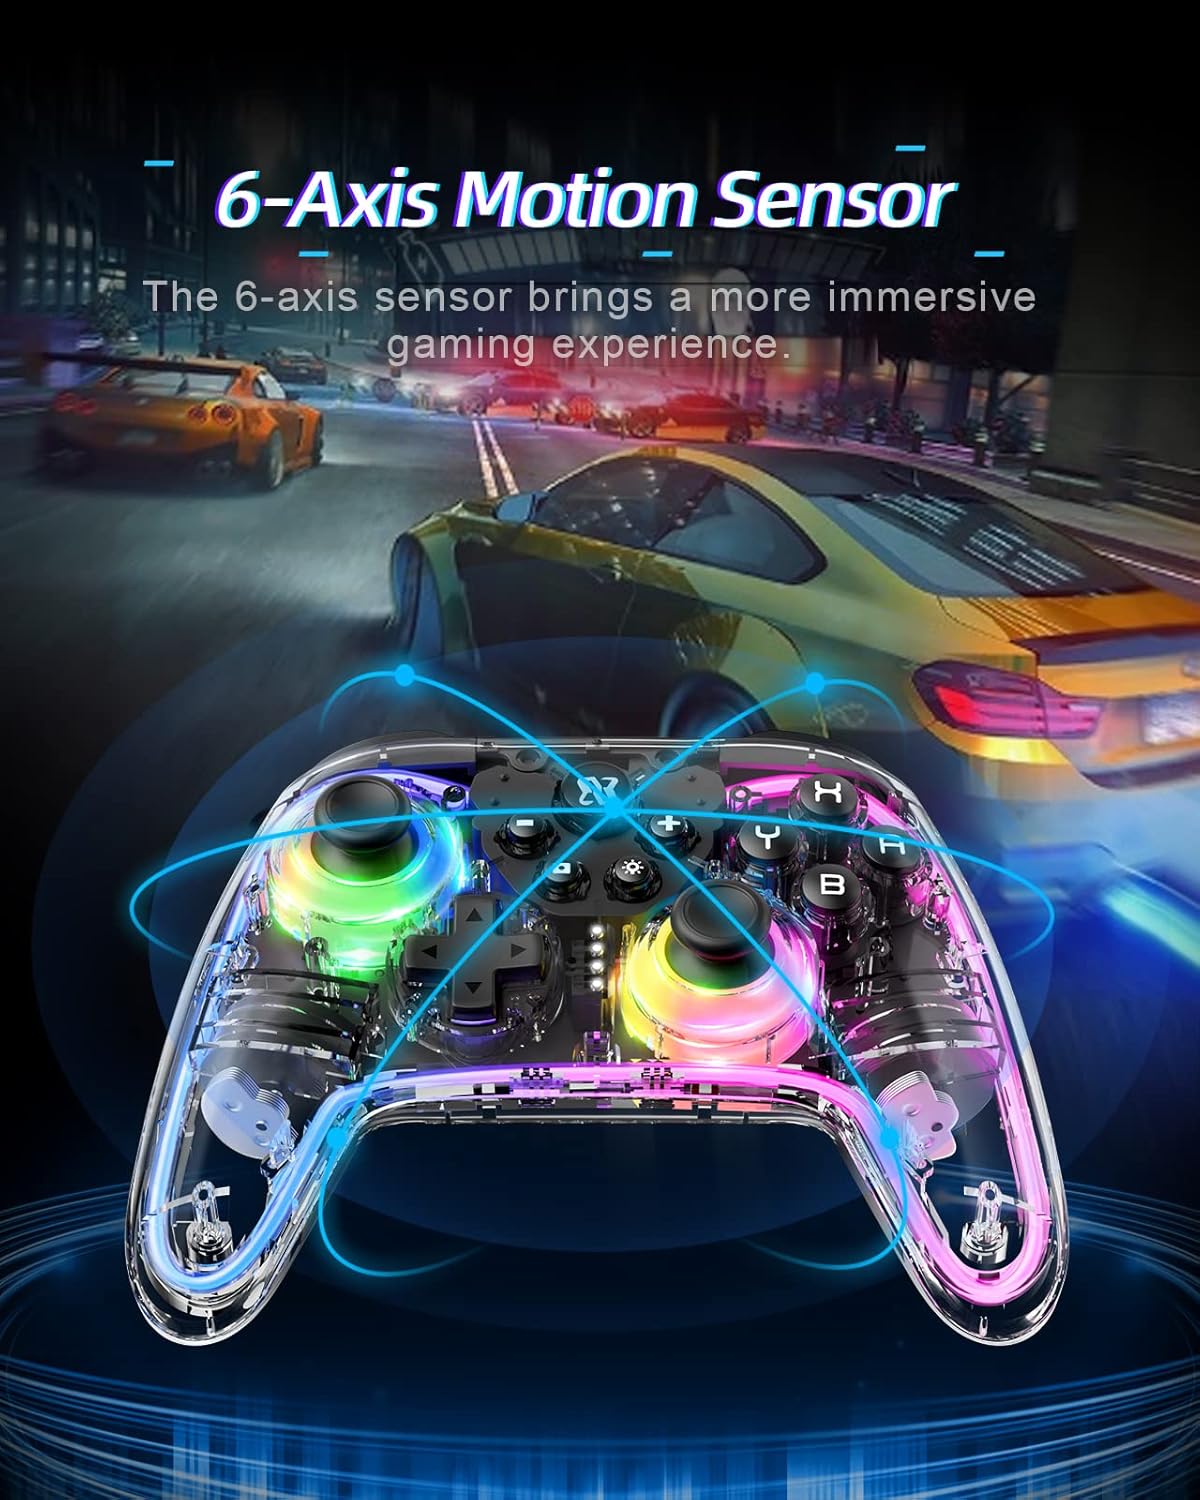
T-1 Wireless Controller Manual and Features
Comprehensive guide to the T-1 wireless controller, detailing its features, connectivity options for P4, P5, P3, PC, NB, Android, and iOS, and operational instructions. Includes FCC compliance information.
Preview Thrustmaster T-LCM Pedals Calibration Tool V2.15: User Guide & Setup
Optimize your racing experience with the Thrustmaster T-LCM Pedals Calibration Tool (V2.15). This guide explains how to adjust pedal dead zones and brake force for peak performance on PC. Download and use the software to customize your T-LCM Pedals for ultimate sim racing control.
Preview PNS Wall Mounted Touch Panel User Manual and Specifications
Detailed user manual and technical specifications for the PNS Wall Mounted Touch Panel, covering features, installation, functions, and safety information.
Preview LG TV Dimensional Specifications and Measurements
Detailed physical dimensions, including width, height, depth, and VESA mount information, for a wide range of LG OLED, QNED, and NANO series televisions. Includes specifications for models like OLED Z3, M3, G3, C3, B3, A3, QNED86, QNED85, QNED82, QNED81, QNED80, QNED76, QNED75, NANO77, NANO73, UR9XXX, UR81, UR82, UR83, UR87, UR78, UR77, UR75, UR73, and LR65, across various screen sizes.