Welcome
Thank you for choosing the Abovsare Digital Alarm Clock. This modern and stylish clock is designed to provide clear time, date, and temperature displays with convenient features like automatic brightness adjustment and multiple alarm options. Please read this manual carefully to ensure proper setup and operation.
Package Contents
- Abovsare Digital Alarm Clock Unit
- USB Power Cable
- User Manual
Product Overview

Front view of the Abovsare Digital Alarm Clock showing large blue LED time display, temperature, and date.
Controls and Buttons
| Button/Feature | Function |
|---|---|
| TIME SET | Enter time/date setting mode. |
| UP / DOWN | Adjust values during setting; adjust alarm volume. |
| ALARM SET | Enter alarm setting mode. |
| ON/OFF | Turn alarm on/off. |
| LIGHT (Top Touch) | Adjust display brightness (5 levels). |
| °C/°F | Switch temperature display between Celsius and Fahrenheit. |
| TUNES | Select alarm ringtones. |
| 12/24 | Switch between 12-hour and 24-hour time format. |
Setup
Power Connection
The Abovsare Digital Alarm Clock requires continuous power via the provided USB cable. It is not battery operated for primary function. Connect the USB cable to the clock and a 5V/1A or 5V/2A USB adapter (not included). Excessive voltage may cause screen damage.

Image showing the USB power connection for the clock.
Memory Function
The clock features a built-in memory function with a CR2025 3V button battery (pre-installed) to retain time data during power disconnection, eliminating the need for resetting after a power outage.

Illustration demonstrating the memory function of the clock, showing time retention after power loss.
Operating Instructions
Setting Time and Date
- Press and hold the TIME SET button on the back of the clock until the hour digits begin to flash.
- Use the UP and DOWN buttons to adjust the hour. Press TIME SET to confirm.
- Repeat the process for minutes, year, month, and day.
- Press TIME SET one last time to exit the setting mode.
Adjusting Brightness
The clock offers 5 levels of brightness. Briefly touch the LIGHT button on the top of the clock to cycle through the brightness levels. The clock also features an automatic brightness dimmer that adjusts based on the time of day:
- 7:00 - 17:59: Highlight brightness
- 18:00 - 22:59: Medium brightness
- 23:00 - 5:59: Darkest brightness
- 6:00 - 6:59: Medium highlight
Note: When adjusting the buttons on the back of the clock, do not accidentally touch the top touch keys with your fingers at the same time, otherwise the functions will conflict. Manual adjustments are remembered for each period.
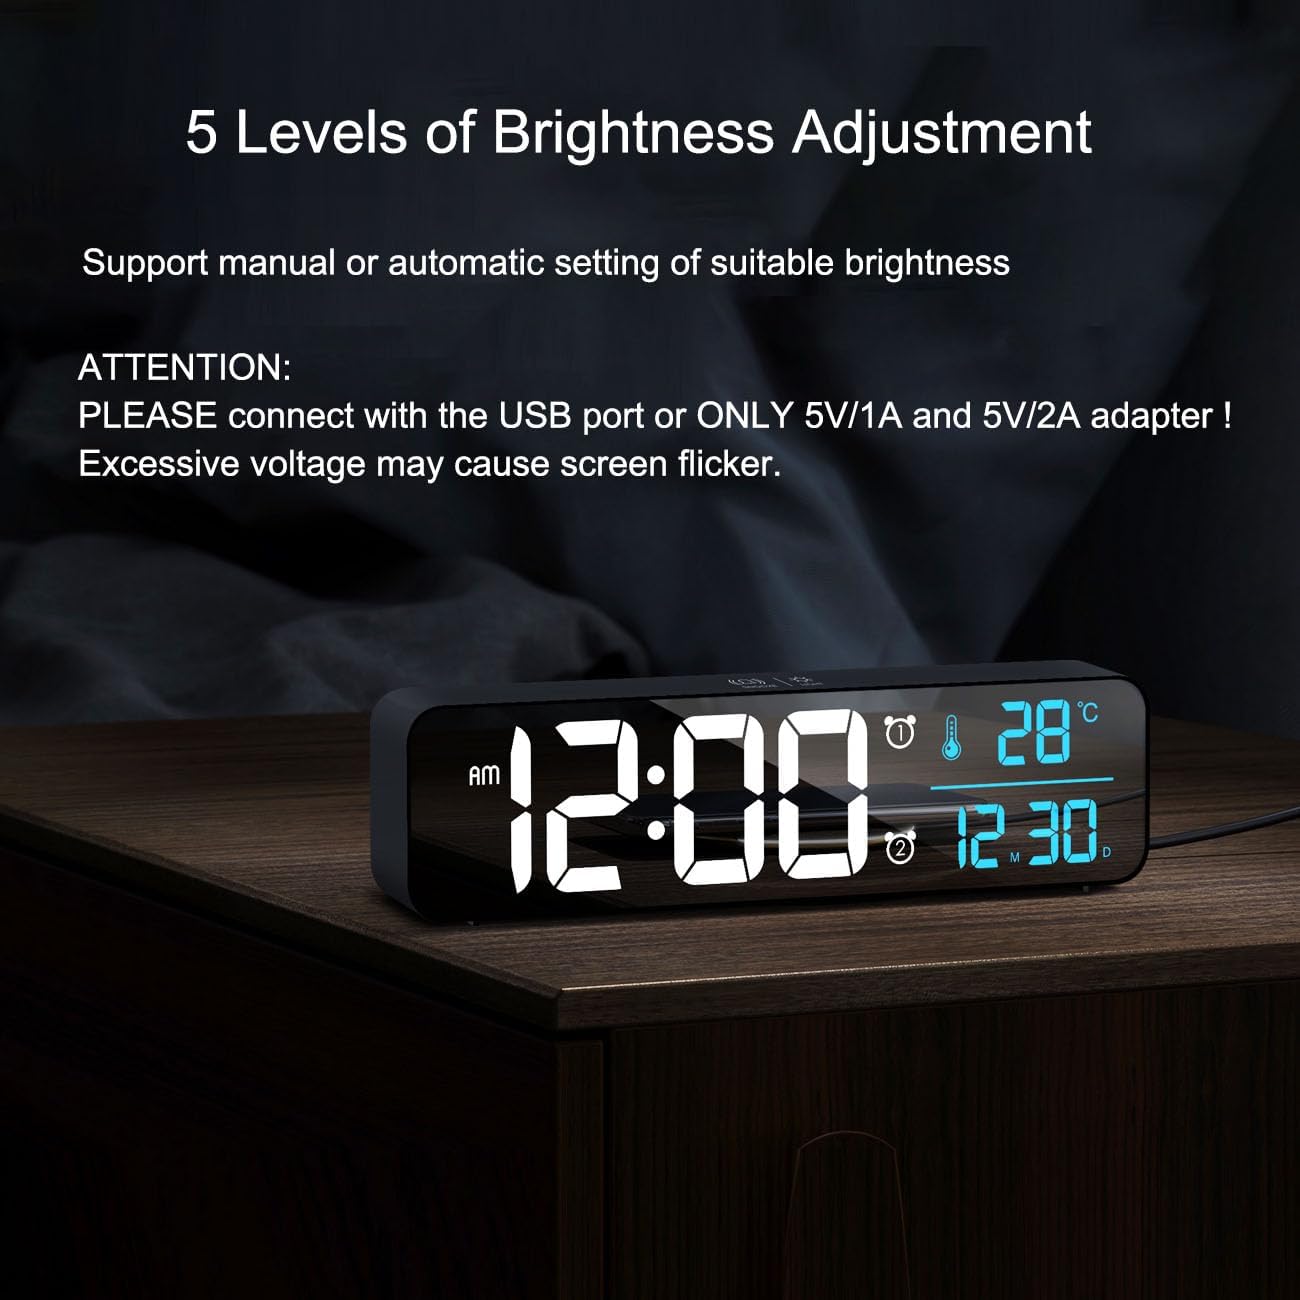
Image illustrating the 5 levels of brightness adjustment on the digital clock.
Setting Alarms
You can set two separate alarms on this clock:
- Press the ALARM SET button to enter Alarm 1 setting mode. The alarm time will flash.
- Use the UP and DOWN buttons to adjust the hour and minutes. Press ALARM SET to confirm each.
- Press ALARM SET again to enter Alarm 2 setting mode and repeat the steps.
- To enable or disable an alarm, press the ON/OFF button.
The clock offers 40 different ringtones and 4 volume levels. Use the TUNES button to cycle through ringtones and adjust the alarm volume using the UP and DOWN buttons when in alarm setting mode.
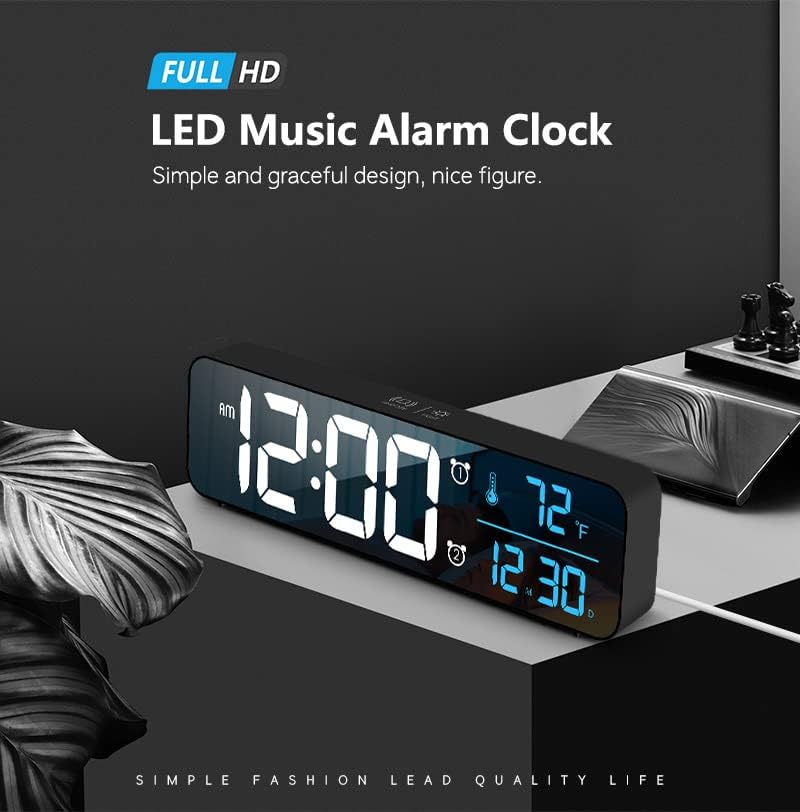
Close-up view of the digital clock displaying alarm settings and temperature.
Temperature and Date Display
The clock continuously displays the indoor temperature and the current date (month and day). To switch the temperature unit between Celsius and Fahrenheit, press the °C/°F button on the back of the clock.
Maintenance
To ensure the longevity and optimal performance of your Abovsare Digital Alarm Clock, follow these simple care and maintenance guidelines:
- Cleaning: Gently wipe the display and casing with a soft, dry, lint-free cloth. Avoid using abrasive cleaners, solvents, or chemical sprays, as these can damage the mirror finish and electronic components.
- Placement: Place the clock on a stable, flat surface or mount it securely on a wall using the double wall hanging holes. Avoid direct sunlight, extreme temperatures, and high humidity.
- Power: Always use a compatible 5V/1A or 5V/2A USB adapter. Disconnect power during electrical storms or when not in use for extended periods.
Troubleshooting Guide
| Issue | Solution |
|---|---|
| Display is off or flickering. | Ensure the USB power cable is securely connected to both the clock and a compatible 5V/1A or 5V/2A USB adapter. Avoid using higher voltage adapters. |
| Time/Date not retained after power loss. | Check if the internal CR2025 3V button battery is correctly installed and has sufficient power. Replace if necessary. |
| Buttons on the back are unresponsive. | Avoid touching the top touch keys (Snooze/Light) while adjusting buttons on the back, as this can cause functional conflicts. |
| Alarm does not sound. | Verify that the alarm is enabled (check the alarm icon on the display) and that the alarm volume is set to an audible level using the UP/DOWN buttons. |
Technical Specifications
| Brand | Abovsare |
| Model Number | 8810 |
| Display Type | Digital LED |
| Power Source | Corded Electric (USB 5V/1A or 5V/2A) |
| Product Dimensions | 10.4"W x 2.8"H |
| Item Weight | 7 Ounces |
| Special Features | Large Display, Automatic Brightness Dimmer, Memory Function, Multiple Ringtones |
| Material | Plastic |
| Mounting Type | Tabletop or Wall-mountable |
Warranty and Support
Warranty Information
This product comes with a standard manufacturer's warranty. Please refer to the product packaging or contact customer support for specific details regarding warranty coverage and duration.
Customer Support
For further assistance, technical support, or inquiries, please visit the official Abovsare store on Amazon: Abovsare Store.


