
1. Introduction
Thank you for purchasing the XTUGA CT80-First Professional Audio Mixer. This 8-channel mixing console is designed for versatile audio applications, offering high-quality sound processing, Bluetooth connectivity, MP3 playback, and a robust USB audio interface. It features a 3-band equalizer on each channel and 48V phantom power for condenser microphones. Please read this manual thoroughly before operating the device to ensure proper use and to maximize its performance.
2. Safety Instructions
- Power Supply: Use only the specified power adapter. Ensure the voltage matches the requirements of your region.
- Water and Moisture: Do not expose the unit to rain or moisture. Do not place objects filled with liquids on the unit.
- Ventilation: Ensure adequate ventilation. Do not block ventilation openings.
- Heat: Keep the unit away from heat sources such as radiators, heat registers, stoves, or other apparatus (including amplifiers) that produce heat.
- Cleaning: Clean only with a dry cloth.
- Servicing: Do not attempt to service this product yourself. Refer all servicing to qualified service personnel.
- Phantom Power: When using 48V phantom power, ensure microphones are connected before activating to prevent damage.
3. Product Overview
The XTUGA CT80-First mixer is equipped with a comprehensive set of controls and inputs/outputs to manage various audio sources. Below is a general overview of the unit's layout and key features.

The XTUGA CT80-First Professional Audio Mixer, showcasing its 8 input channels, main output section, and various controls.
Key Features:
- 8-Channel Input: Multiple XLR and Line inputs for microphones and instruments.
- 48V Phantom Power: Independent phantom power for condenser microphones on each channel.
- 3-Band Equalizer: High, Mid, and Low frequency adjustment for each input channel.
- Built-in Bluetooth: Wireless streaming from compatible devices.
- USB Audio Interface: Connects to computers for recording and playback.
- MP3 Player: Supports direct playback from USB flash drives.
- Real-time Monitoring: Dedicated headphone output for monitoring the mix.
- Durable Design: Ultra-thin chassis with sealed rotary controls.

Detail of the 48V phantom power feature, essential for condenser microphones, with an independent power supply for each channel.

Illustration of the mixer's USB connectivity, allowing direct input from USB flash drives and connection to a computer for recording and editing.
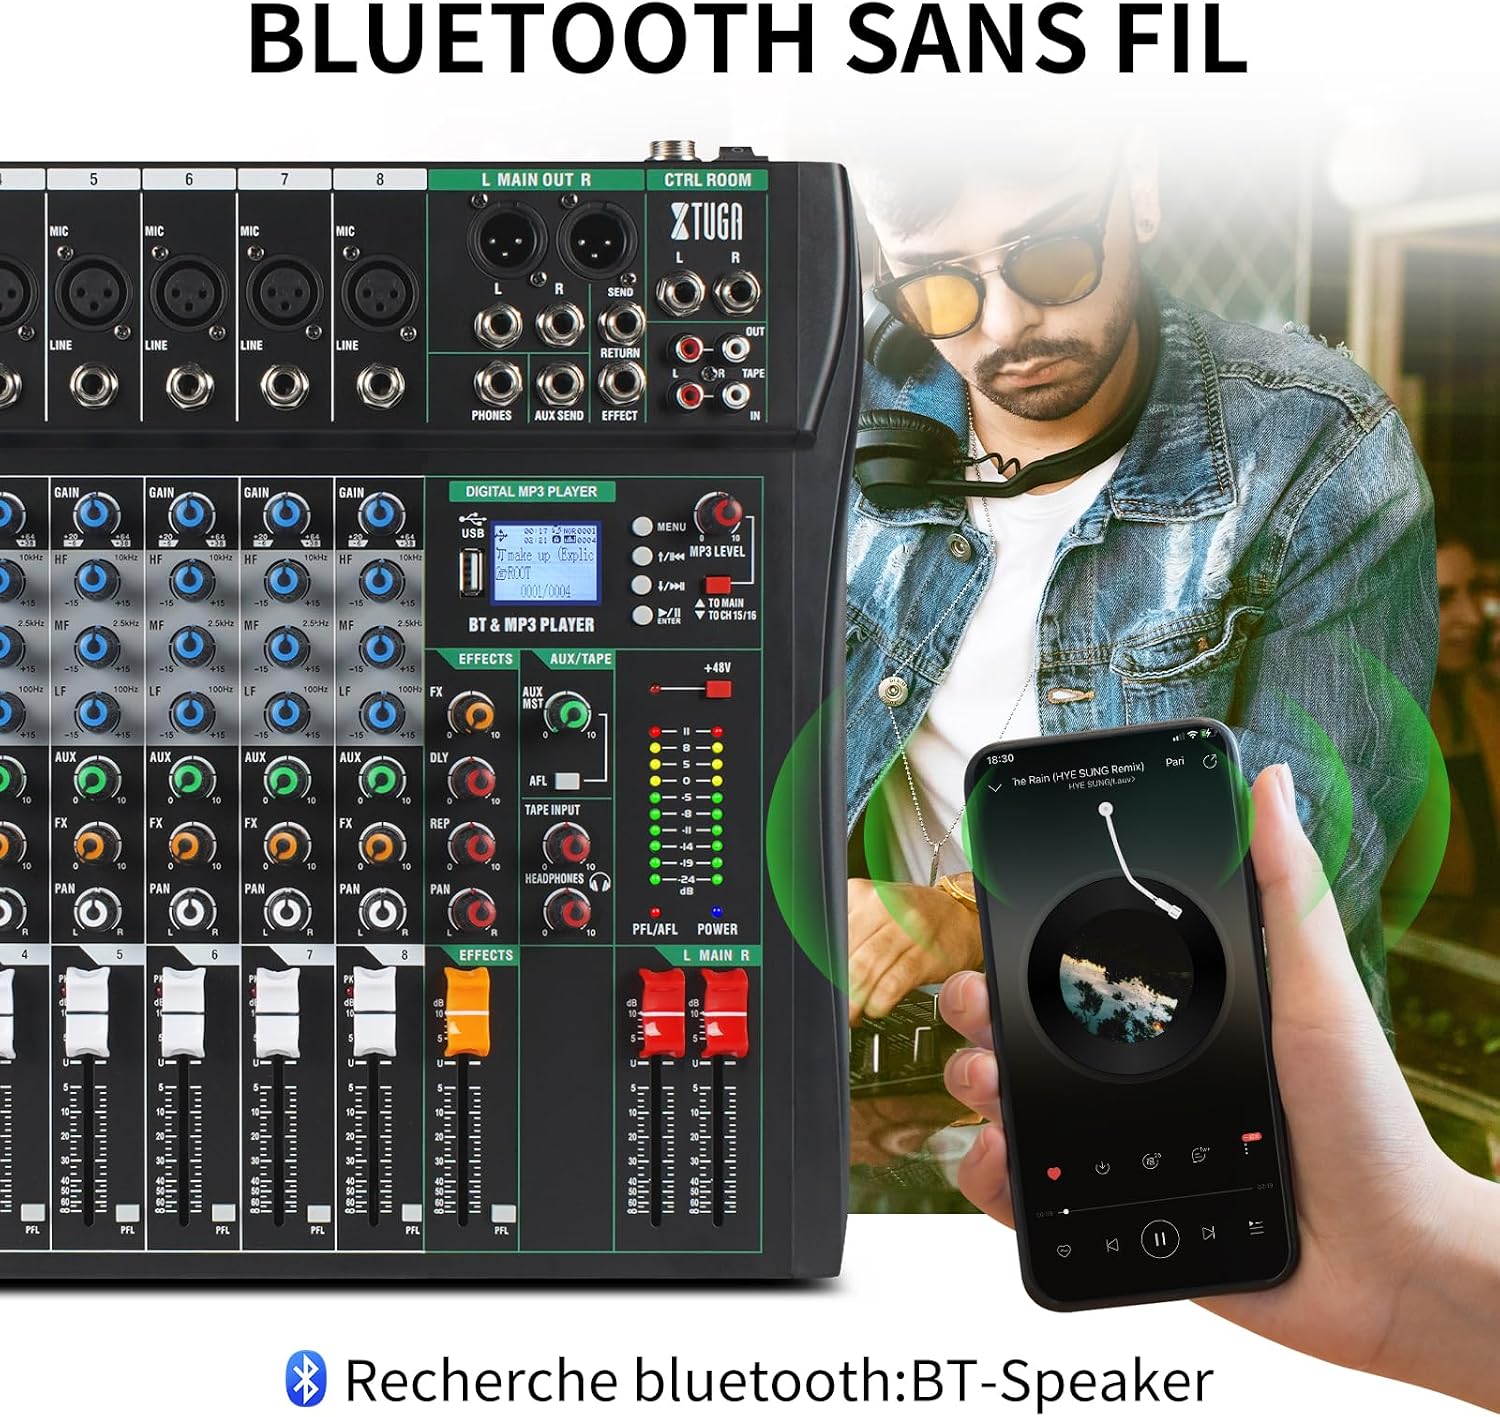
Demonstration of the built-in Bluetooth feature, enabling wireless audio streaming from mobile phones, tablets, and other Bluetooth-enabled devices.

The real-time monitoring function, accessible via the dedicated headphone output, allows users to listen to the mix directly.

Examples of applicable scenarios for the XTUGA CT80-First mixer, including stage performances, weddings, parties, and coffee shop environments, highlighting its versatility.
4. Setup
4.1 Unpacking
Carefully remove the mixer and all accessories from the packaging. Verify that all components are present: the CT80-First mixer unit, power adapter, and this user manual. Retain the packaging for future transport or storage.
4.2 Power Connection
- Ensure the mixer's power switch is in the OFF position.
- Connect the provided power adapter to the mixer's power input jack.
- Plug the power adapter into a suitable AC power outlet.
- Turn the mixer's power switch to the ON position. The power indicator light will illuminate.
4.3 Connecting Microphones and Instruments
- XLR Inputs (Channels 1-8): For microphones, connect an XLR cable to the MIC input. If using a condenser microphone requiring phantom power, ensure the 48V switch is OFF before connecting, then activate it after the microphone is securely connected.
- Line Inputs (Channels 1-8): For instruments or line-level devices (e.g., keyboards, guitars with preamps), connect a 1/4-inch TS/TRS cable to the LINE input.
- Insert Points: Each mono channel (1-8) has an insert point for connecting external effects processors.
4.4 Connecting to Computer/USB Devices
- USB Audio Interface: Connect a USB cable from the mixer's USB port to your computer. The mixer will be recognized as an audio input/output device. This allows for recording the main mix to your computer and playing back audio from your computer through the mixer.
- USB Flash Drive: Insert a USB flash drive into the dedicated USB port on the mixer's digital player section for MP3/WAV/WMA playback.
4.5 Bluetooth Pairing
- On the mixer's digital player section, select the Bluetooth mode. The LCD screen will indicate Bluetooth pairing mode.
- On your mobile device (smartphone, tablet, etc.), enable Bluetooth and search for available devices.
- Select "BT-Speaker" from the list of found devices to pair.
- Once paired, you can stream audio wirelessly from your device to the mixer.
5. Operating Instructions
5.1 Channel Controls (Channels 1-8)
- GAIN Knob: Adjusts the input sensitivity for the microphone or line input. Set this to achieve a strong signal without clipping.
- HIGH, MID, LOW Knobs: 3-band equalizer for adjusting the treble, midrange, and bass frequencies of the channel.
- FX Knob: Controls the amount of signal sent to the internal effects processor.
- AUX Knob: Controls the amount of signal sent to the auxiliary send output.
- PAN Knob: Adjusts the stereo position (left to right) of the channel's signal in the main mix.
- PFL/AFL Button: Pre-Fader Listen / After-Fader Listen. Engages monitoring of the channel's signal through headphones before (PFL) or after (AFL) the channel fader.
- Channel Fader: Adjusts the overall volume level of the individual channel in the main mix.
5.2 Main Output Controls
- MAIN OUT L/R: XLR outputs for connecting to main speakers or an amplifier.
- MAIN L/R Faders: Control the overall volume of the stereo main mix.
- LEVEL Meters: LED indicators displaying the output level of the main mix. Aim for levels that are strong but do not consistently peak into the red.
5.3 Digital MP3 Player / USB Operation
- MODE Button: Toggles between USB, Bluetooth, and PC (USB Audio Interface) modes.
- PLAY/PAUSE Button: Starts or pauses playback.
- PREV/NEXT Buttons: Skips to the previous or next track.
- REC Button: Initiates recording to a connected USB flash drive (if supported by the firmware).
5.4 Monitoring
- PHONES Jack: Connect headphones for private monitoring of the mix.
- HEADPHONES Level Knob: Adjusts the volume of the headphone output.
6. Maintenance
6.1 Cleaning
To maintain the appearance and longevity of your mixer, clean it regularly:
- Always disconnect the power before cleaning.
- Use a soft, dry, lint-free cloth to wipe down the surface of the unit.
- For stubborn dirt, slightly dampen the cloth with water or a mild, non-abrasive cleaner. Do not spray cleaner directly onto the unit.
- Avoid using harsh chemicals, solvents, or abrasive cleaners, as these can damage the finish.
- Use a small brush or compressed air to clean dust from faders, knobs, and jacks.
6.2 Storage
When not in use for extended periods, store the mixer in a cool, dry place, away from direct sunlight and extreme temperatures. If possible, use the original packaging to protect it from dust and physical damage.
7. Troubleshooting
| Problem | Possible Cause | Solution |
|---|---|---|
| No power | Power cable not connected; Power switch off; Faulty power adapter/outlet. | Check power cable connection; Turn power switch ON; Try a different power outlet or adapter. |
| No sound output | Main faders down; Speaker/amplifier not connected or off; Incorrect input selection; Channel faders down. | Raise MAIN L/R faders; Check speaker/amplifier connections and power; Ensure correct input is selected; Raise individual channel faders. |
| No sound from a specific channel | Channel fader down; GAIN too low; EQ settings incorrect; Microphone/instrument not connected properly; 48V phantom power off for condenser mic. | Raise channel fader; Adjust GAIN; Reset EQ to flat; Check cable connections; Activate 48V phantom power if needed. |
| Humming or buzzing noise | Ground loop; Unbalanced cables; Nearby electrical interference. | Use balanced cables; Check grounding; Move mixer away from power sources or other electronics. |
| Bluetooth not connecting | Mixer not in Bluetooth mode; Device not in pairing mode; Too far from mixer. | Ensure mixer is in Bluetooth mode; Put device in pairing mode; Move device closer to mixer. |
| USB playback issues | Unsupported file format; USB drive corrupted; USB drive not inserted correctly. | Ensure files are MP3/WAV/WMA; Try a different USB drive; Reinsert USB drive. |
8. Specifications
| Feature | Specification |
|---|---|
| Model Number | CT80-First |
| Dimensions (L x W x H) | 46 x 12.5 x 44 cm |
| Weight | 4.07 Kilograms |
| Number of Channels | 8 |
| Connectivity Technology | Bluetooth, USB |
| Power Source | Corded Electric |
| Output Connector Type | USB, XLR |
| Audio Input | XLR, Bluetooth |
| Voltage | 48 Volts (for phantom power) |
| Manufacturer | XTUGA |
| Country of Origin | China |
9. Warranty and Support
XTUGA products are manufactured to high-quality standards. For information regarding warranty coverage, technical support, or service inquiries, please refer to the warranty card included with your product or visit the official XTUGA website. Please have your model number (CT80-First) and purchase information ready when contacting support.

