
Introduction
This manual provides detailed instructions for the installation, operation, and maintenance of your eRapta AY7 Backup Camera System. Designed for a wide range of vehicles including cars, pickup trucks, SUVs, RVs, minivans, sedans, and semi-trailers, this system enhances driving safety and parking convenience with its 7-inch HD 2K monitor and IP69K waterproof wired camera.
What's in the Box
Verify that all components are present before beginning installation:
- 1 x 7-inch TFT Color Monitor
- 1 x Wired Camera (with license plate bracket)
- 1 x 33ft Power Cable
- 1 x Car Charger (cigarette lighter adapter)
- 2 x Brackets (for monitor mounting)
- 1 x Remote Control

Image: All components of the eRapta AY7 Backup Camera System, including the monitor, camera, cables, and mounting accessories.
Setup
The eRapta AY7 system offers flexible installation options. Follow these steps for a successful setup:
1. Camera Installation
- Mounting: The camera is designed to be mounted above your vehicle's license plate using the integrated bracket. Secure it with screws.
- Wiring: Route the camera's power cable from the rear of the vehicle to the front cabin. The slim connector allows for easier routing through small openings or weather stripping.

Image: Step-by-step diagram illustrating the wired installation of the camera system, connecting the camera to the monitor via a long cable and powering it through the car charger.
2. Monitor Installation
The 7-inch monitor can be mounted in two primary ways:
- Dashboard Mount: Use the provided adhesive bracket to secure the monitor to a flat surface on your dashboard.
- Windshield Mount: Attach the suction cup bracket to the monitor and then to your vehicle's windshield for optimal viewing.

Image: Illustration of the easy and optional installation methods for the monitor, showing both dashboard and windshield mounting options.
3. Power Connection
The system is powered via your vehicle's 12V cigarette lighter socket. Connect the car charger to the monitor's power input. Alternatively, for a more permanent installation, the system can be wired directly to your vehicle's reverse light circuit (professional installation recommended for this method).

Image: Diagram detailing the two power supply methods for the eRapta backup camera system: a simple plug-and-play car charger option and a direct wire connection to the reverse light for automatic activation.
4. Video Connection
Connect the 33ft power cable from the camera to the monitor. Ensure all connections are secure.
Video: This official eRapta video provides a detailed overview of the AY7 Backup Camera system and its installation process.
Operating Instructions
Once installed, the eRapta AY7 system is ready for use. The monitor will automatically display the camera feed when powered on.
1. Monitor Controls
The monitor features several buttons for adjustment:
- V1/V2: Switch between video inputs (if multiple cameras are connected).
- MENU: Access the on-screen display (OSD) menu for settings.
- +/-: Adjust brightness, contrast, saturation, tint, and navigate menu options.
- Power Button: Turn the monitor on/off.
2. Remote Control
The included remote control provides convenient access to monitor functions and settings without directly touching the screen.
3. DIY Grid Lines
The system allows for customization of parking guide lines to suit your vehicle and preferences. Access the menu to adjust the width, position (up/down, left/right), and height of the guide lines.

Image: The monitor displaying the camera feed with customizable DIY guide lines for parking assistance.
4. Mirror-Flip Function
The camera is equipped with a mirror-flip function, allowing it to be used as either a rear camera (mirror image) or a front camera (normal image). This setting can be adjusted via the monitor's menu.
5. Night Vision
The camera features 9 LED lights and a 6-glass lens for enhanced night vision, automatically illuminating to provide clear images in low-light conditions, ensuring safety during nighttime driving or parking.
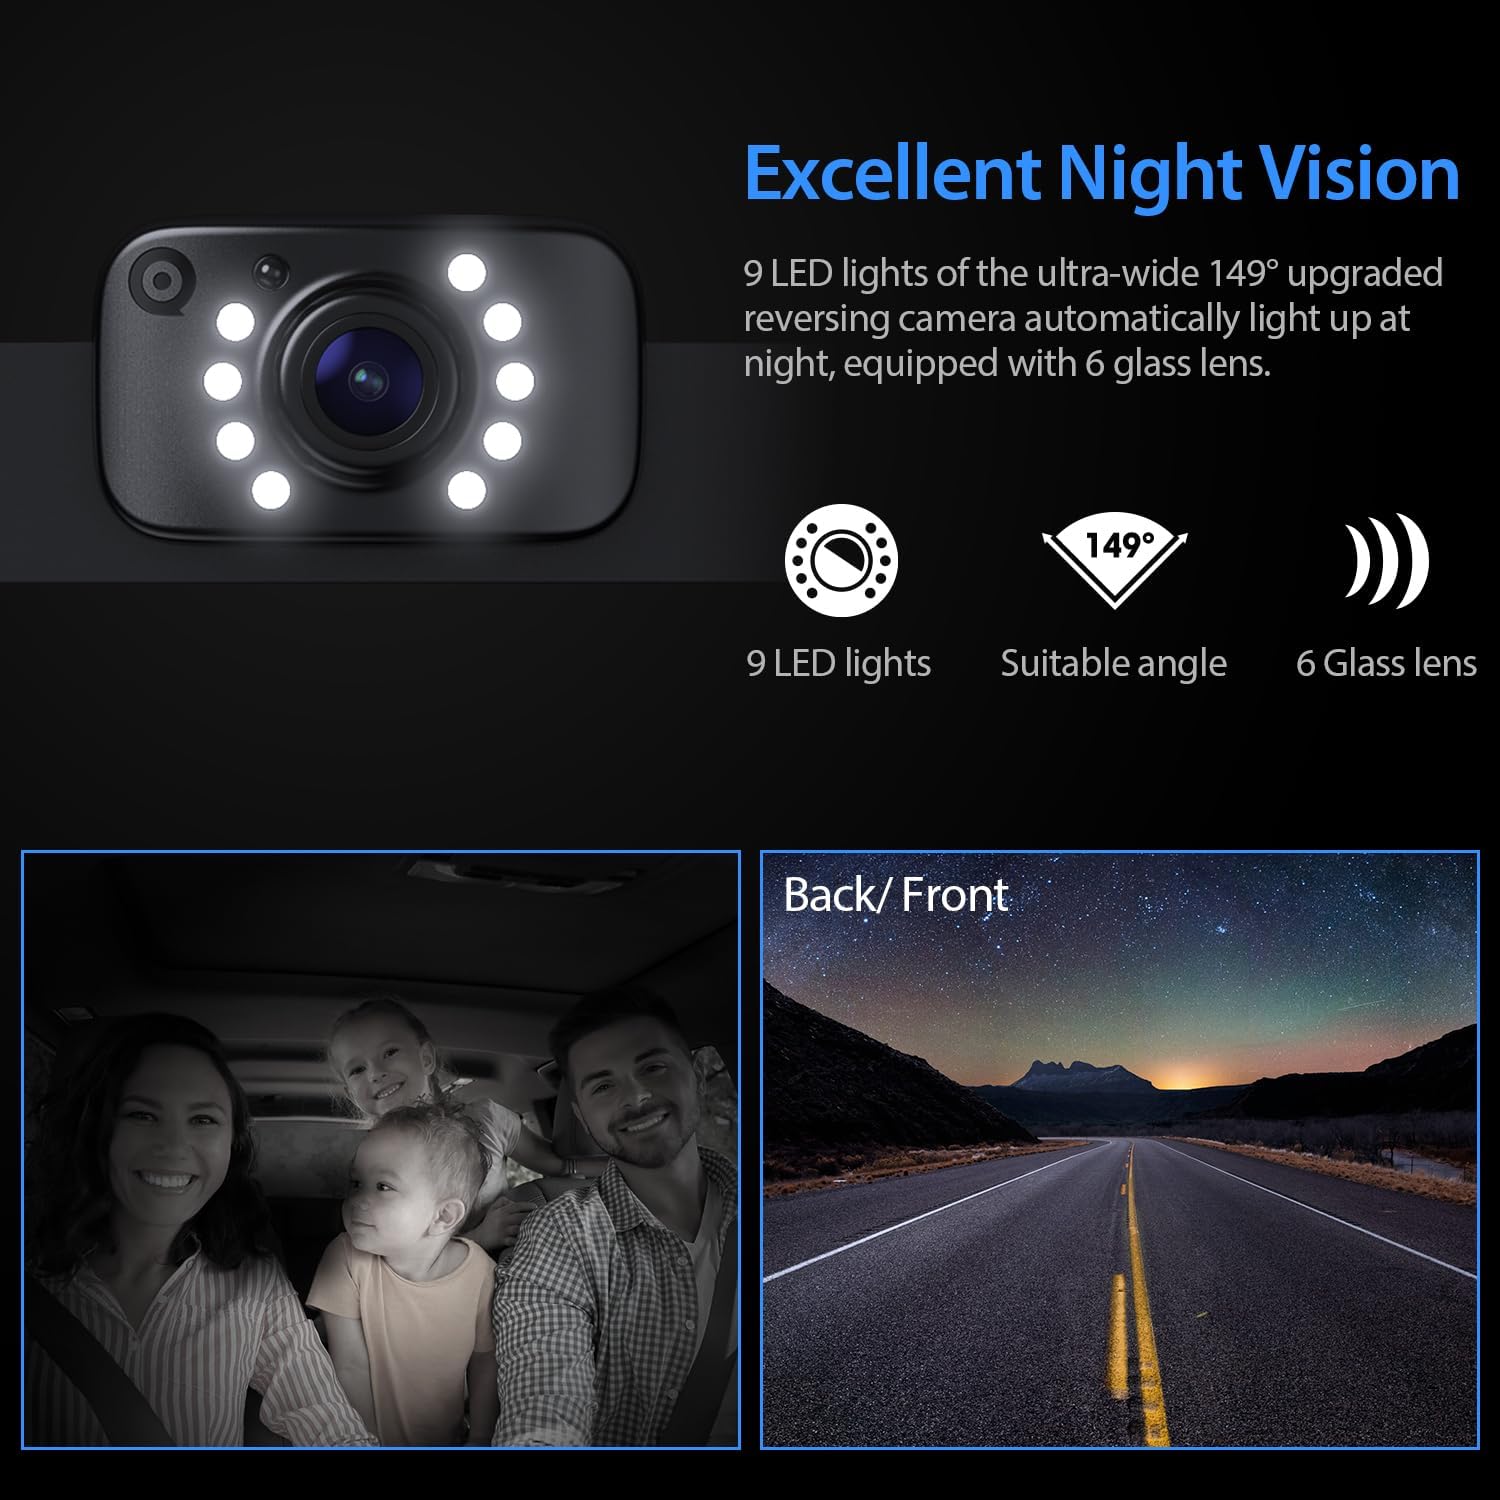
Image: The camera's night vision feature, highlighting the 9 LED lights and 6-glass lens for clear visibility in the dark.
Video: This official eRapta video showcases the 2K image quality and night vision performance of the backup camera kit.
Maintenance
To ensure the longevity and optimal performance of your eRapta AY7 Backup Camera System, follow these maintenance guidelines:
- Cleaning: Regularly clean the camera lens and monitor screen with a soft, damp cloth. Avoid abrasive cleaners that could scratch surfaces.
- Waterproof Design: The camera housing is IP69K waterproof, ensuring efficient dustproof, shockproof, and waterproof performance. However, avoid directing high-pressure water jets directly at the camera for extended periods.
- Cable Inspection: Periodically check all cables and connections for any signs of wear, damage, or loose contacts. Secure or replace as necessary.
Troubleshooting
If you encounter any issues with your eRapta AY7 Backup Camera System, refer to the following common troubleshooting steps:
- No Image on Monitor:
- Ensure the monitor is powered on and the car charger is securely plugged into the 12V socket.
- Check the video cable connection between the camera and the monitor.
- If wired to the reverse light, ensure the vehicle is in reverse gear and the wiring is correct.
- Flickering or Distorted Image:
- Verify all cable connections are tight and free from damage.
- Ensure the power supply is stable.
- Check for any strong electromagnetic interference sources near the cables.
- Guide Lines Incorrectly Displayed:
- Access the monitor's menu using the remote control or buttons to adjust the DIY guide line settings.
- Night Vision Not Working:
- Ensure the camera lens is clean and unobstructed.
- Verify the LED lights on the camera are functioning in low light conditions.
For further assistance, please contact eRapta support.
Specifications
| Monitor Screen Size | 7 Inches |
| Display Technology | LCD |
| Camera Resolution | 2K HD |
| Optical Sensor Technology | CMOS |
| Lens Type | Wide Angle |
| Real Angle of View | 140 Degrees |
| Waterproof Rating | IP69K |
| Voltage | 12 Volts |
| Product Dimensions | 7.1"L x 0.8"W x 4.51"H |
| Item Weight | 2.05 pounds |
Warranty and Support
Your eRapta AY7 Backup Camera System comes with a Two Year Warranty and Lifetime Technical Support. For any questions, concerns, or technical assistance, the eRapta support department is always available for consultation.


